Adding search
How to add and connect a search field to your data within Budibase
Most internal apps involve viewing and interacting with data. Adding search to your data display component, such as a Table provides a better experience for the end-user. Using Budibase, there are three ways to achieve this:
- Using the Table itself
- Using a form, table, and text input - the flexible way
- Using a table and dynamic filter - the filter/search hybrid approach (also very easy)
This guide will cover all three methods for adding search to a table. For each process, you will need data. In the tutorials, we will use the following CSV. If you have data, please continue to the tutorials below. If you don't have data, please download (File > Download) the following CSV and upload it to the Budibase DB.
Right, let's do this 🏁
1. Using the table itself
Built into the Table is a search field for every column you choose to display.
Please note, that the searchable text field will appear only if the data type of the field you choose is text/string. If the field is stored as an option, a picker component will appear instead.
2. Using a form and text input (flexible way)
Here's a quick overview of what we're going to do:
- Display data in a table
- Add a form and text field
- Connect the table's data to the search input
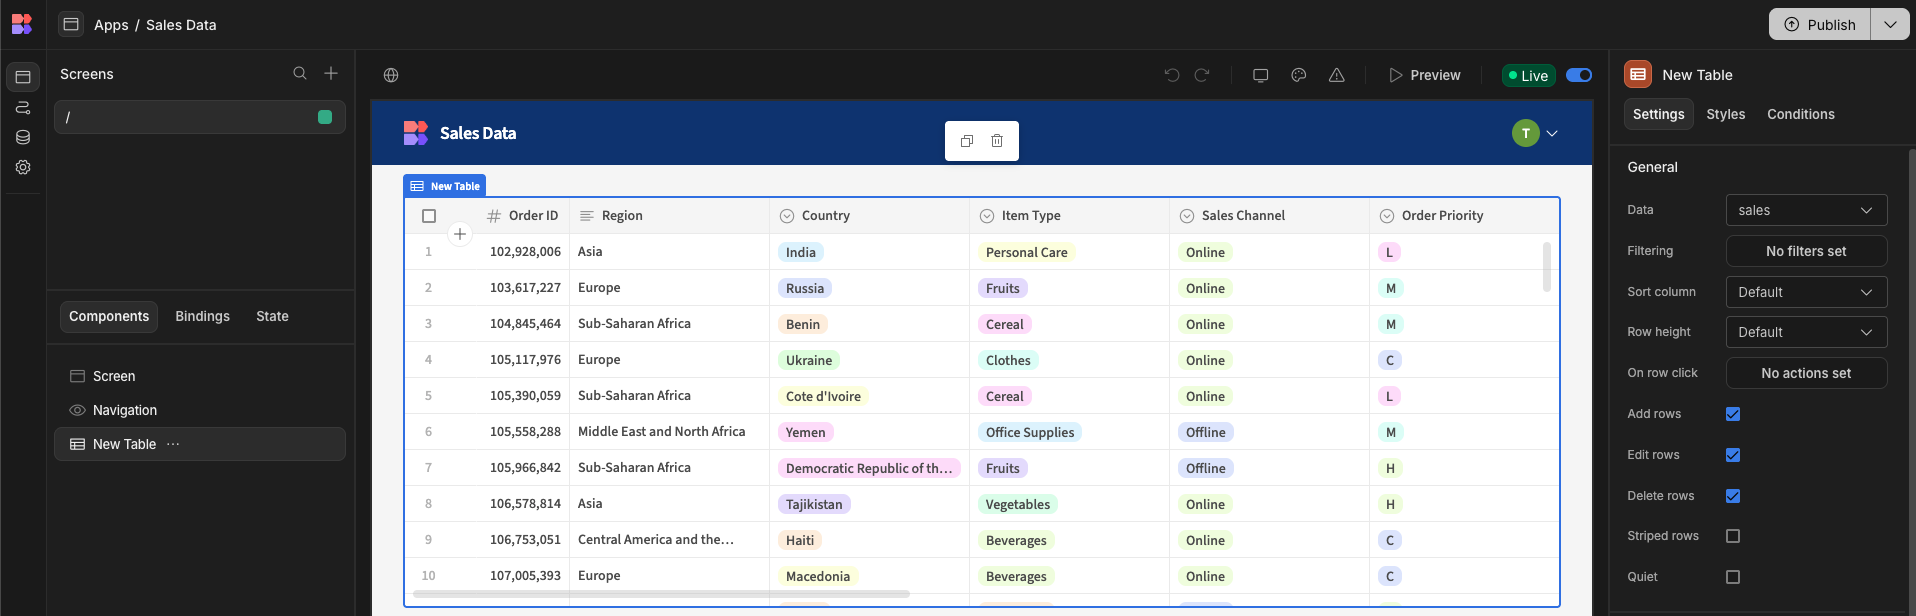
Display data in a table
To get started, add a table component to your screen, and in the Settings Panel choose the data source to be the table you wish to display. to select your Datasource. You should now have a table with data.
Add a form and text field
Add a new text field. Give the text field a name (this is how it will appear in bindings) and a label (this is what the user will see). You may also wish to add placeholder or help text.
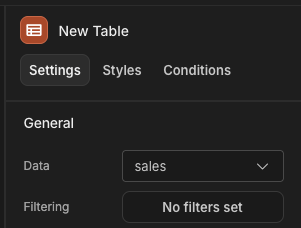
Define filters
Now in the settings menu of the Table Component, click to add a filter
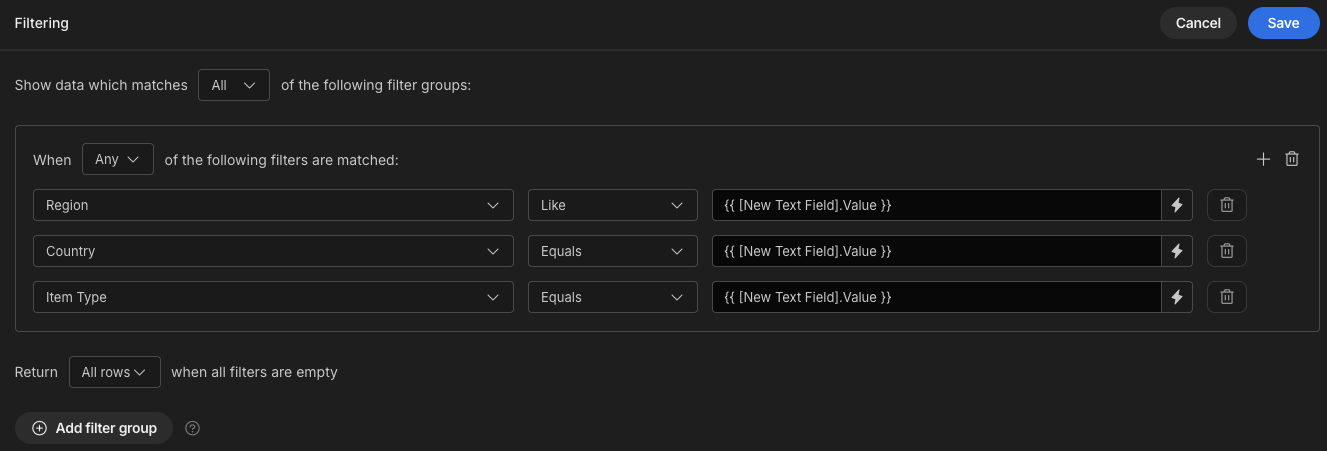
With these settings, when no nothing in in the search bar, all rows will be displayed. When something is in the search bar, all rows where the region is like (ie a partial or full match) will be returned. When Country or Item Type are an exact match, rows will be returned accordingly. When there are no rows that match, the table will show all rows available.
An example using Customer Name to search the data.
Adding a search button (optional)
After following these steps you will now have a reactive search field - i.e. whenever you press the enter key or click off the text field the search will trigger.
You may instead prefer to only trigger the search on click of a button. A guide on doing that can be found in this Github discussion.
3. Using a table and dynamic filter - the filter/search hybrid approach
This approach does not provide a search input. But it is easy to set up and allows your users to filter/search their table data. We can add dynamic filtering to our data in 3 simple steps:
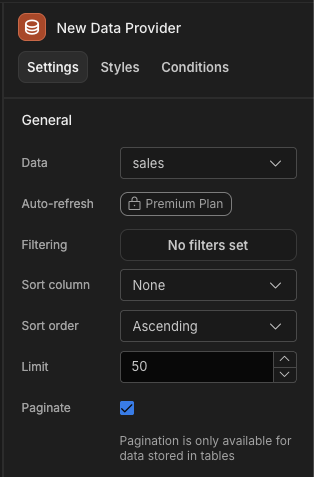
- Add a data provider and change the Data setting to match your data source - in our case Sales.
- Add a dynamic filter component
- Add a table component
Get Started
- Start by adding a Data Provider, and selecting the data source you wish to serve to the user.
-
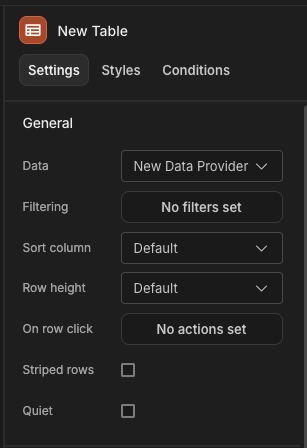
Next, add a Table component, and set it's Data source to be the Data Provider you added int the step above. It's important to use the Data Provider as the source here, instead of simply setting the table itself as your datasource.
-
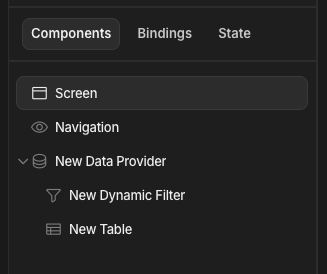
Next, add a Dynamic Filter component and set it's Data source to also be the same Data Provider. Your component tree should look similar to this:
-
In the settings of the Dynamic Filter you can now give users the option to set filters based on allowed columns.
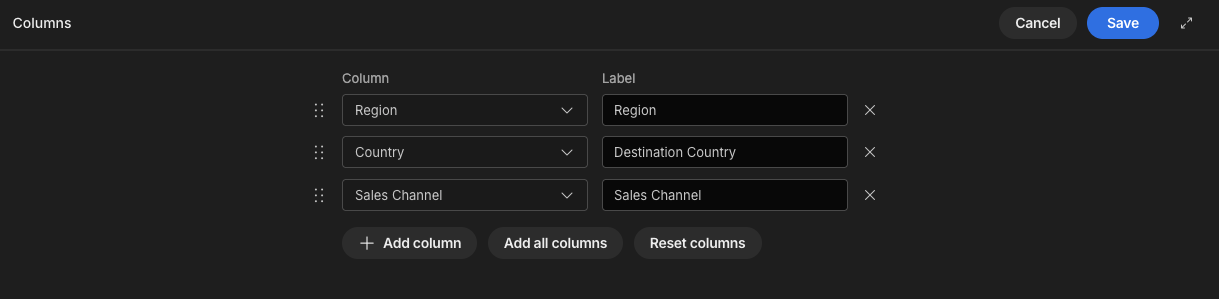
As we can see in the example below a user can set their own filters to help them find and display specific rows that they are looking for.
Ask the community about searchIf you're running into any issues with adding search functionality to your data, open a discussion within our community forum.