Embedded Map
With the Map component, you are able to display an interactive map in any of your screens. It allows you to quickly embed a map, and gives you the ability to quickly display hundreds of markers on the map straight from any Data Sources you have access to.
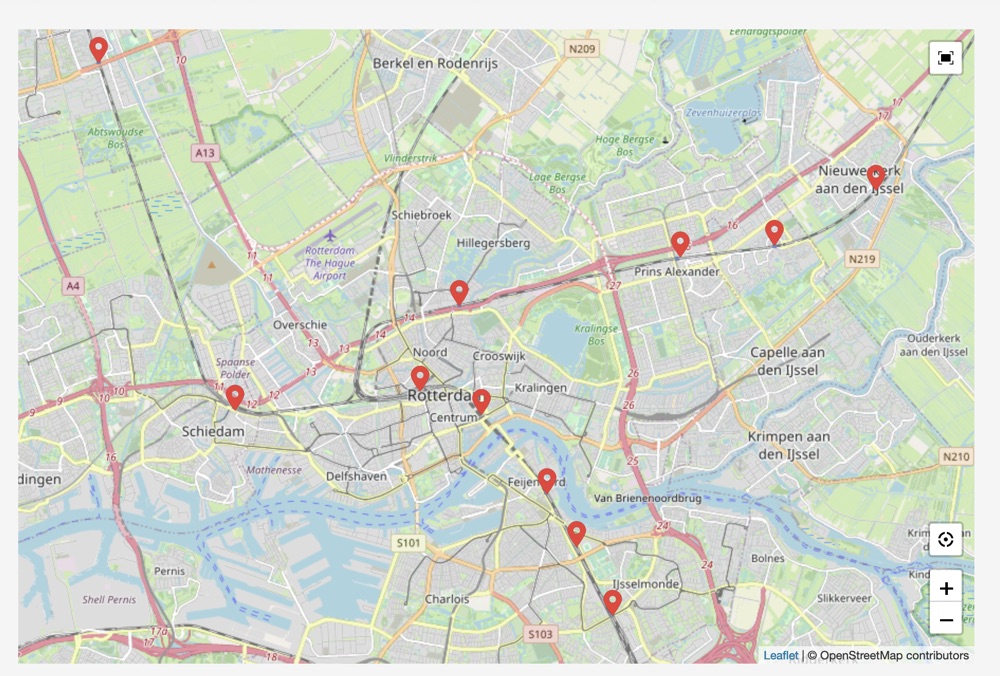
The map component supports creating markers with latitude/longitude bindings through a Data Provider.
Adding a map to your UI
To add a map to your UI, you need to:
- add a Data Provider
- Add your Map component to this by clicking
Component > Elements > Embedded Map
The new map will immediately display a map of London.
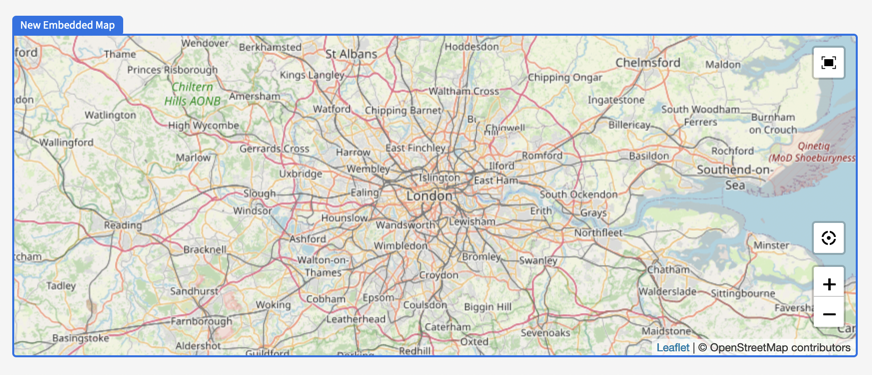
From now, you can start to configure your map to your liking.
Display markers on the map
To display markers on the map, all you need to do is link up the parent Data Provider with the Embed Map. Select the correct provider in the Settings Panel, then select the column containing the latitudes in the Latitude key setting, and lastly, the Longitudes in the Longitude key setting.
Once you've selected all three of those settings, you should see the map rerender with the markers in view, and the markers should be rendered directly.
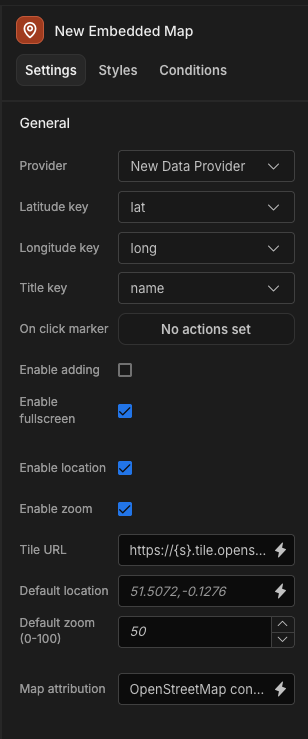
To also add a title to every marker, you can select the Title key setting in the Settings Panel. This title will appear when you click a marker.
Enable clicking on markers
If you want to act on clicks on the markers, you can define Actions by clicking on the Define actions button labeled On Click Marker in the Settings Panel. This will show an Actions modal where you can customize your actions.
One of the Bindings available to you is the Clicked marker object, which contains the data of the row of the table you've selected in the Data Provider.
A quick way to go from the map to a modal with a detail screen would be something like below.

Enable creating markers
If you want your users to be able to create new markers directly on the map, you can enable the Enable creating markers setting in the Settings Panel.

By default all this does, is enable the option to click on the map where there isn't a marker currently, and a new marker will be added on click, and show the New Marker popover, like below.
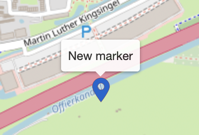
Once the marker appears, two buttons will appear below the map, allowing the user to click the Create Marker button. See the quick video below.
Please be aware that the Create Marker buttons will only appear when you click the map.
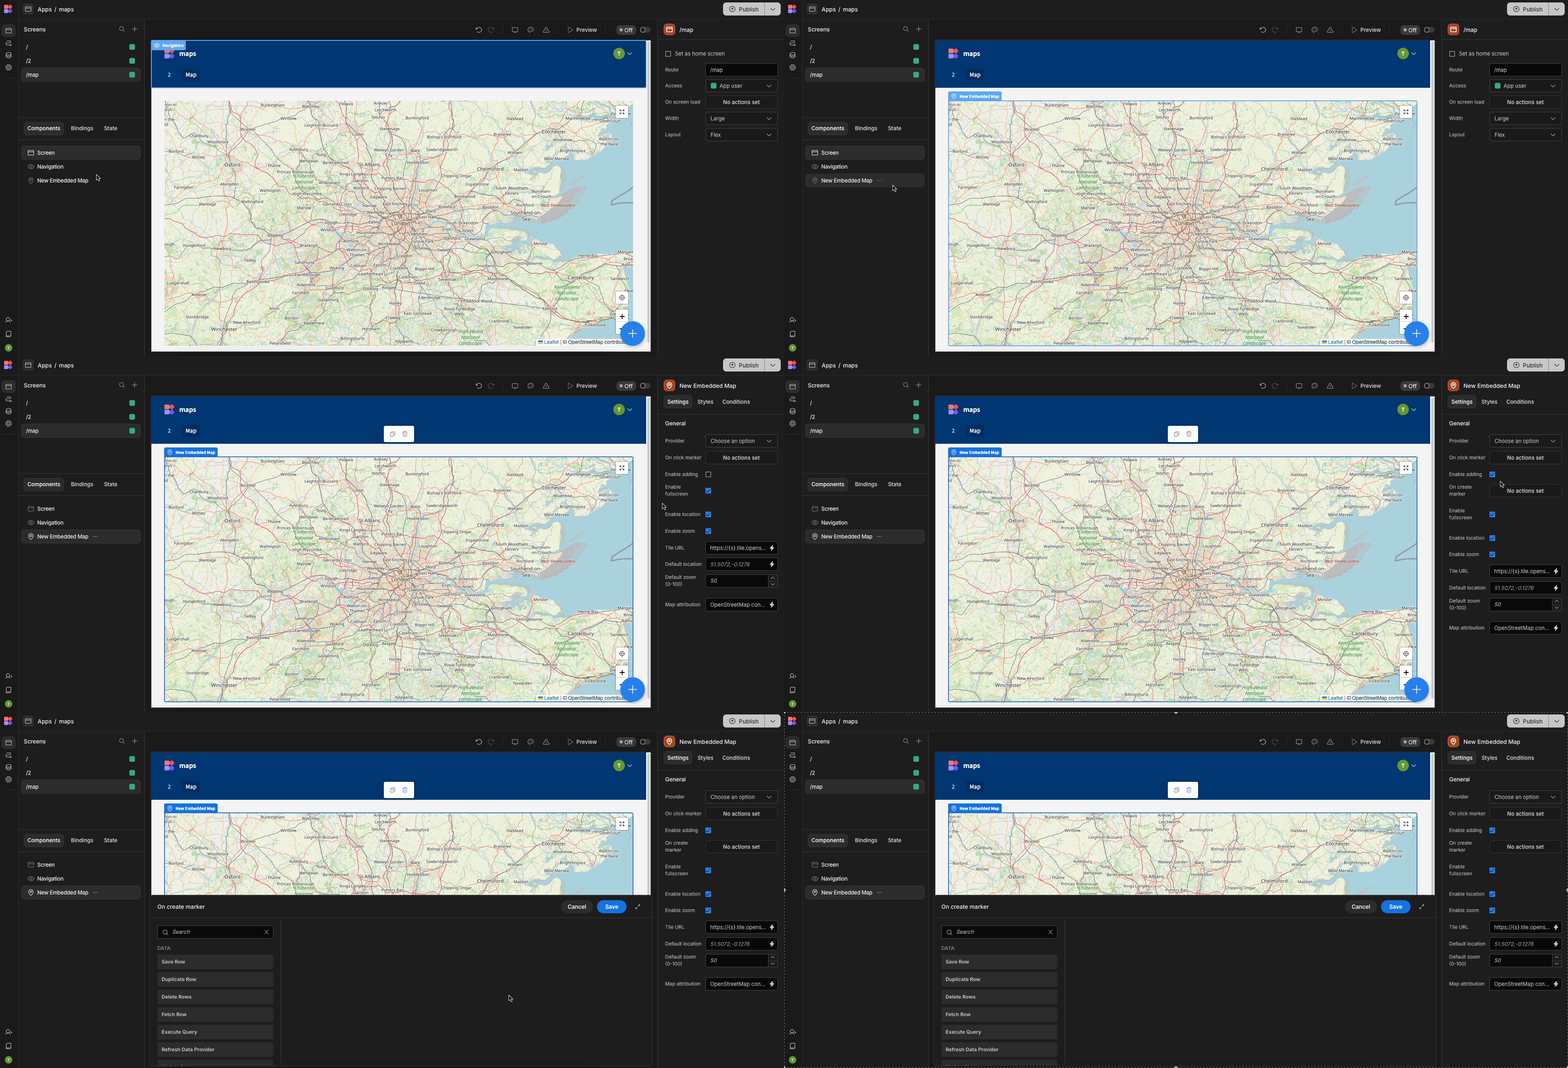
This Create Marker button, by default, does nothing. But you can configure the actions done after clicking through the Define actions button displayed below the Enable creating marker setting in the Settings Panel. This will open up the Actions panel where you'll have access to 2 bindings; both latitude and longitude.
Changing the map tileset

The rendering of the map is using LeafletJS under the hood. Therefore, you can look towards LeafletJS for documentation on other tilesets. https://leafletjs.com/reference.html#tilelayer
You can find the many more tilesets on the Leaflet-extra's Github page, including a live interactive demo.
The URL for the tilesets can be found inside the code snippet on top.
The embeddable map is not limited to the tilesets found in the preview page above, however, it is limited to those services that either have no API key requirement or have the ability to provide the API key through the URL.
Once you'll find your tileset, paste it in the Tile URL setting in the Settings Panel.
LeafletJS tileset bindingsLeafletJS tilesets have different bindings in the URL, you don't need to change this or replace them, they're part of the format LeafletJS understands. These are bindings like
{x},{y},{z}. Just copy the URL as presented, and LeafletJS will take care of the rest
Further settings
Besides the already referenced settings in this article, there are several more you might want to make use of, or understand what it means. You can find all of them in the table below.
| Setting | Description |
|---|---|
| Enable Fullscreen | Shows an icon in the top-right corner allowing the user to see the map fullscreen when clicked |
| Enable location | Shows an icon in the bottom-right the user can click to display their own location on the map |
| Enable zoom | Allows the users to zoom in/out, either through scrolling, double-clicking or through the + and - buttons on the bottom-right. |
| Default location | This is the location the map will focus on when it's empty. Accepted input is latitude,longitude with a . as decimal marker. Once markers load this will be calculated |
| Default Zoom Level | The zoom level the map will be in by default, before markers are loaded. This is a value between 1-100 where 100 is the most zoomed in. |
| Map Attribution | The attribution displayed on the map. Usually required in terms when using a map provider. |
Updated 5 months ago