Building a public form
Budibase has everything you need to build a public form in minutes. Follow the guide below to understand how to build a public form.

Tutorial
Both Budibase and Google Forms are great options for building a public form (single-step). Google Forms is free, proprietary software. The data submitted within your form is hosted with Google. On the other hand, Budibase is free, open-source, and perfect for building forms; therefore, it's possible to quickly build forms and store your data in the safety of your infrastructure. For this guide, we will use Budibase.
Step 1. Sign up for Budibase
If you've not signed up for Budibase, you can register here. Simply complete the sign-up process - it only takes a few seconds - and you'll be ready to take the next step.
Step 2. Create a new app
Click the 'Create new app' button, then click the 'Start from scratch' button.

Name your app (only use letters, no spaces or special characters) - we'll name our app Form. Budibase will generate a URL for you. If you are happy with the URL, click 'Create app'.
Step 3. Set up your database
For demonstration purposes, we will use the Budibase DB as our data source. This is the easiest and fastest way to build a public form with Budibase.
You can also build forms using MySQL, Postgres, Airtable, MongoDB, Rest APIs, and more. We'll cover each of these data sources in a different tutorial.
Click Budibase DB, then click 'Continue'. Name your table: Public Form. And finally, click the 'Create' button.
Step 4. Create your data structure
Now that we've set up our database, we need to build its structure by adding fields/columns.
- Click the 'Create column' button, and name it
Name. Then click 'Save column'. - Click the 'Create column' button, and name it
Email. Then click 'Save column'. - Click the 'Create column' button, and name it
Company. Then click 'Save column'. - Click the 'Create column' button, and name it
Company size. Click the Type dropdown and select 'Options'. In the options text box (bottom) add the following (one per line): 1 - 1011 - 100101 - 10001001+
Then click 'Save column'.
The final step within our data section, and a very important one, is to change the access to our database. To do this, click the 'Manage access' button. Then set both the Write and Read levels to 'Public'. Click 'Done'.

Step 5. Create your public screen
Navigate to the Design section of the Budibase builder and create your first screen.
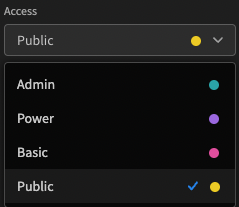
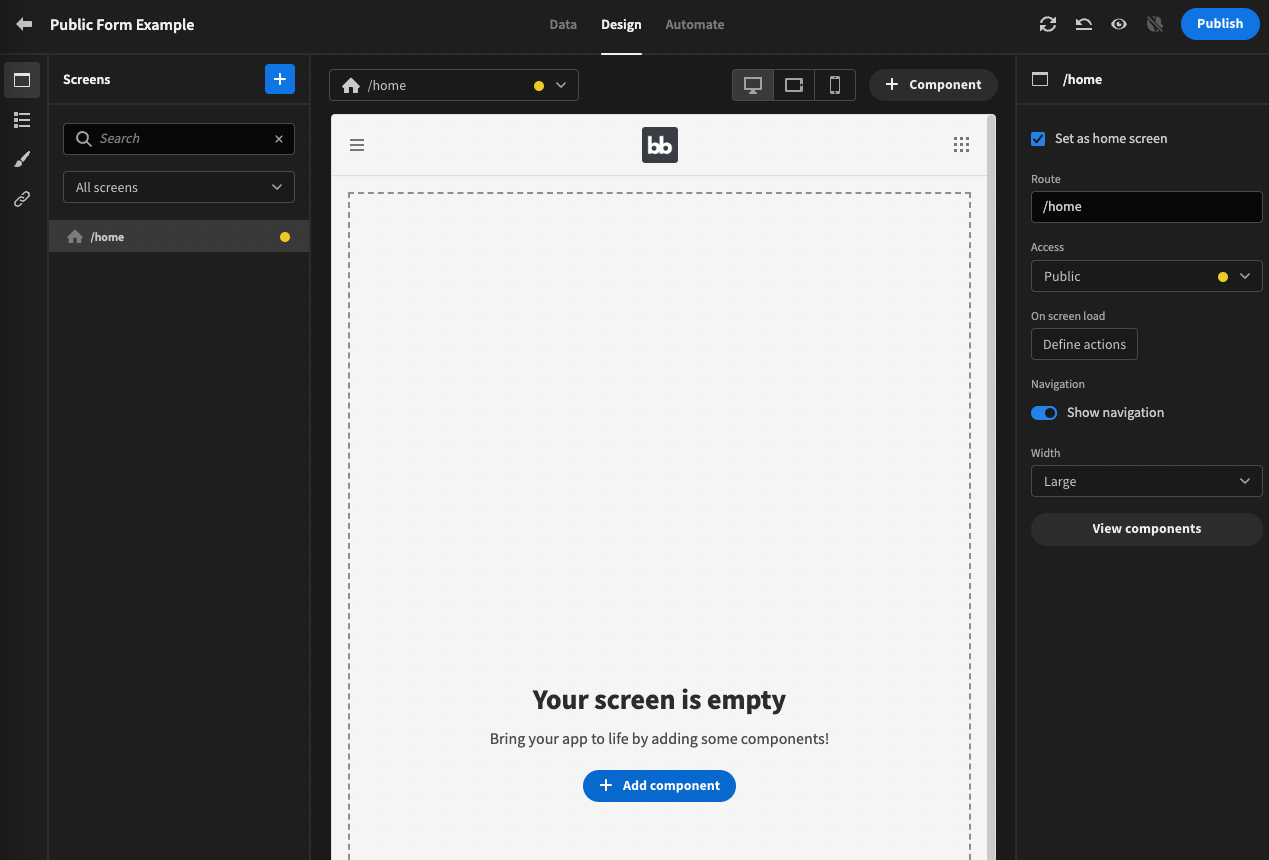
The next step is to change the access from Basic to Public. This can be done in the screen settings panel.
Your screen will now look like this:
Step 6. Build your public form
First, we will add a Form component. You will find this under the Form section. In the settings panel (to the right of your screen), under the Schema label, select the dropdown and select 'Public Form'.
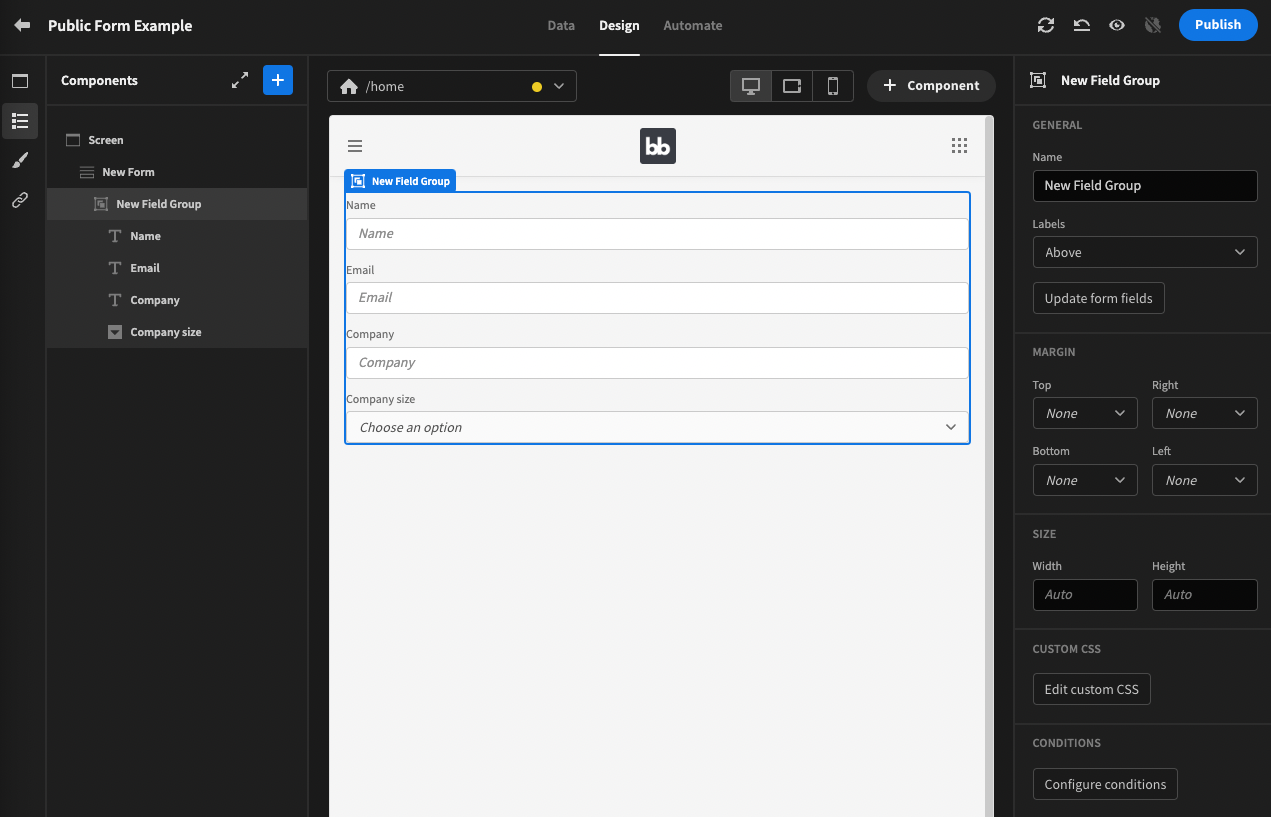
Now, add a Field group component (under the Form section). In the settings panel, click the 'Update form fields' button.
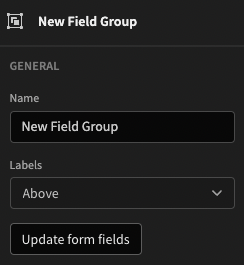
Then click 'Update'. Your screen should now look like this:
Step 7. Add and configure submit button
To complete the creation of our public form, we will add a submit button. Add a button component to your screen, and in the settings panel, under the Text label, update the button's text to 'Submit'.
We now need to tell our button what to do when clicked. To do this, under the label On Click, click the Define actions button. Now click the 'Add Action' button, and select 'Save Row'. Change the Data source to 'New Form' (the name of your form component in the tree) and Table to 'Public Form' (the name of your table). Click 'Save'. Our form is now fully operational.

Step 8. Style our new form
Our form is looking a little lustreless. Let's bring it to life with some style updates. First, we'll remove our navigation by clicking on the Screen tab, and then in the settings panel, toggle off Show navigation.
After removing the Navigation, go back to the Components tab, and follow the instructions below:
Resize our form and update spacing
Click on the root of the component navigation tree. In the settings panel, under 'Horiz. Align', choose 'Center'.
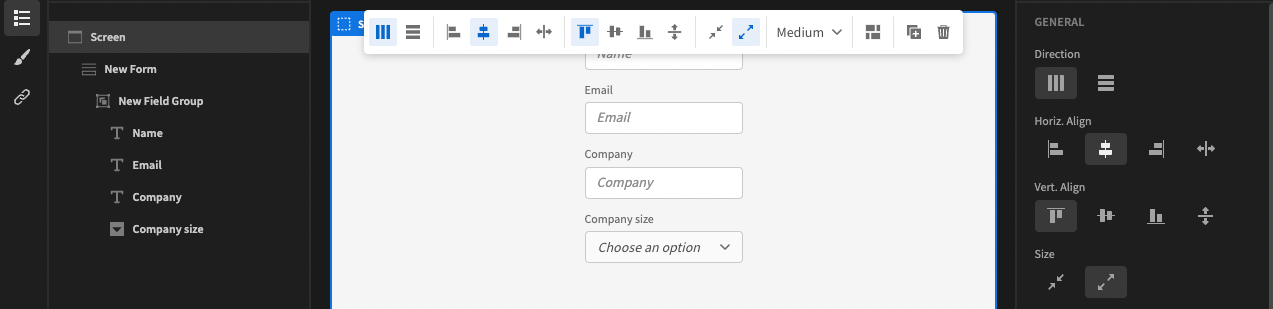
Click on our New Form component, and in the settings panel, change the Size to 'Large'.
Click on the component tree root and add a new container. Drag the form component into the container (within the component tree).
Click the 'New Container' component, and in its settings panel:
-
Under the Horiz. Align label, select 'Left'.
Under PADDING, change: -
Top to 64px
-
Right to 16px
-
Bottom to 128px
-
Left to 16px
Set your form component width to 100%.
Update the theme
- Click the Theme tab
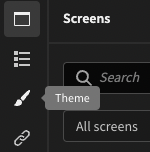
- Beside the 'Theme' label, drag the circle to the darkest setting
Add a logo, title and description to your container
Logo
- Add an Image component
- In the settings panel, under URL, link to your image. We will use this image
- Under Size, change the width to
48px.
Header
- Add a Header component
- In the settings panel, change the Text to
Contact sales - Update the Size to 'Large'.
Description
- Add a Paragraph component
- In the settings panel, under Text, add description text. We will add:
Please complete the form below and we will respond as soon as possible. - Change the Color to a lighter grey (see screenshot below)

Step 9. Preview and test your app
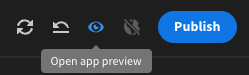
Click the Preview icon (highlighted in blue below) to preview your app.
Your new public form should look something like this:

You can now test your form. Fill out your form with the following information and click the submit button.
- Name -
Joe Bloggs - Email -
[email protected] - Company -
Budibase - Company size -
1001+
After submitting the form, if you navigate back to Budibase, and look at your Public Form table in the data section, you will see our test entry.

If you are happy with your form, you can now publish it.
Step 10. Publish your app
To publish your app, simply click the 'Publish' button, beside the preview button.
You will then be presented with an option to view the published app. Your new public form should look beautiful like the one below:

How to build a multi-step public form
Building a multi-step form follows the same process as building a single-step form, but involves a few additional steps as detailed below:
Step 11. Add Form Step components
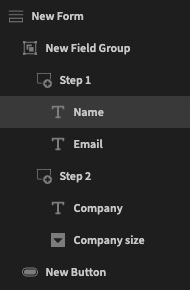
To turn our single-step form into a multi-step form, we must use the Form Step component. Click on the New Field Group component in your navigation tree, then add 2 Form Step components. After doing this, drag and drop the Name and Email component into Step 1; Company and Company size into Step 2.
Step 12. Change our button text depending on the step
For our first step, we don't want our button to say Submit, we want it to say Next. To do this, click the button, then click Configure conditions (at the bottom of settings).
What we want to do next, is tell Budibase to update our button text to say next if the current step is 1. To do this, we add the following values to our Conditions settings:
- Update setting
- Text
- Next
- Click the lightning bolt, and on the left hand side, select 'New Form.Current Step', and select Save.
- Equals
- Number
- 1
See the image below for guidance:

Click 'Save', and the Button should be updated.
Step 13. Tell our button to move from one step to the next
Our button currently has an action to Save a row, but we don't want to save a row for the first step. So, we will tell Budibase, when the user is on step 1, don't save, and instead, move them to the next step when the button is clicked. To do this, we must go back into our button Conditions, and enter the following:
- Update setting
- On Click
- Click the 'Define actions' button, then click Add Action, select 'Change form step'. Then change Form to 'New Form' (should be selected), and Step to 'Next Step'. Click 'Save'.
- Click the lightning bolt, and on the left-hand side, select 'New Form.Current Step', and select Save.
- Equals
- Number
- 1

Step 14. Preview and test our new public multi-step form
Click the preview button. In our form, enter Test for the name, and Test for the email. Click Next. Then enter Test for the Company and 1 - 10 for Company size, and press Submit.

After submitting the form, if you navigate back to Budibase, and look at your Public Form table in the data section, you will see our test entry.

Step 15. Publish your app
To publish your app, simply click the Publish button, beside the preview button.

Updated over 1 year ago