Custom plugins
Budibase allows no-code users to build apps quickly, with more functionality available with a little bit of inline code. Despite this, not every conceivable scenario can be covered by default - but that's where custom plugins come in!
Developers can write their own plugins for where custom datasources and components are needed. Some software development experience is required, however, the process for building plugins is designed to be streamlined and sleekly integrated into the Budibase platform.
Importing plugins
An admin user can see a list of your plugins under the Plugins section of the Budibase Portal. To get started using custom plugins, click "Add Plugin". Alternatively you can check our curated list of Budibase plugins, including data sources and components, contributed by the community.
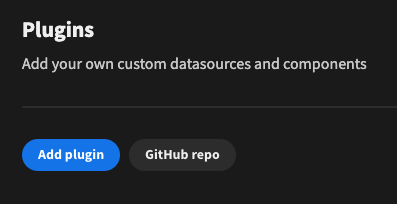
You can import a plugin by pressing the Add plugin button. This will display a dialog box from which you choose a Source.
Source name | Expected input |
|---|---|
URL | A URL path to a tarball, e.g. Allows authentication headers to be added if needed. |
NPM | The URL of an NPM package of a Budibase plugin |
Github | The URL of a Github repository, that has a tarball asset in the latest release. Allows a Github Token to be added for accessing private repositories. |
File Upload | Allows an admin user to directly upload a plugin tarball. |
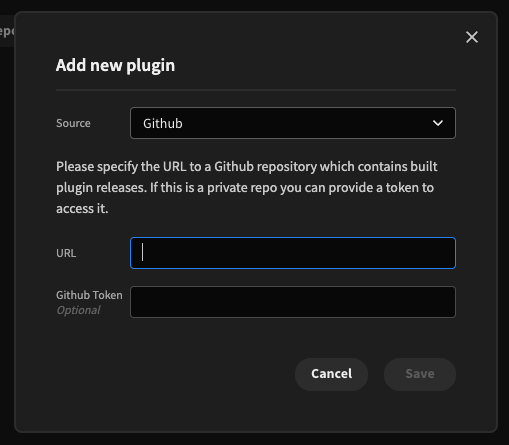
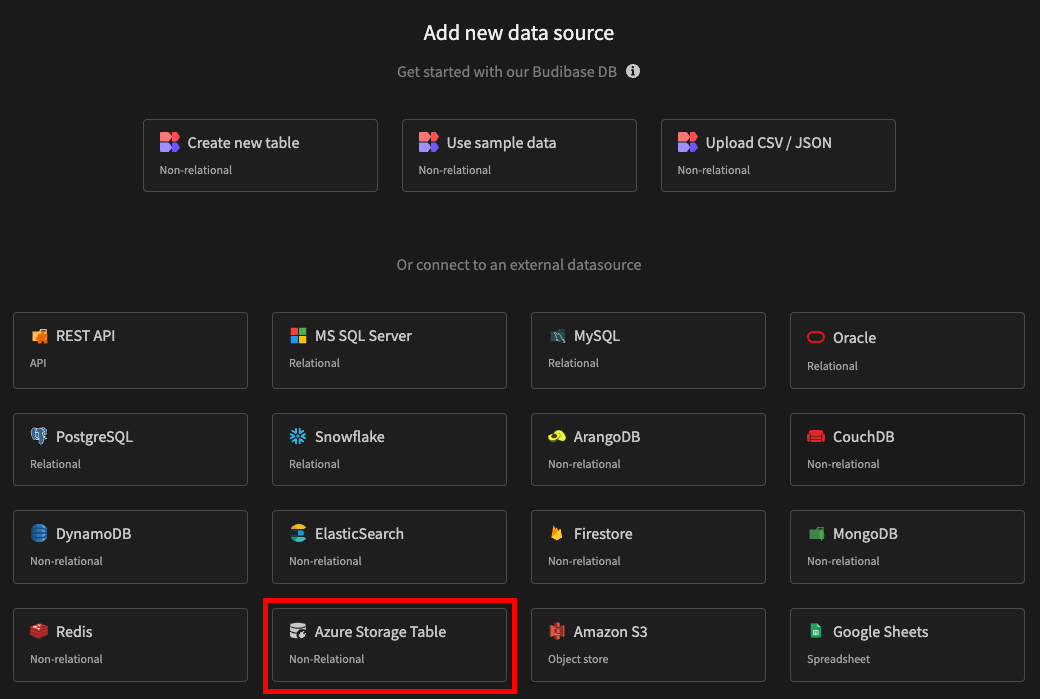
Once your plugin has been imported, you will now be able to make use of it within all of your apps!
In the case of a custom datasource, it will appear as a new datasource at the bottom of the Add datasource dialog and can be used just like any other data source.
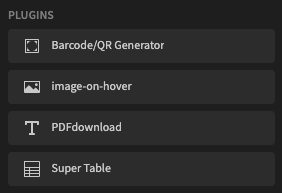
In the case of a custom component, it will appear in the builder components list under the Plugins section.
Cloud hostingWhile custom components can also be imported in the cloud environment, custom datasources can only be used in a self-hosted environment, for security reasons.
Hot reloading (developers only)
You must provide a path to your plugins folder so that Budibase knows where to import the plugins that you update while developing.
There are three main approaches to this, with the handiest being to run Budibase via the CLI. Alternatively, you can run Budibase via Docker compose or a local repository.
Budibase CLI
Make sure you have installed the latest Budibase CLI, and initialize Budibase.
If Budibase is already running, stop the service using the command:
budi hosting --stop
Add the plugins directory path using the command:
budi hosting --watch-plugin-dir /path-to-your-plugins-directory
Finally, run budi hosting --start and then do a yarn watch within your plugin repo.
Docker compose
Make sure you have installed the latest Budibase CLI, and initialize Budibase.
Add the plugins directory path (case sensitive!) to the app-service volumes of your docker compose file:
services:
  app-service:
    volumes:
      - /Users/<username>/Documents/MyBudibasePlugins:/MyBudibasePlugins
Next, update your .env file to include the relative plugins directory, e.g. PLUGINS_DIR=/MyBudibasePlugins
The
.envfile will be hidden within the same folder as yourdocker-compose.yaml.
Showing hidden files on Windows.
On macOS, pressCmd+Shift+.within the folder.
Finally, run budi hosting --start and then do a yarn watch within your plugin repo.
Budibase repo
Assuming you have cloned the Budibase repo and have it running locally, navigate to packages/server/.env and add the following variable:
PLUGINS_DIR=/Users/<username>/Documents/MyBudibasePlugins
Naturally, you should replace the value with the path to your plugins folder.
If your server is already running, you will need to stop it and then start it with another yarn dev so that the new environment variable is loaded.
You will also need to make sure you have run yarn watch in your plugin repo. See the custom component and datasource pages for more information on development.
Maximum number of plugins
On the free plan you can add a maximum of 10 plugins. Upgrade to unlock unlimited plugins.
A full list of pricing plans can be seen here: https://budibase.com/pricing/
Updating a plugin
To update an existing plugin, simply import a plugin with a matching name.
Currently, the versioning must be handled manually, where you can have multiple folders for each version of your plugin.
Deleting a plugin
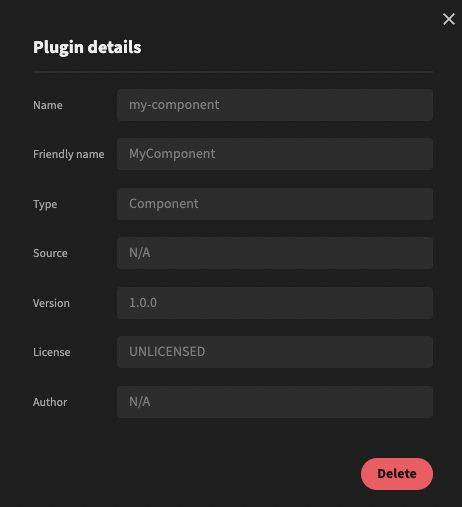
Click on one of the plugins from the plugins list. This will pop up a dialog from which you can press Delete
What’s Next
Tell your users what they should do after they've finished this page
Updated 5 months ago