Branching
With the release of V3 of Budibase you now can branch your automations. This allows you to create more complicated automations, removing the linear limitation in previous versions.
The automation branching feature introduces a powerful new way to control the flow of your automation processes. Branching dramatically improves flexibility and efficiency by allowing you to create multiple conditional paths within a single automation workflow. Instead of progressing through a linear sequence of steps, you can now define different paths based on specific conditions, enabling dynamic and adaptive workflows.
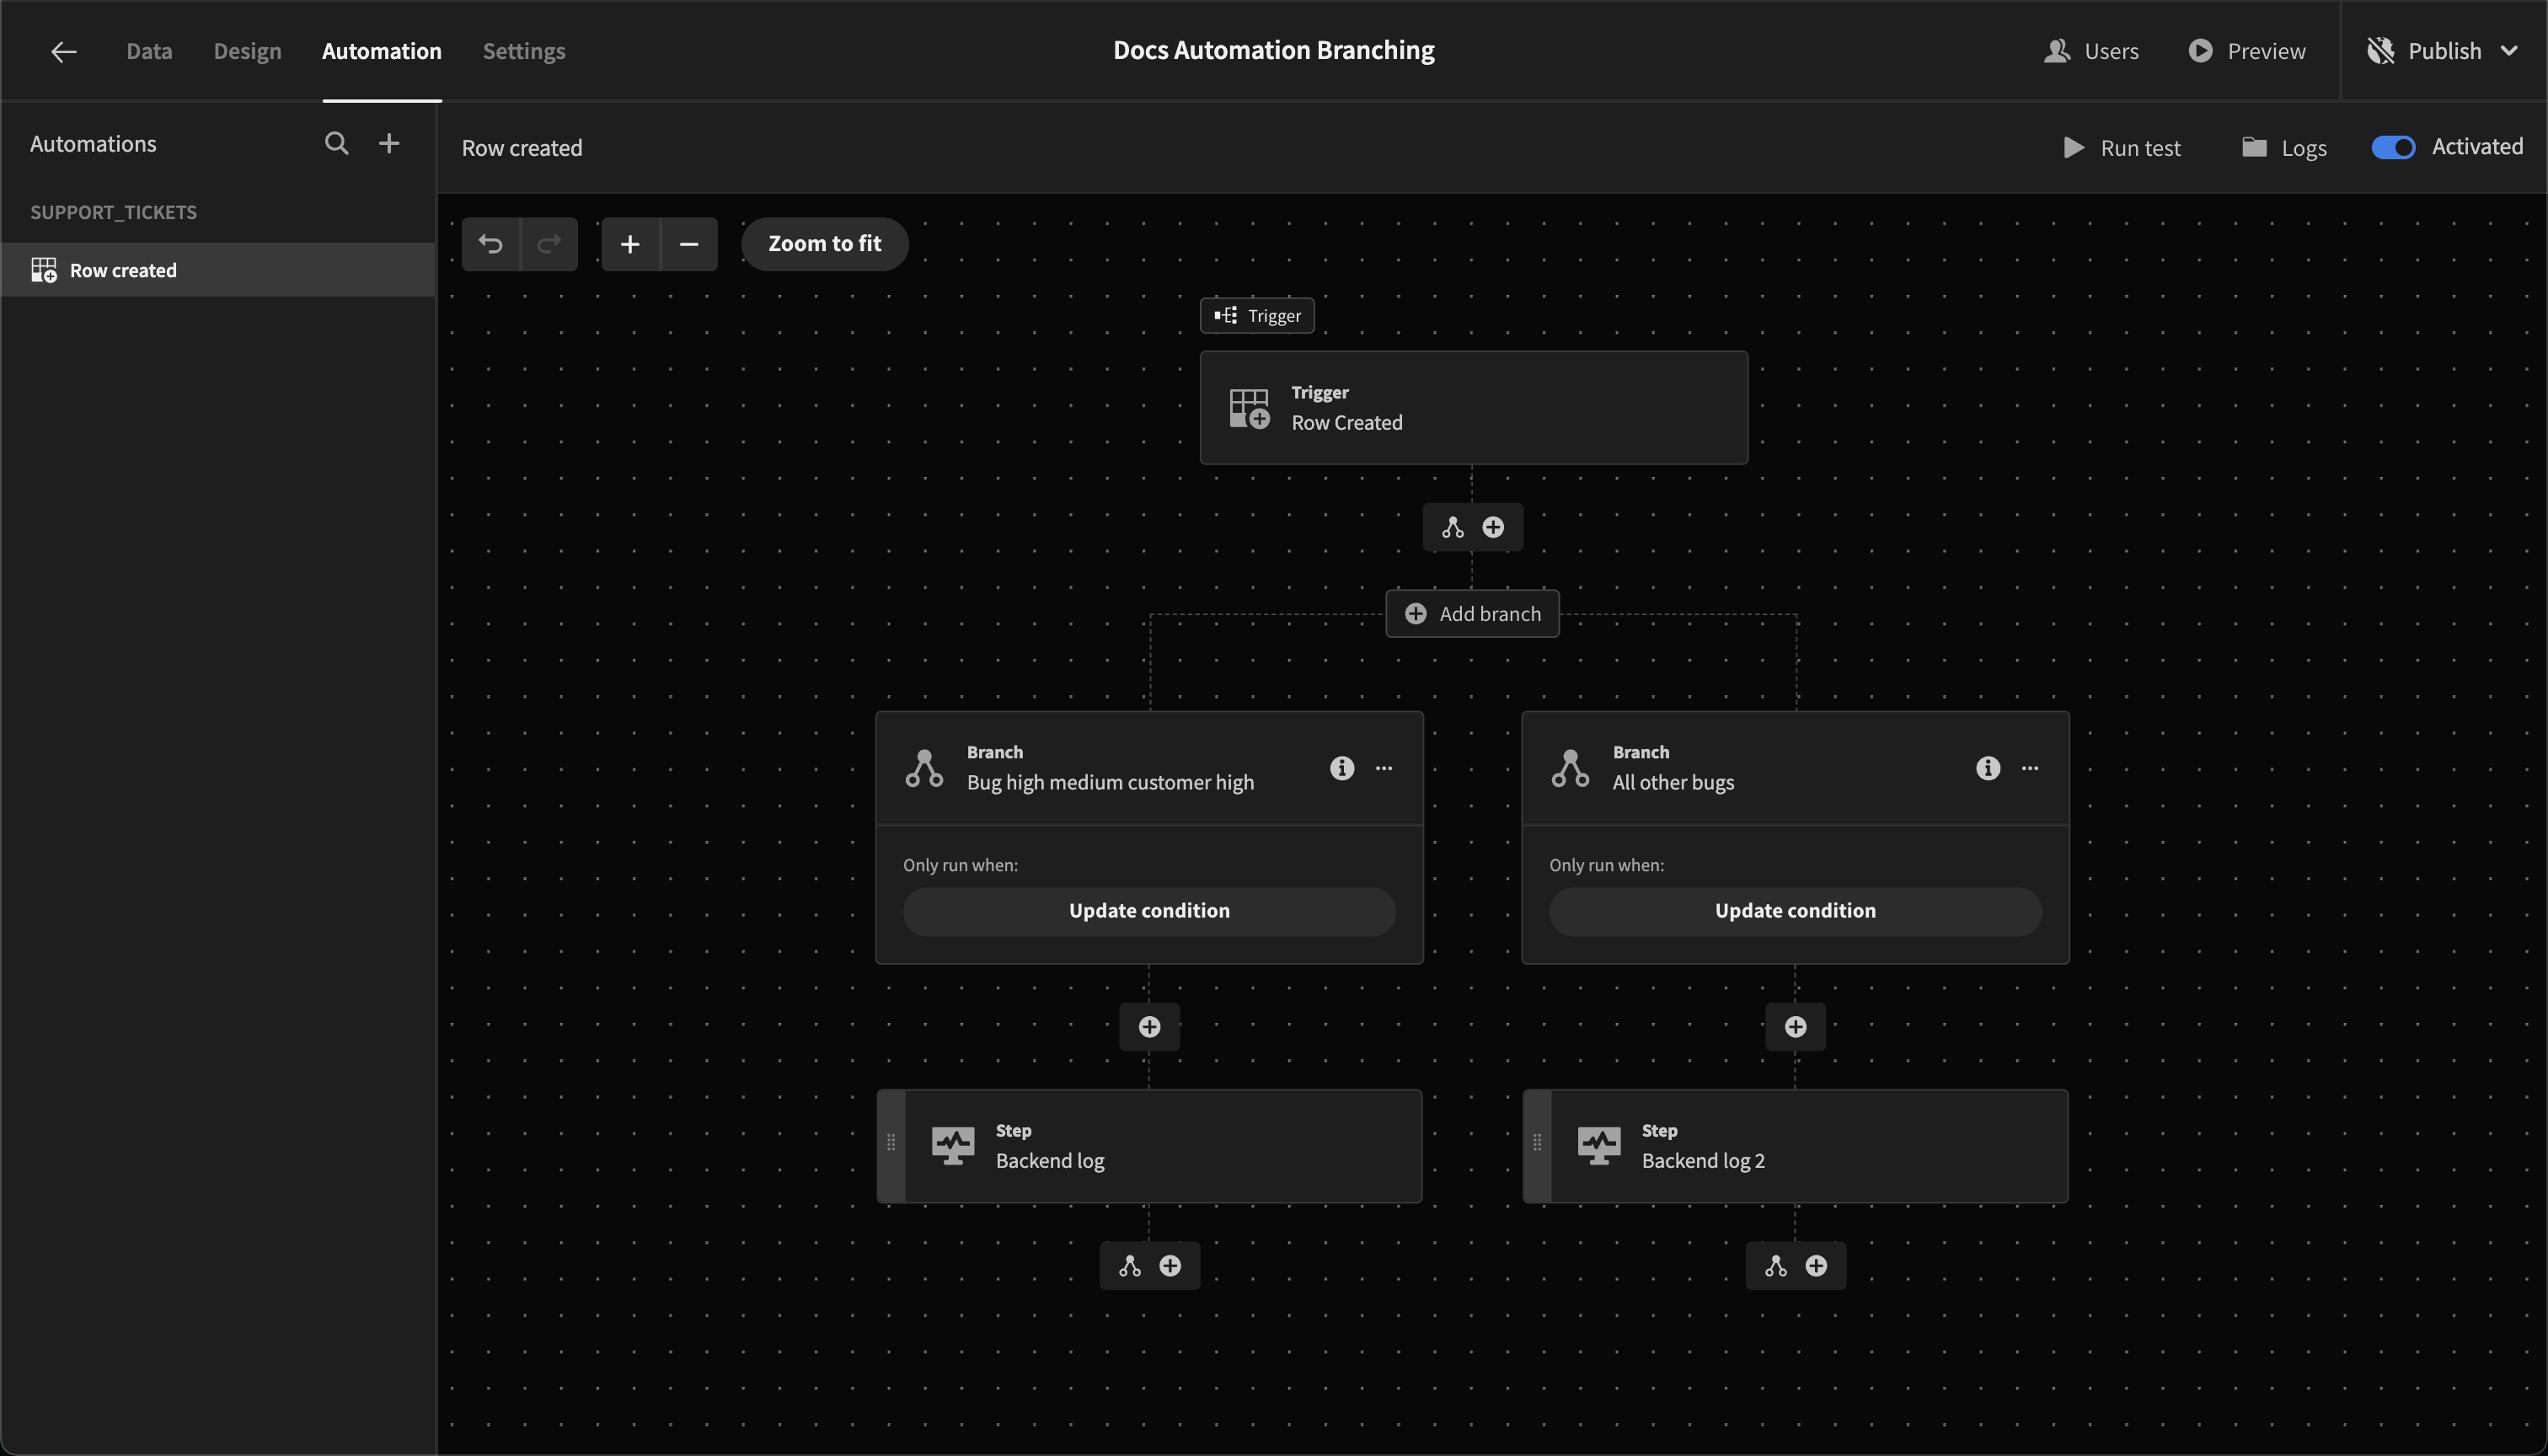
With this new feature, you can create branches by clicking the Branching Icon to the left of the "+" symbol on an existing step. This creates two branching paths that originate from the selected step. Additionally, an Add Additional Branch button allows you to add more branching conditions to the right of the existing branches. Each branch operates independently, with its own set of conditions that can be configured to control the automation flow.
Key features
- Create Multiple Conditional Paths: You can split your automation into two or more paths based on specified conditions. This mimics the behavior of conditional statements, providing flexibility to route different inputs or events down other paths.
- Add Additional Branches: Beyond just two initial paths, you can continue adding branches by clicking the Add Additional Branch button, allowing you to handle complex workflows with multiple potential outcomes.
- Configurable Conditions: Each branch has its own set of conditions configured by clicking the Add Condition button. This opens a modal with a dynamic filtering form, where you can compare values (e.g., if a value is equal to or not equal to a specified parameter) to determine the path that should be followed.
- Order of Execution: Arrows within the branching step allow you to change the order of conditions being evaluated. This ensures that you have control over which branch is checked first, giving you priority management for condition evaluation.
- Deletion and Tooltip: Branches can be deleted when no longer needed, and a helpful tooltip explains that "Only the first branch which matches its condition will run." This ensures users understand that the evaluation stops once a condition is met, preventing unnecessary steps.
Branching benefits
Greater flexibility: In older versions of Budibase, automation progressed linearly, where each step was executed sequentially without the ability to branch off into different directions. This often meant creating long, repetitive automation to handle different scenarios, which wasn't efficient and difficult to maintain. The new branching system in Budibase is more efficient as it allows the automation to split into multiple paths based on conditions, reducing the need for long, repetitive chains of steps.
The new branching system solves this by allowing the automation to split into multiple paths based on dynamic conditions. You no longer need to create long chains of steps to cover every possibility, which is done by setting conditions. This reduces complexity, saves time, and offers more powerful workflow customisation.
It supports complex use cases. The ability to add numerous branches means that you can design automations that handle highly complex use cases. Whether you need to route customer requests based on various criteria, trigger different actions depending on product type, or segment workflows based on user attributes, automation branching enables this level of complexity without requiring a cumbersome setup.
Branching Tutorial
In this tutorial, we will create a customer support ticketing system. The aim here is to use branching to route tickets to different teams based on various factors; type, urgency, and customer priority level. We will be using the internal Budibase data source for this tutorial
-
Create a table called Support_tickets
-
Create 5 fields
-
Title - text type field
-
Ticket_type - Single select
- Bug - Default to this value
- Feature request
- Enquiry
- Other
-
Urgency - Single select
- Low - Default to this value
- Medium
- High
-
Customer_priority_level - Single select
- Low - Default to this value
- Medium
- High
-
Notes - Long form text field

-
-
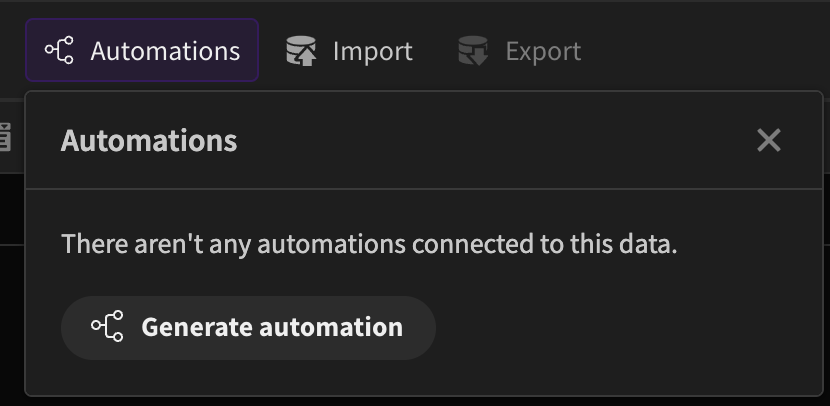
Click the Automations button shown in the above image
-
Click Generate automation
-
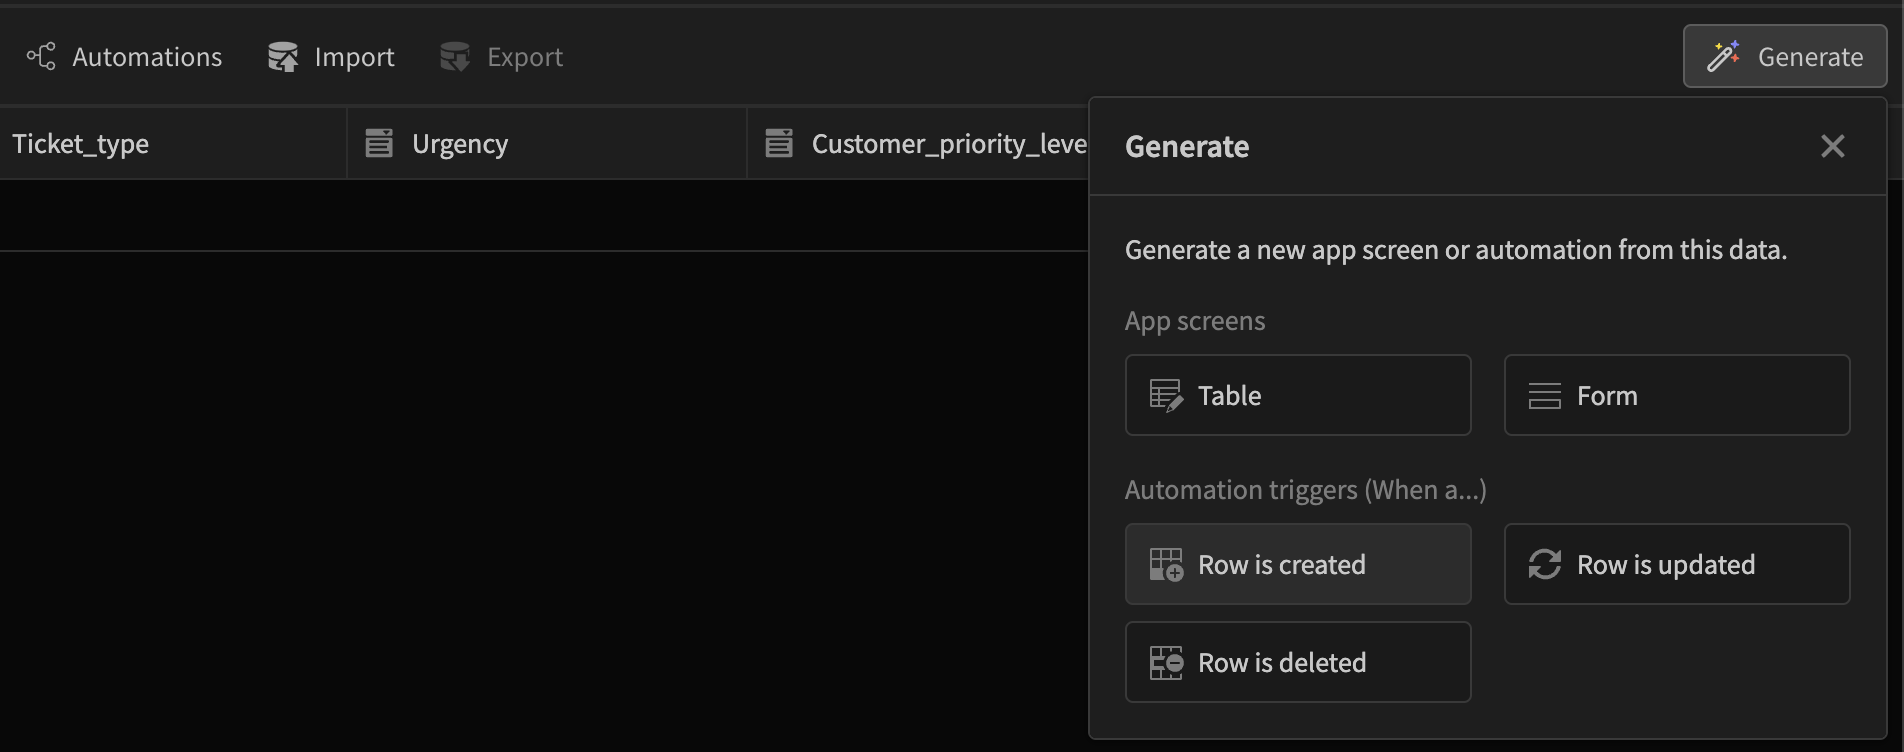
Click Row is created
-
You should now be redirected to the automations area with the correct automation type.
-
Now lets start setting up our conditional branches
-
Click the branching icon beside the + symbol
-
Add an extra branch (By default you start with 2)
-
Click the Add condition button to add conditions
-
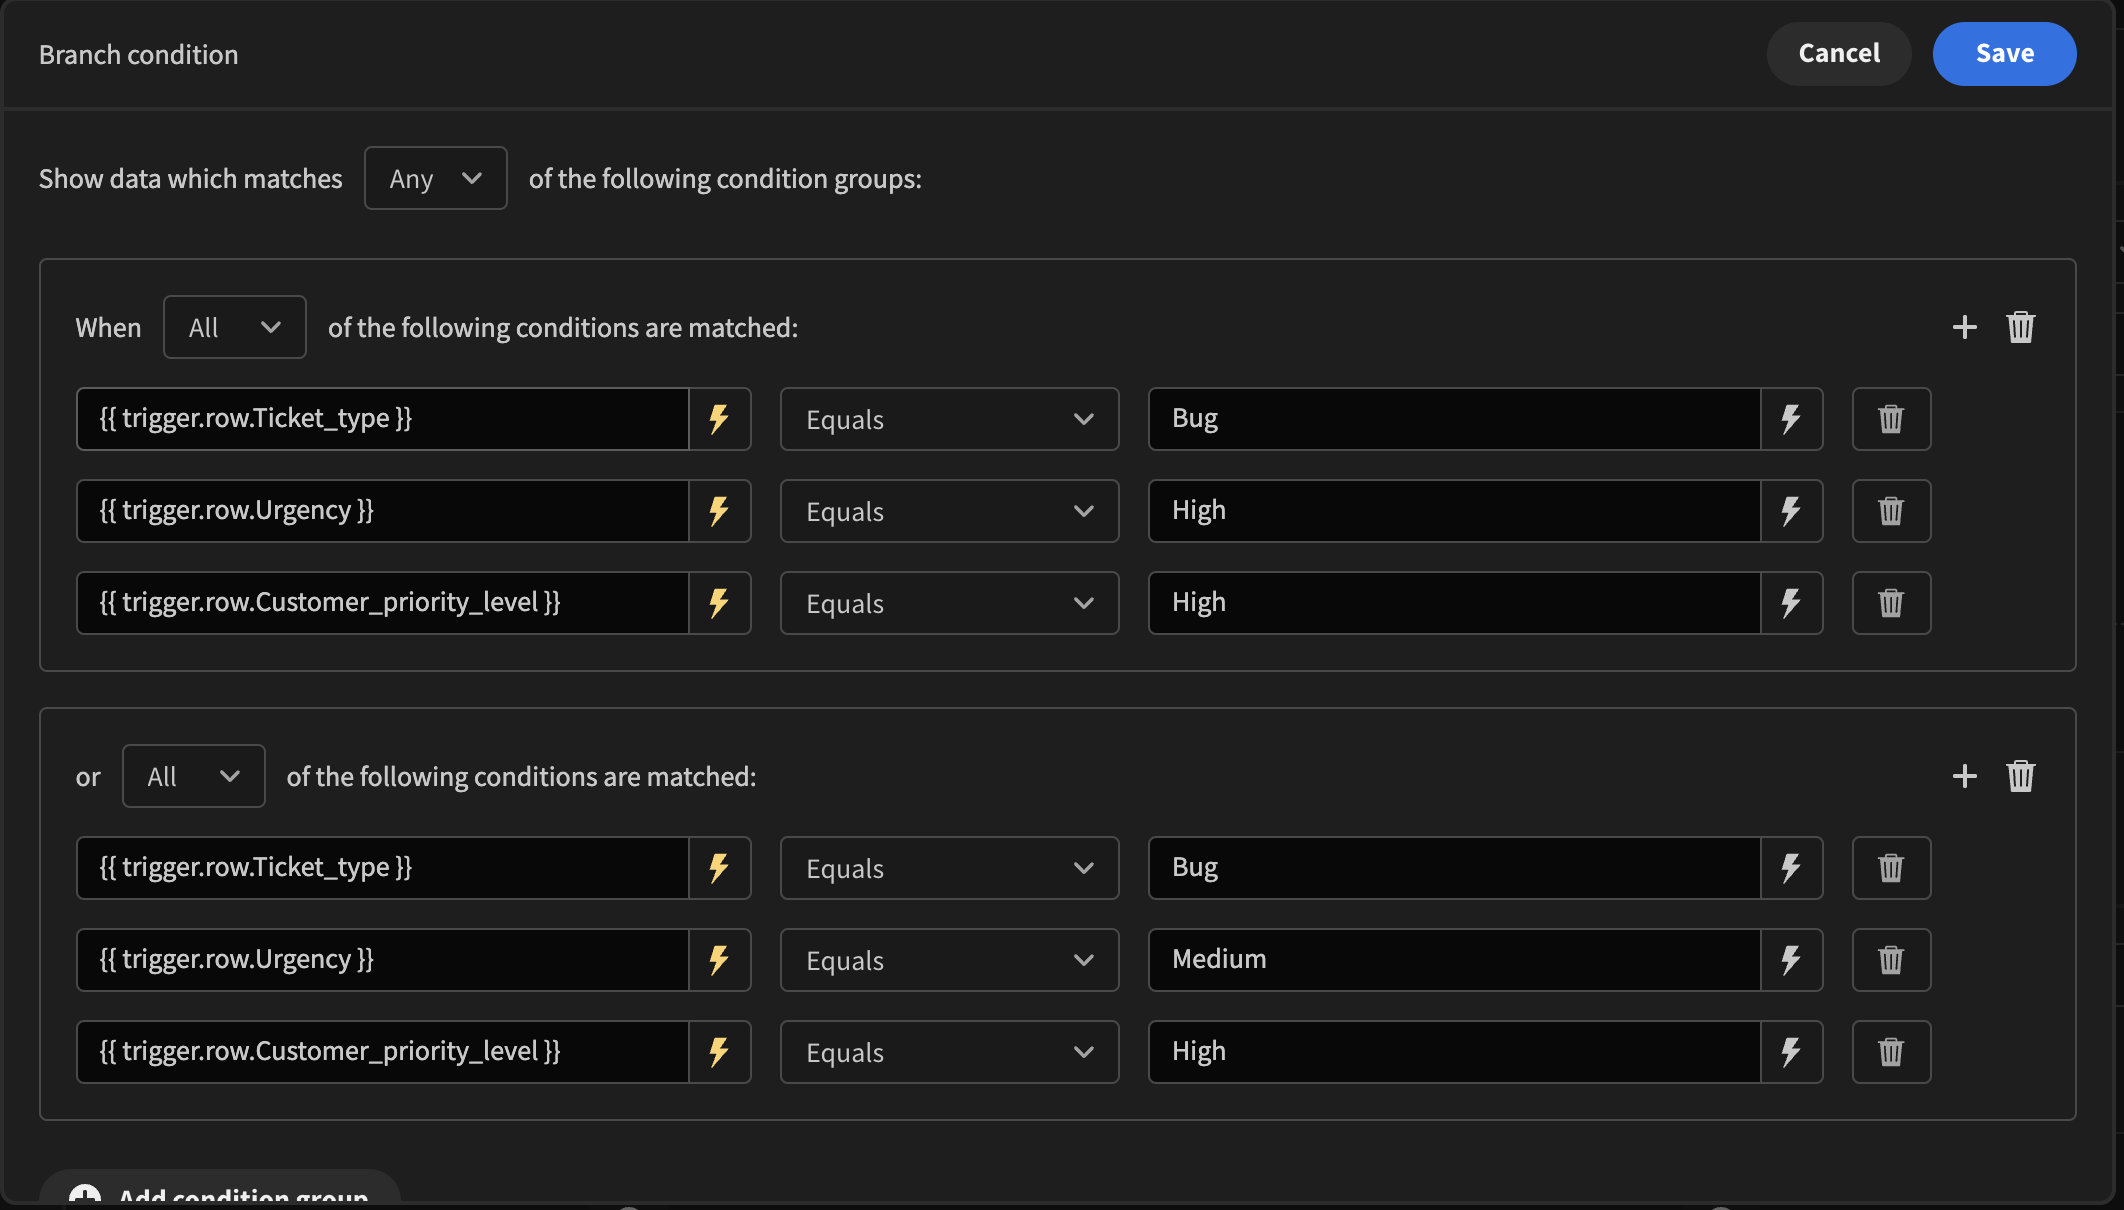
The first will cover bugs that are medium or high were the customer level is high
-
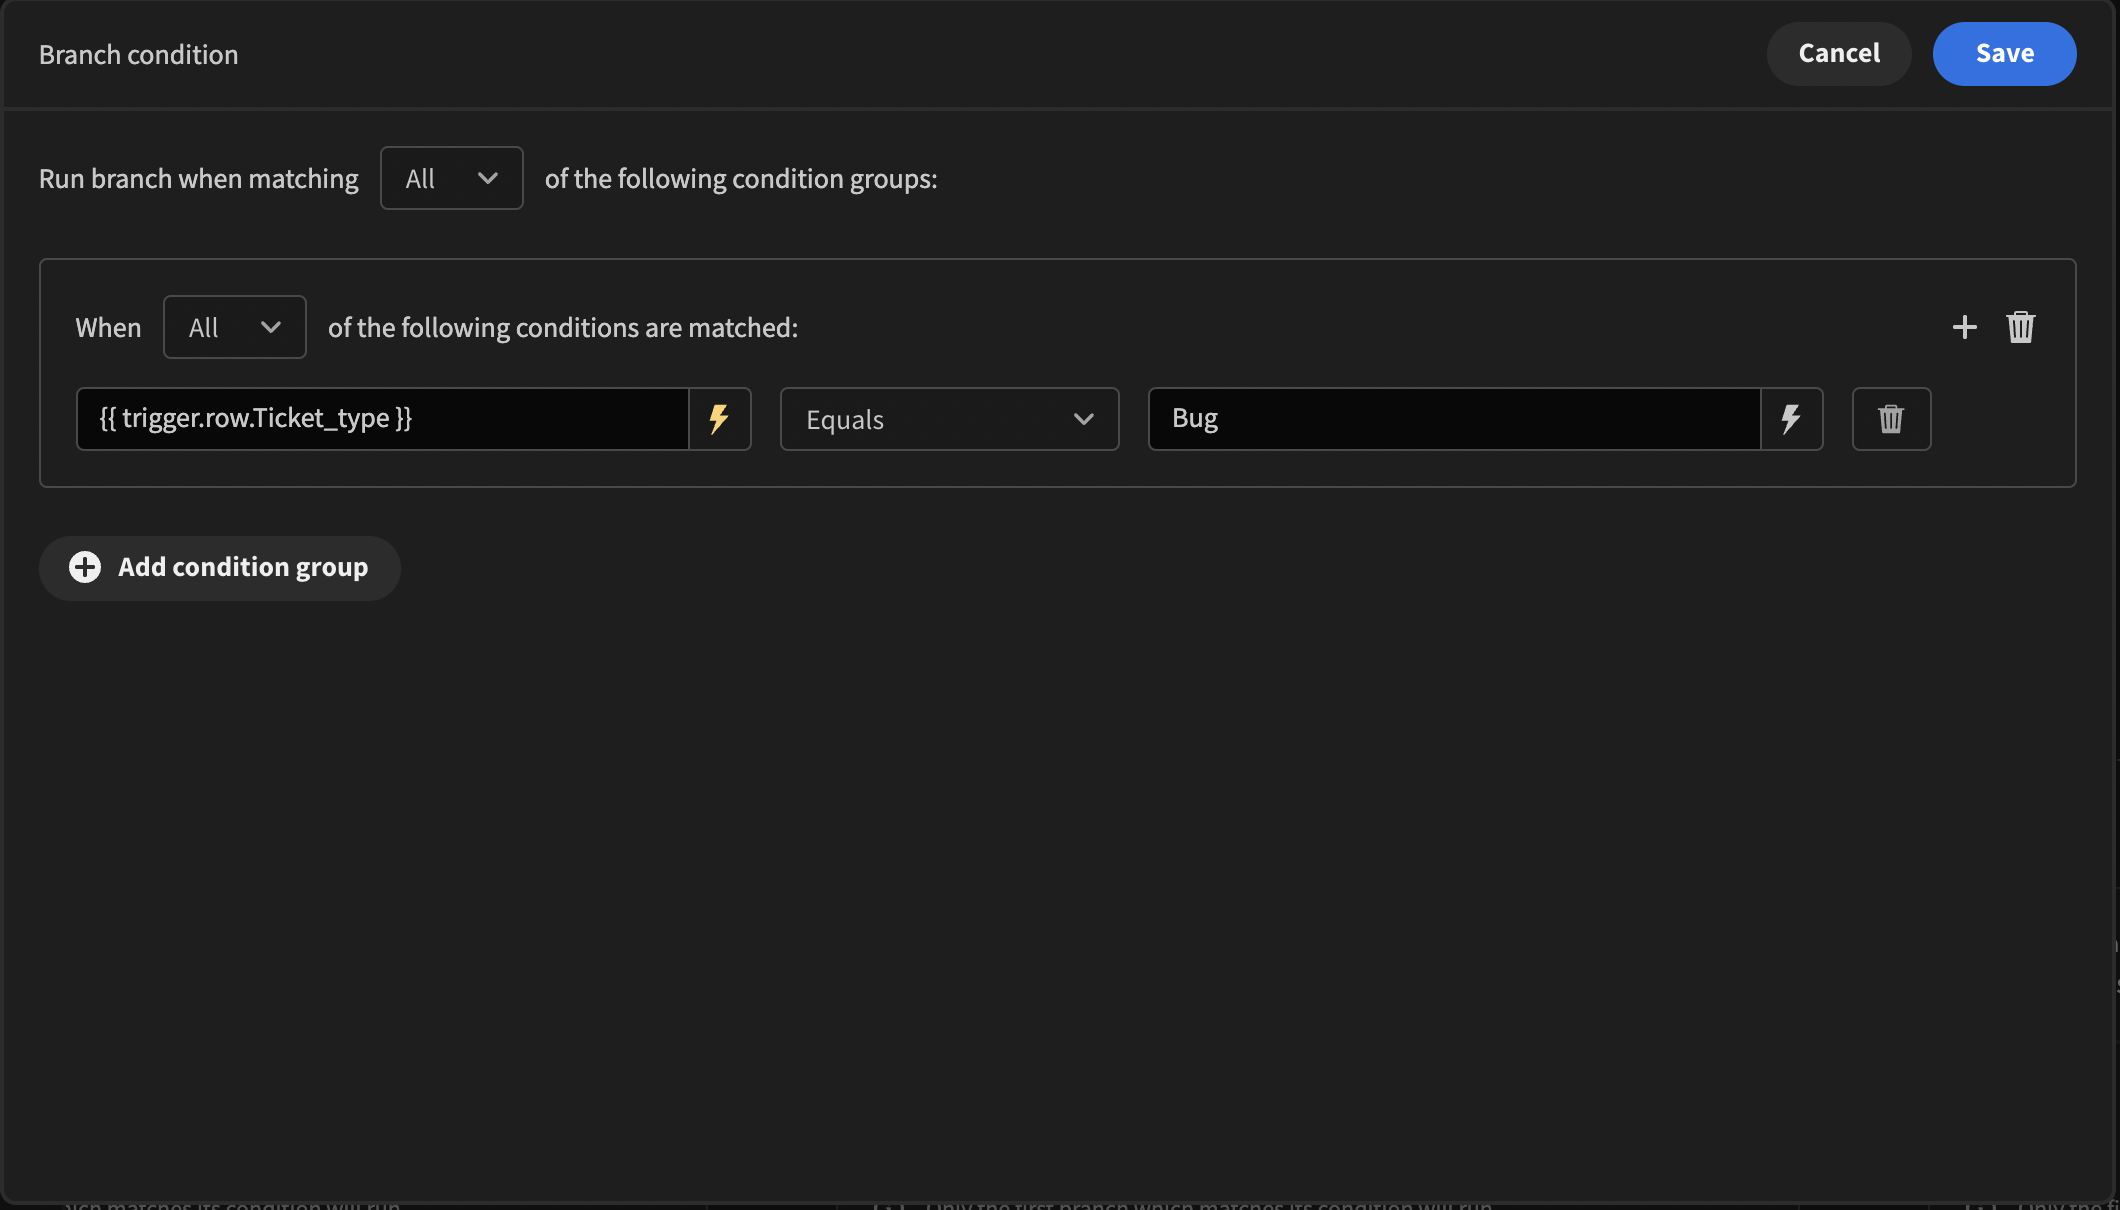
The second will be were any other bugs go through that don't match the above criteria
-
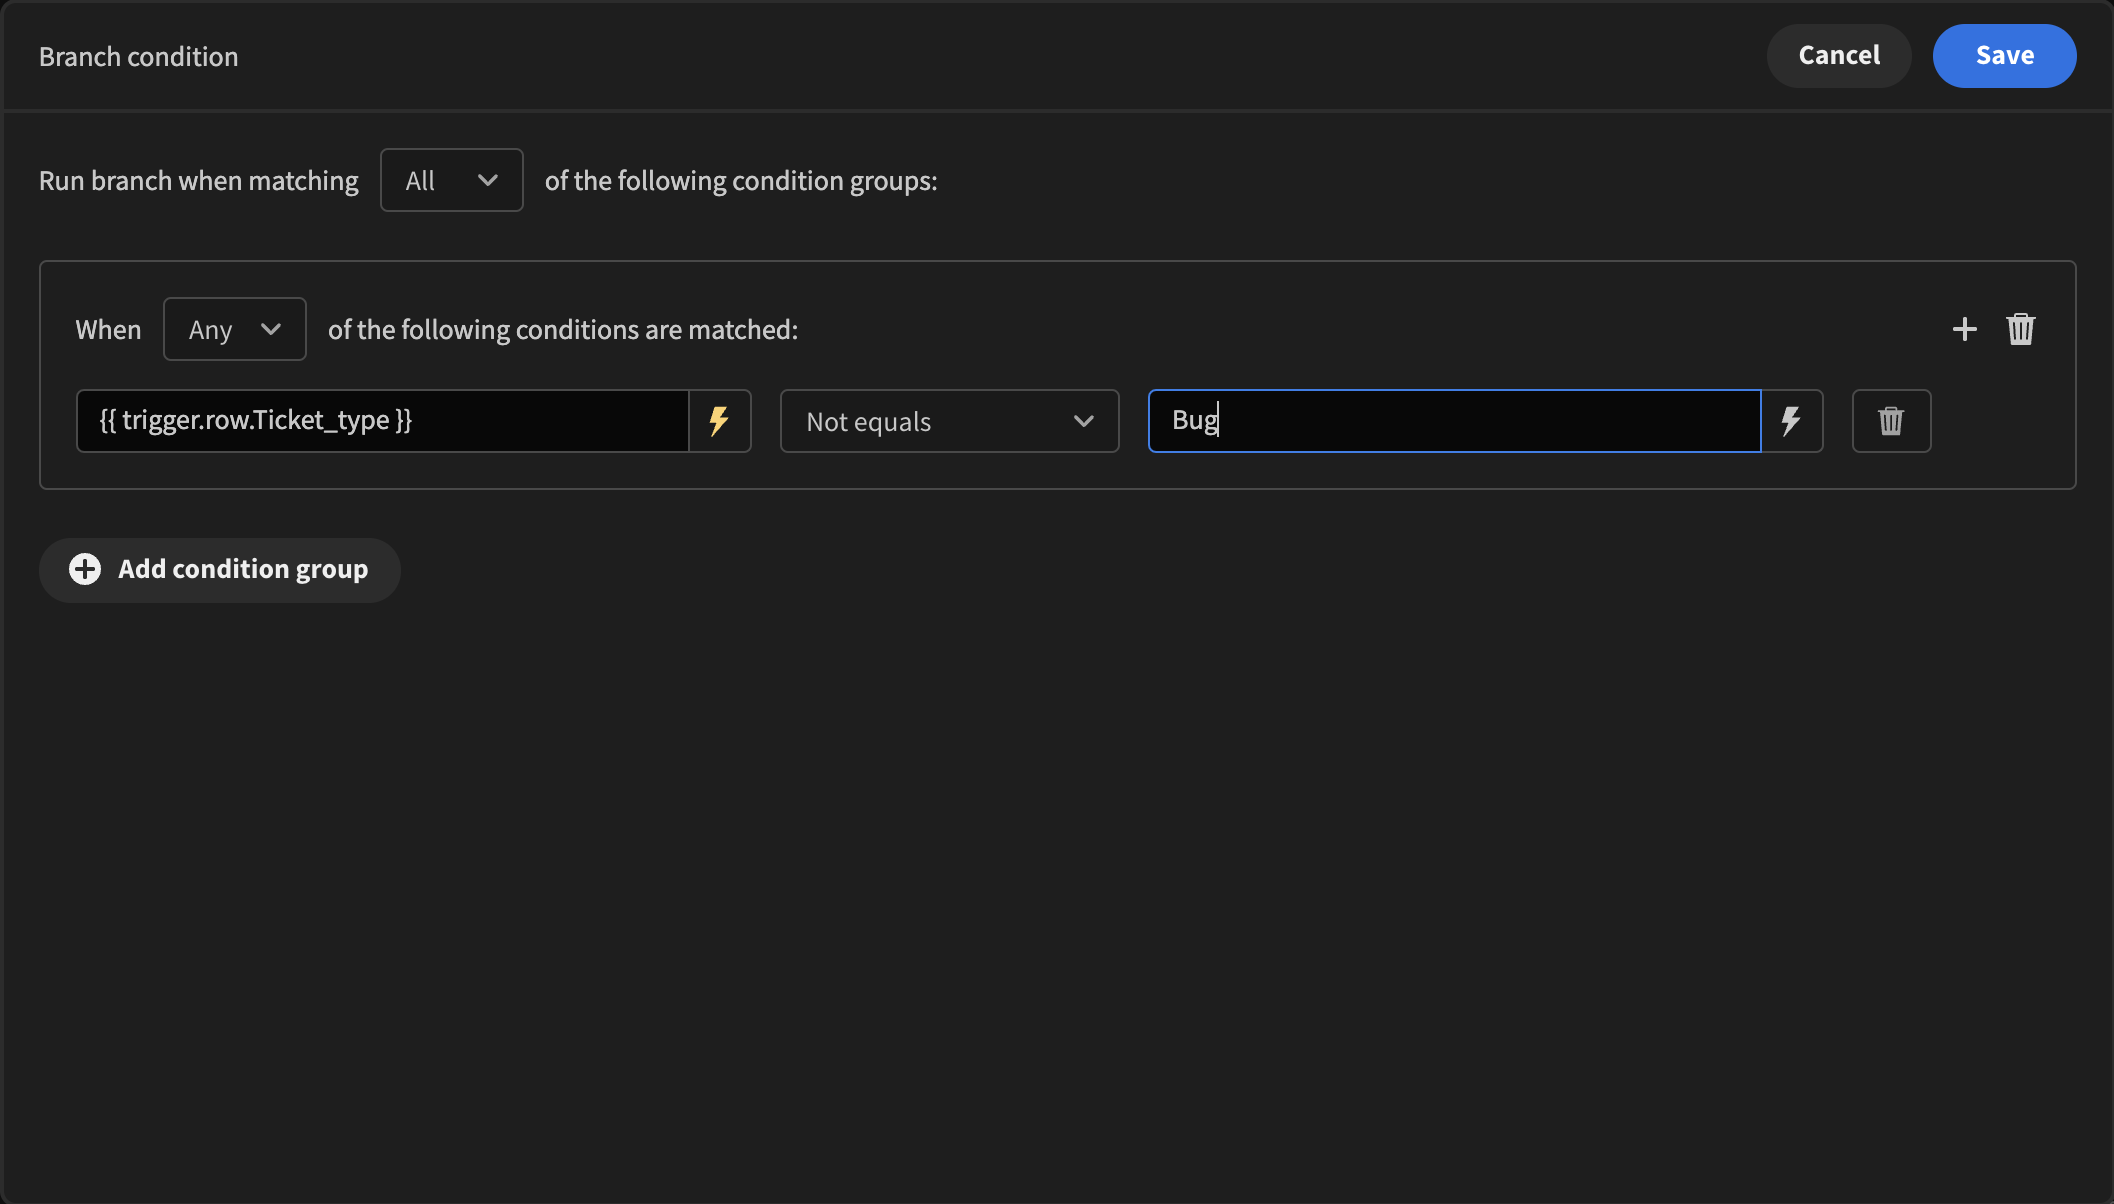
The last will handle any non bug related ticket submissions
-
-
Provide a descriptive name to each of the branches so you know what they do
-
-
For this tutorial I will just output a different backend log for each branch. You can add any step or run any process here e.g. email, updating a row or even triggering a different automation to handle a specific flow.
- Add different text to each backend log
-
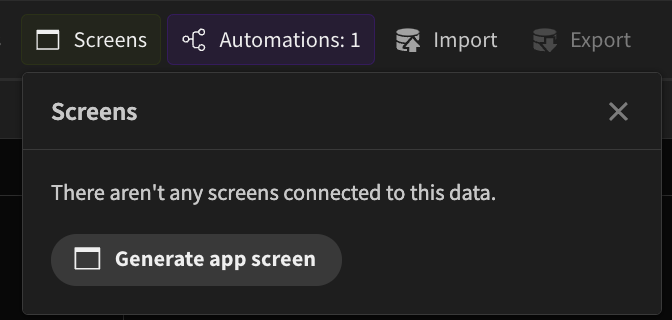
Head back to your data area and click screens in your table
-
Click Generate app screen
-
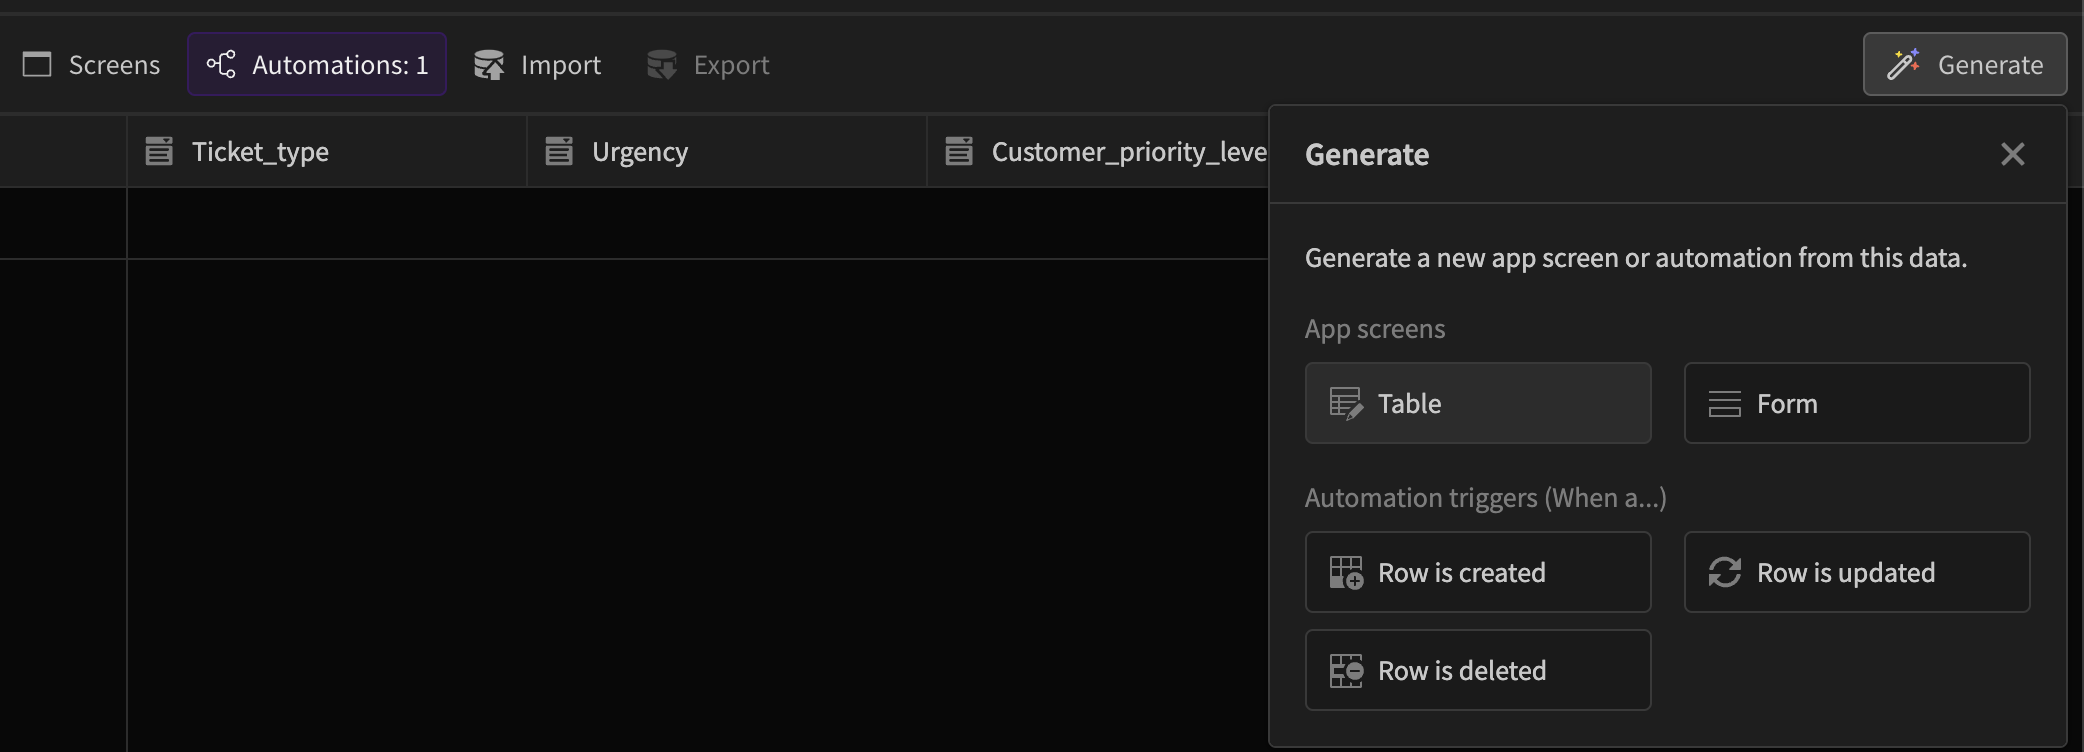
Click table
-
Click side panel and then click done
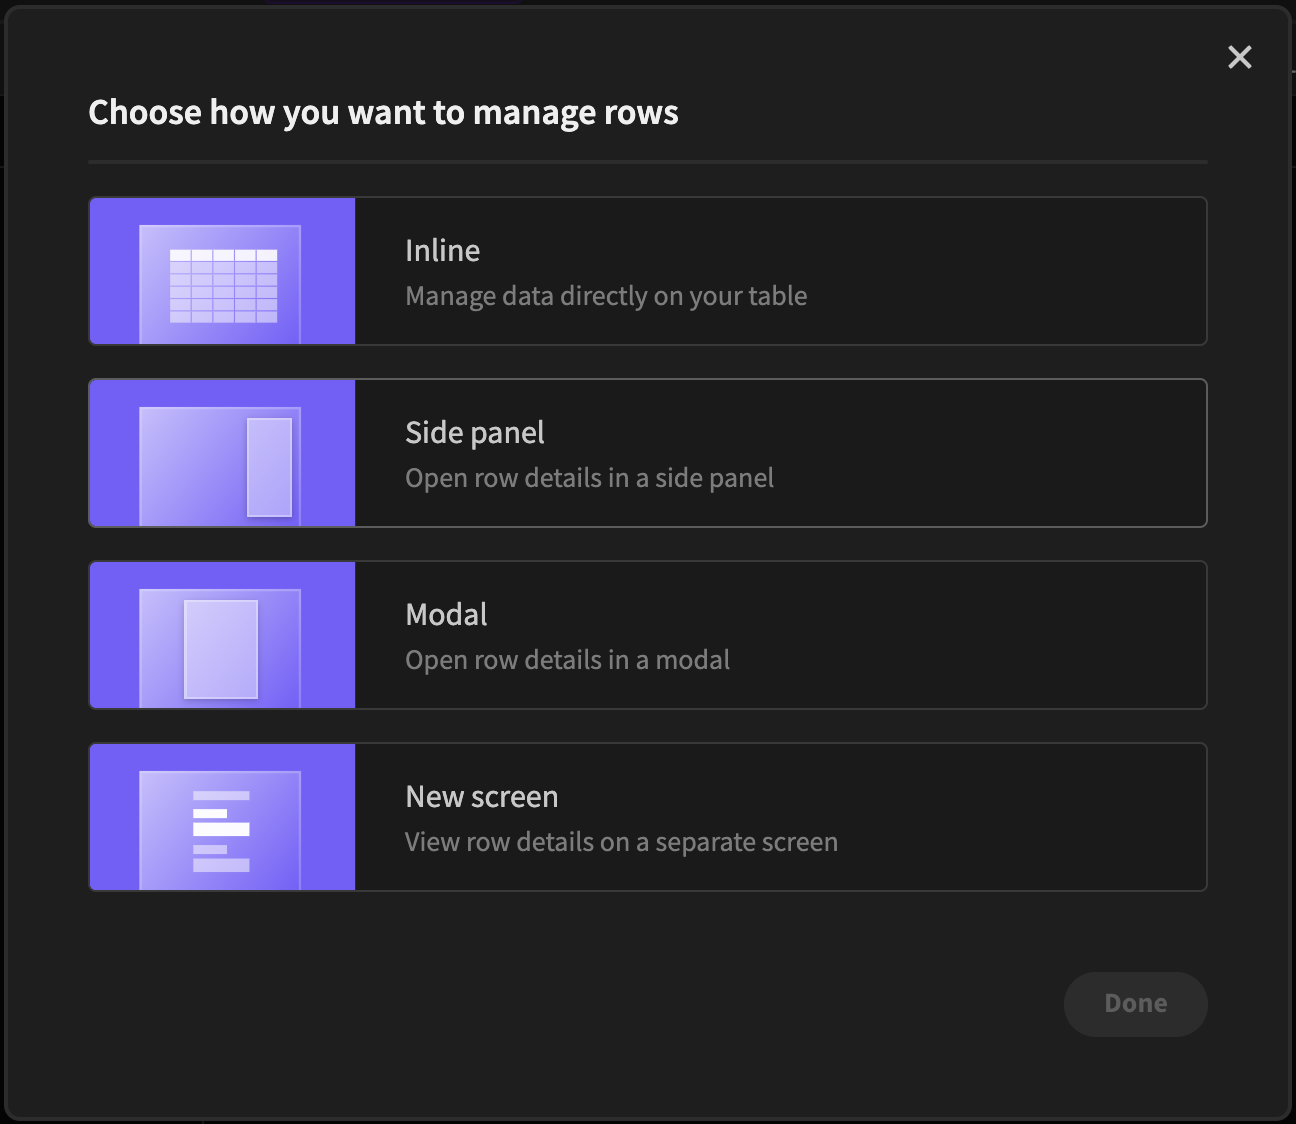
-
This will bring you to an app screen were it has auto generated a screen.
-
Click publish at the top right of your screen and then click the button publish inside
-
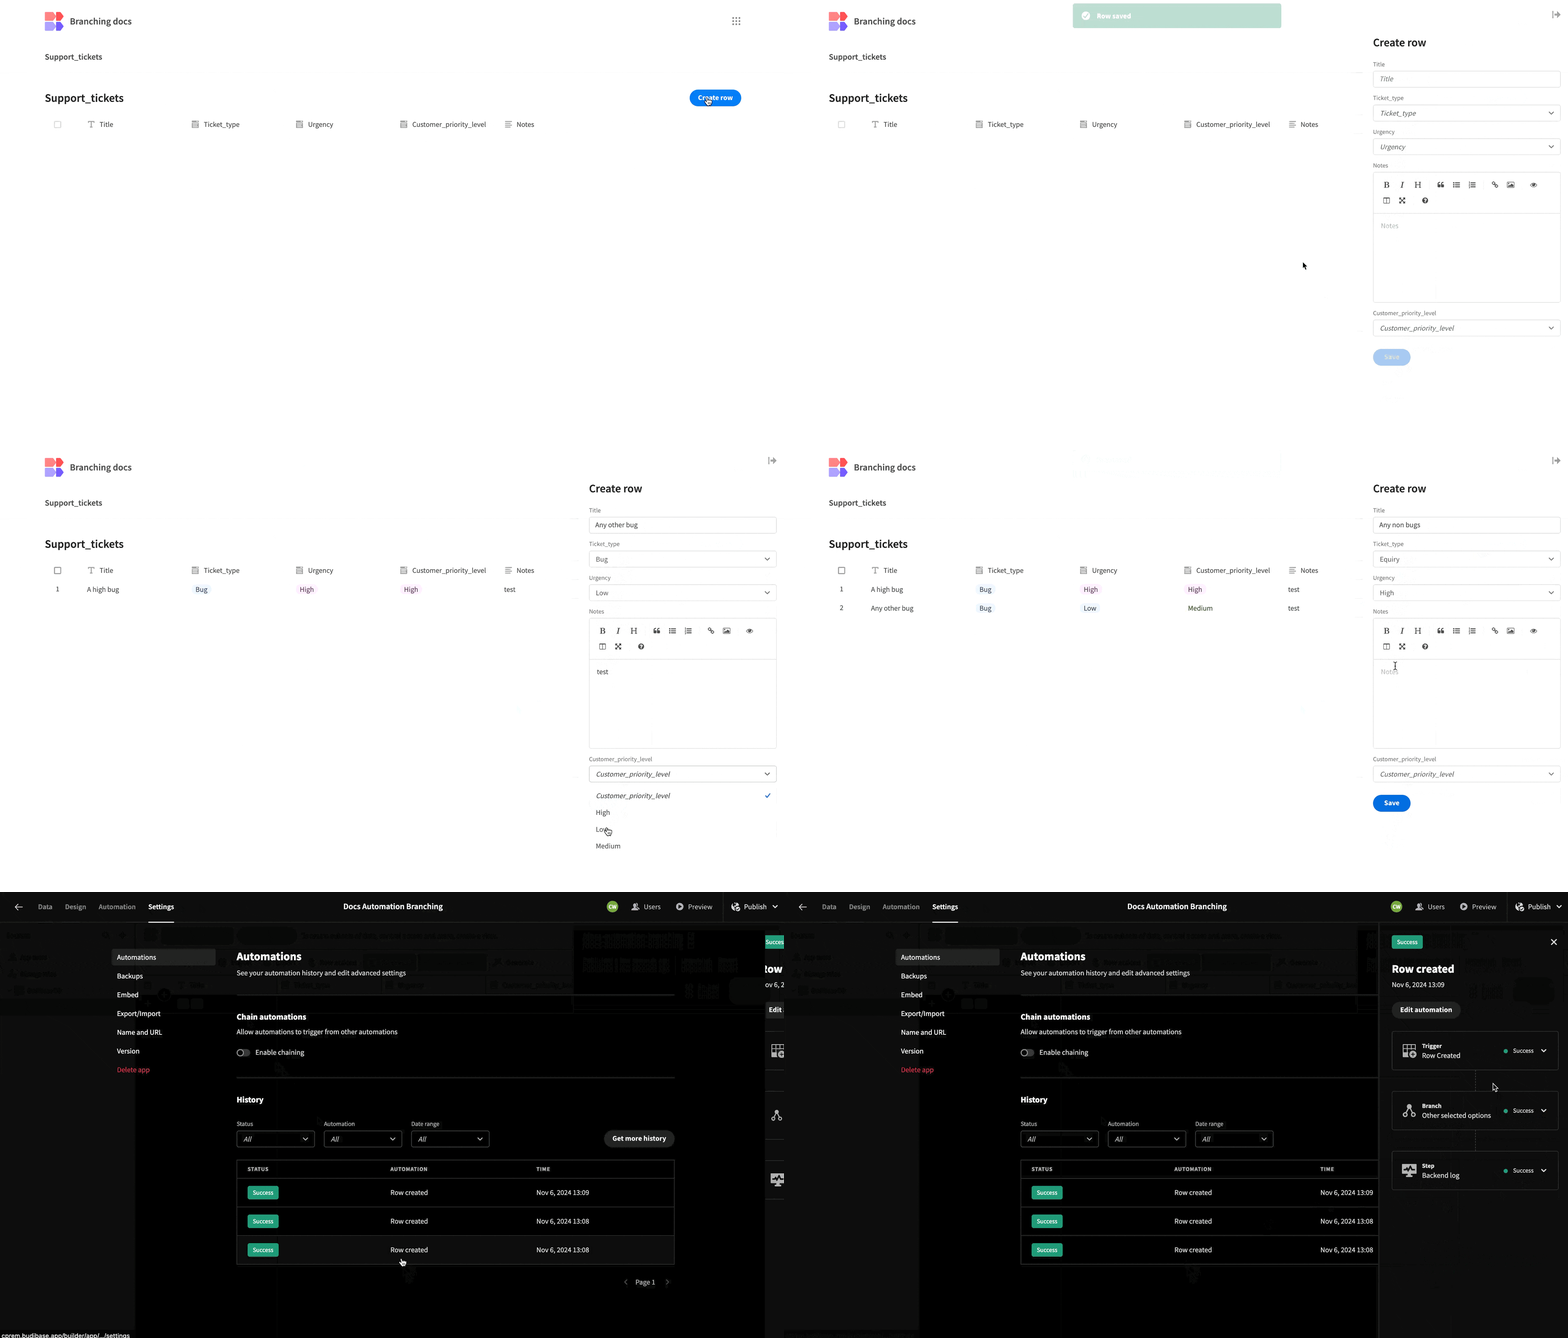
Navigate to your published app and create 3 different records
- The first a bug that is High and is for a high customer. This should go output the first branches backend log
- Create a bug thats high but for a medium customer. This should go output the second branches backend log
- Create a support_type of anything other than a bug. This should go output the last branches backend log
End result
Updated 5 months ago