REST queries
Creating a new request
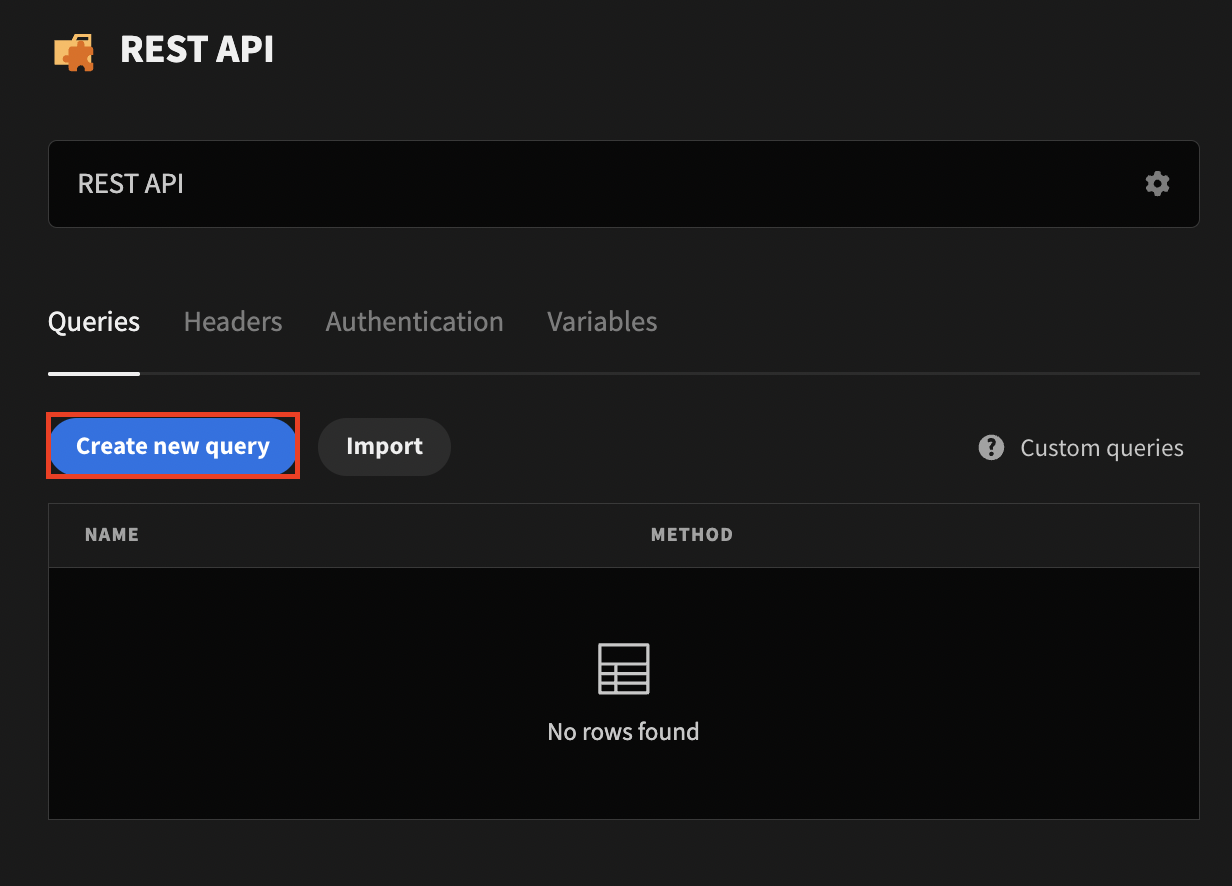
First, create a REST datasource if you do not have one already. For more details, see: REST. Click the Create new query button to open the query editor.
Name your query
Give your query a recognizable name that will appear in the datasource navigator. For example, a query that retrieves a list of applications could be called applications.

API endpoint URL
Enter the URL of the API endpoint you are using. The URL is the requested resource including the protocol, domain name, and path.

If you are trying to connect to a service on the same host, please look at this page: docs.docker.com/desktop/networking
Method
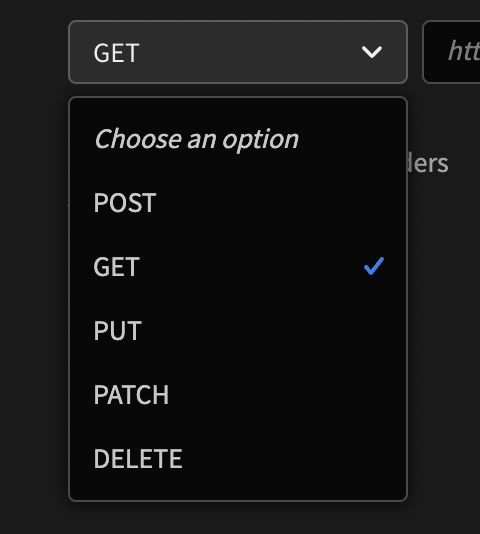
Select the HTTP method used by the API endpoint you are using.
- GET retrieves data from an API.
- POST sends new data to an API.
- PATCH and PUT update existing data.
- DELETE removes existing data.
Access level
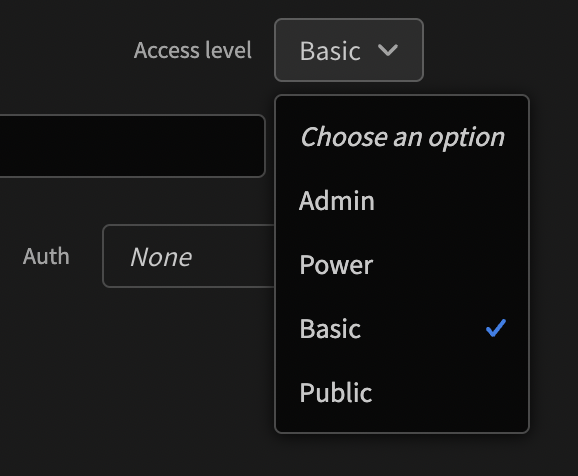
Select the access level required by the logged-in end-user. If the user visits a page where a query is executed and the access level is beyond the scope of the user's access the query will not run.
Params
URL parameters can be configured in the params tab.
- Parameters are appended to the end of the request URL, following ? and listed in key value pairs, separated by & using the following syntax: ?status=all&other=value
- Parameters can be hardcoded or they can use bindings or variables.

Bindings
Use bindings to supply additional information to the query at runtime. Using the example from above we can replace the hardcoded value of all with a binding named status that has a default value of all. Now we can change the value of status by supplying it from within an application using the query.

Headers
Use headers to supply key-value pairs accepted by your API.
- Switch the Active toggle to off to prevent the headers from being sent while keeping it's configuration.
- Headers can be hardcoded or they can use REST Bindings or REST Variables.

Body
Use a request body to send information to an API endpoint.
- The Content-Type header will automatically be set when using:
- raw(JSON) / application/json
- raw(XML) / application/xml
- raw(Text) / text/plain
- If you manually select a Content-Type header, that value will be overridden by the body type
- The body can be hardcoded or it can use REST Bindings or REST Variables .

Transformer
Transformers can be used to augment the format of the returned data.

Authentication
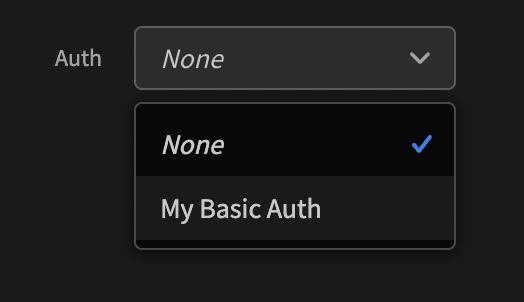
Preset authentication strategies configured at the REST data source level can be used to authenticate queries. For more information on using REST Authentication.
Sending the request
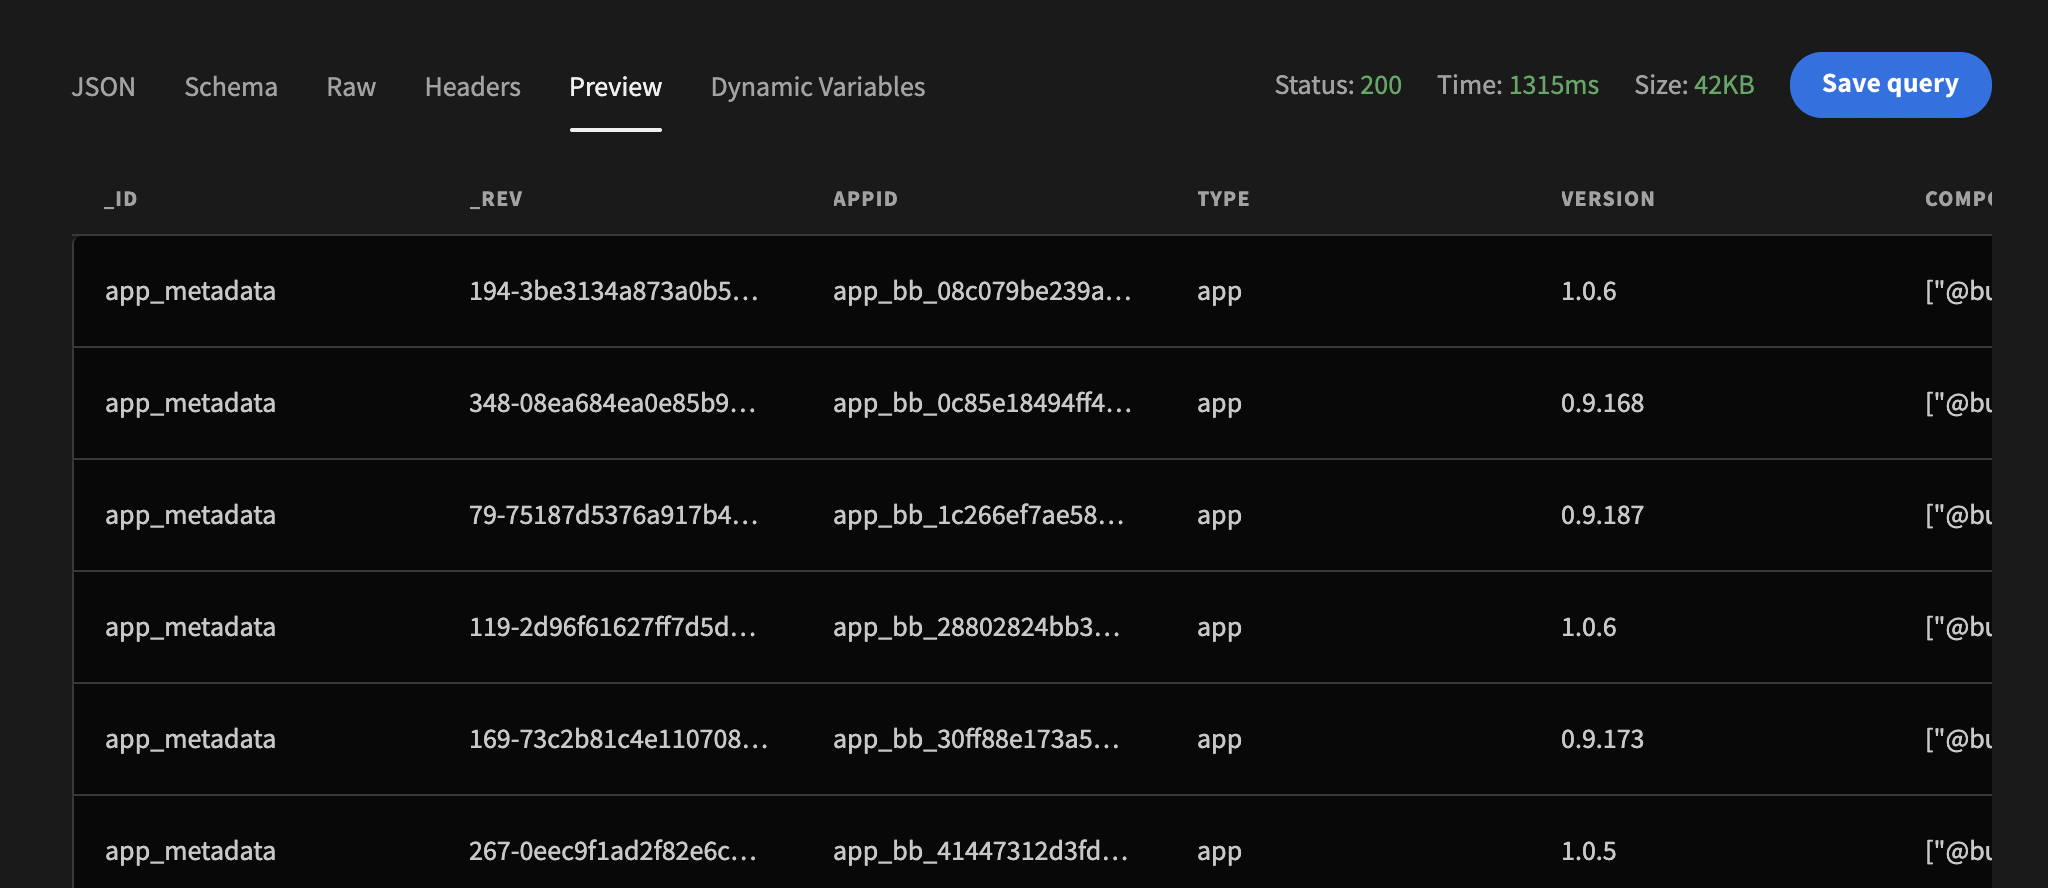
When your query is crafted you can use the Send button to preview the results of your query. When your query has been successfully executed you may save the query using Save Query
Posting form data to a REST query
If you have a Form setup in a screen, you can pass bindings through to a POST query to handle a submission.
This is done in a similar manner as posting form data to a custom query.
Using response data
When your query is crafted you can use the Send button to preview the results of your query. When your query has been successfully executed you may save the query using Save Query.
The saved query can then be used as the data source of a Data Provider or by the Execute Query action.
Modifying the schema
The response schema may be updated by:
- Adding or removing fields
- Changing the data type used when displaying the result in tables

Creating dynamic variables
The response schema and headers can be used to create dynamic variables. For more information on static and dynamic variables see REST Variables


Displaying nested data
If you REST query returns an array of objects, Budibase will automatically generate a nested schema. This allows you to display related nested data in a table or any other format.
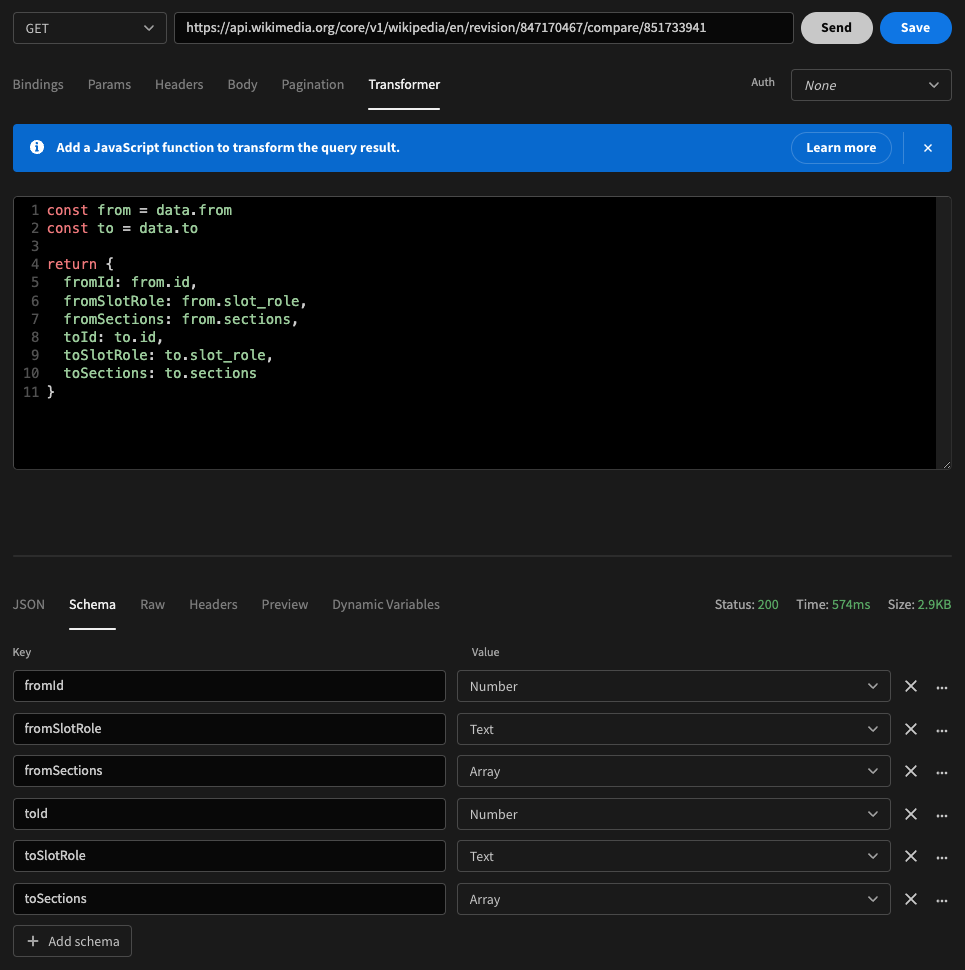
As an example, this GET request will return a list of sections that have been changed on a Wikipedia page: <https://api.wikimedia.org/core/v1/wikipedia/en/revision/847170467/compare/851733941>
{
    "from": {
        "id": 847170467,
        "slot_role": "main",
        "sections": [
            {
                "level": 2,
                "heading": "==Description==",
                "offset": 3006
            },
            {
                "level": 2,
                "heading": "==Taxonomy==",
                "offset": 4324
            },
            {
                "level": 3,
                "heading": "===Family placement===",
                "offset": 4643
            },
          ...
To get the data into a format suitable for a Table, we will first Transform this response to surface the properties at the top-level:
const from = data.from
const to = data.to

return {
	fromId: from.id,
	fromSlotRole: from.slot_role,
	fromSections: from.sections,
	toId: to.id,
	toSlotRole: to.slot_role,
	toSections: to.sections
}
Click Send and Save. Looking at the Schema we can see that the 'from' and 'to' sections appear as type Array. Behind the scenes Budibase understands that the items are objects and will generate appropriate types based on the data.
With our query created, and schema generated, navigate to the Design section. Add a Repeater Block and select the query as the data source.
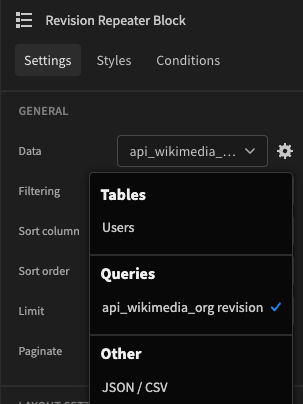
Repeater block with REST query data source
Next, add a Repeater block with two containers and an additional repeater nested inside. Set the second repeater's data to 'fromSections'. This can be found under the JSON Arrays header.
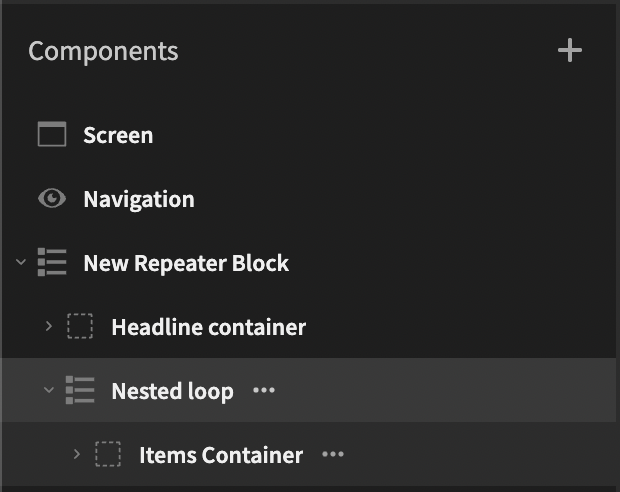
Next, nest 3 paragraph components into each of the containers. In the below image, you will see they have been given names based on what they will display.
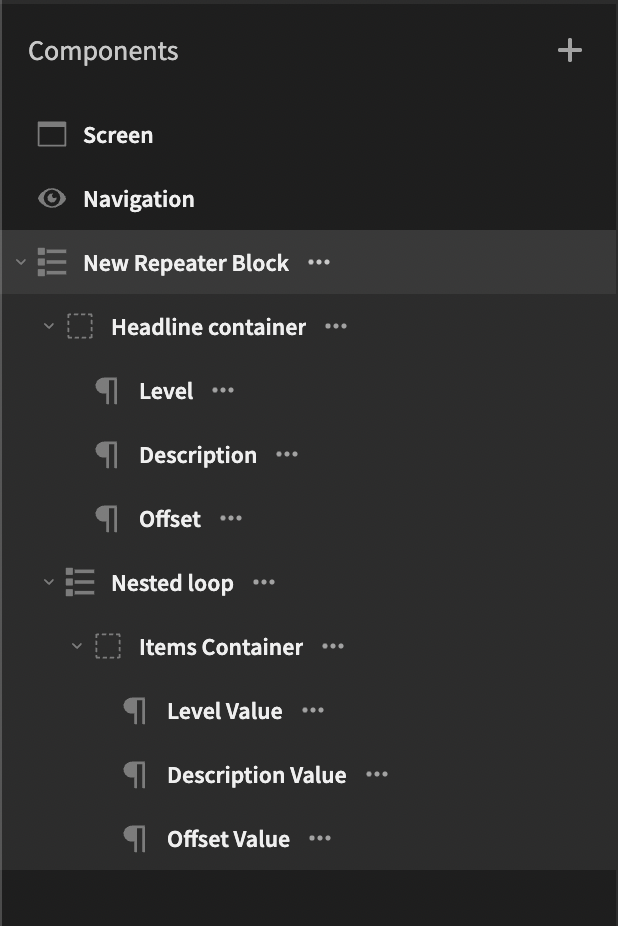
For the paragraphs in the Headline container, add the titles of each column.
For the paragraphs in the Items container, add this binding and then change the field name depending on the value you wish to display. return $("Nested loop.Rows")[$("Nested loop.Row Index")].level
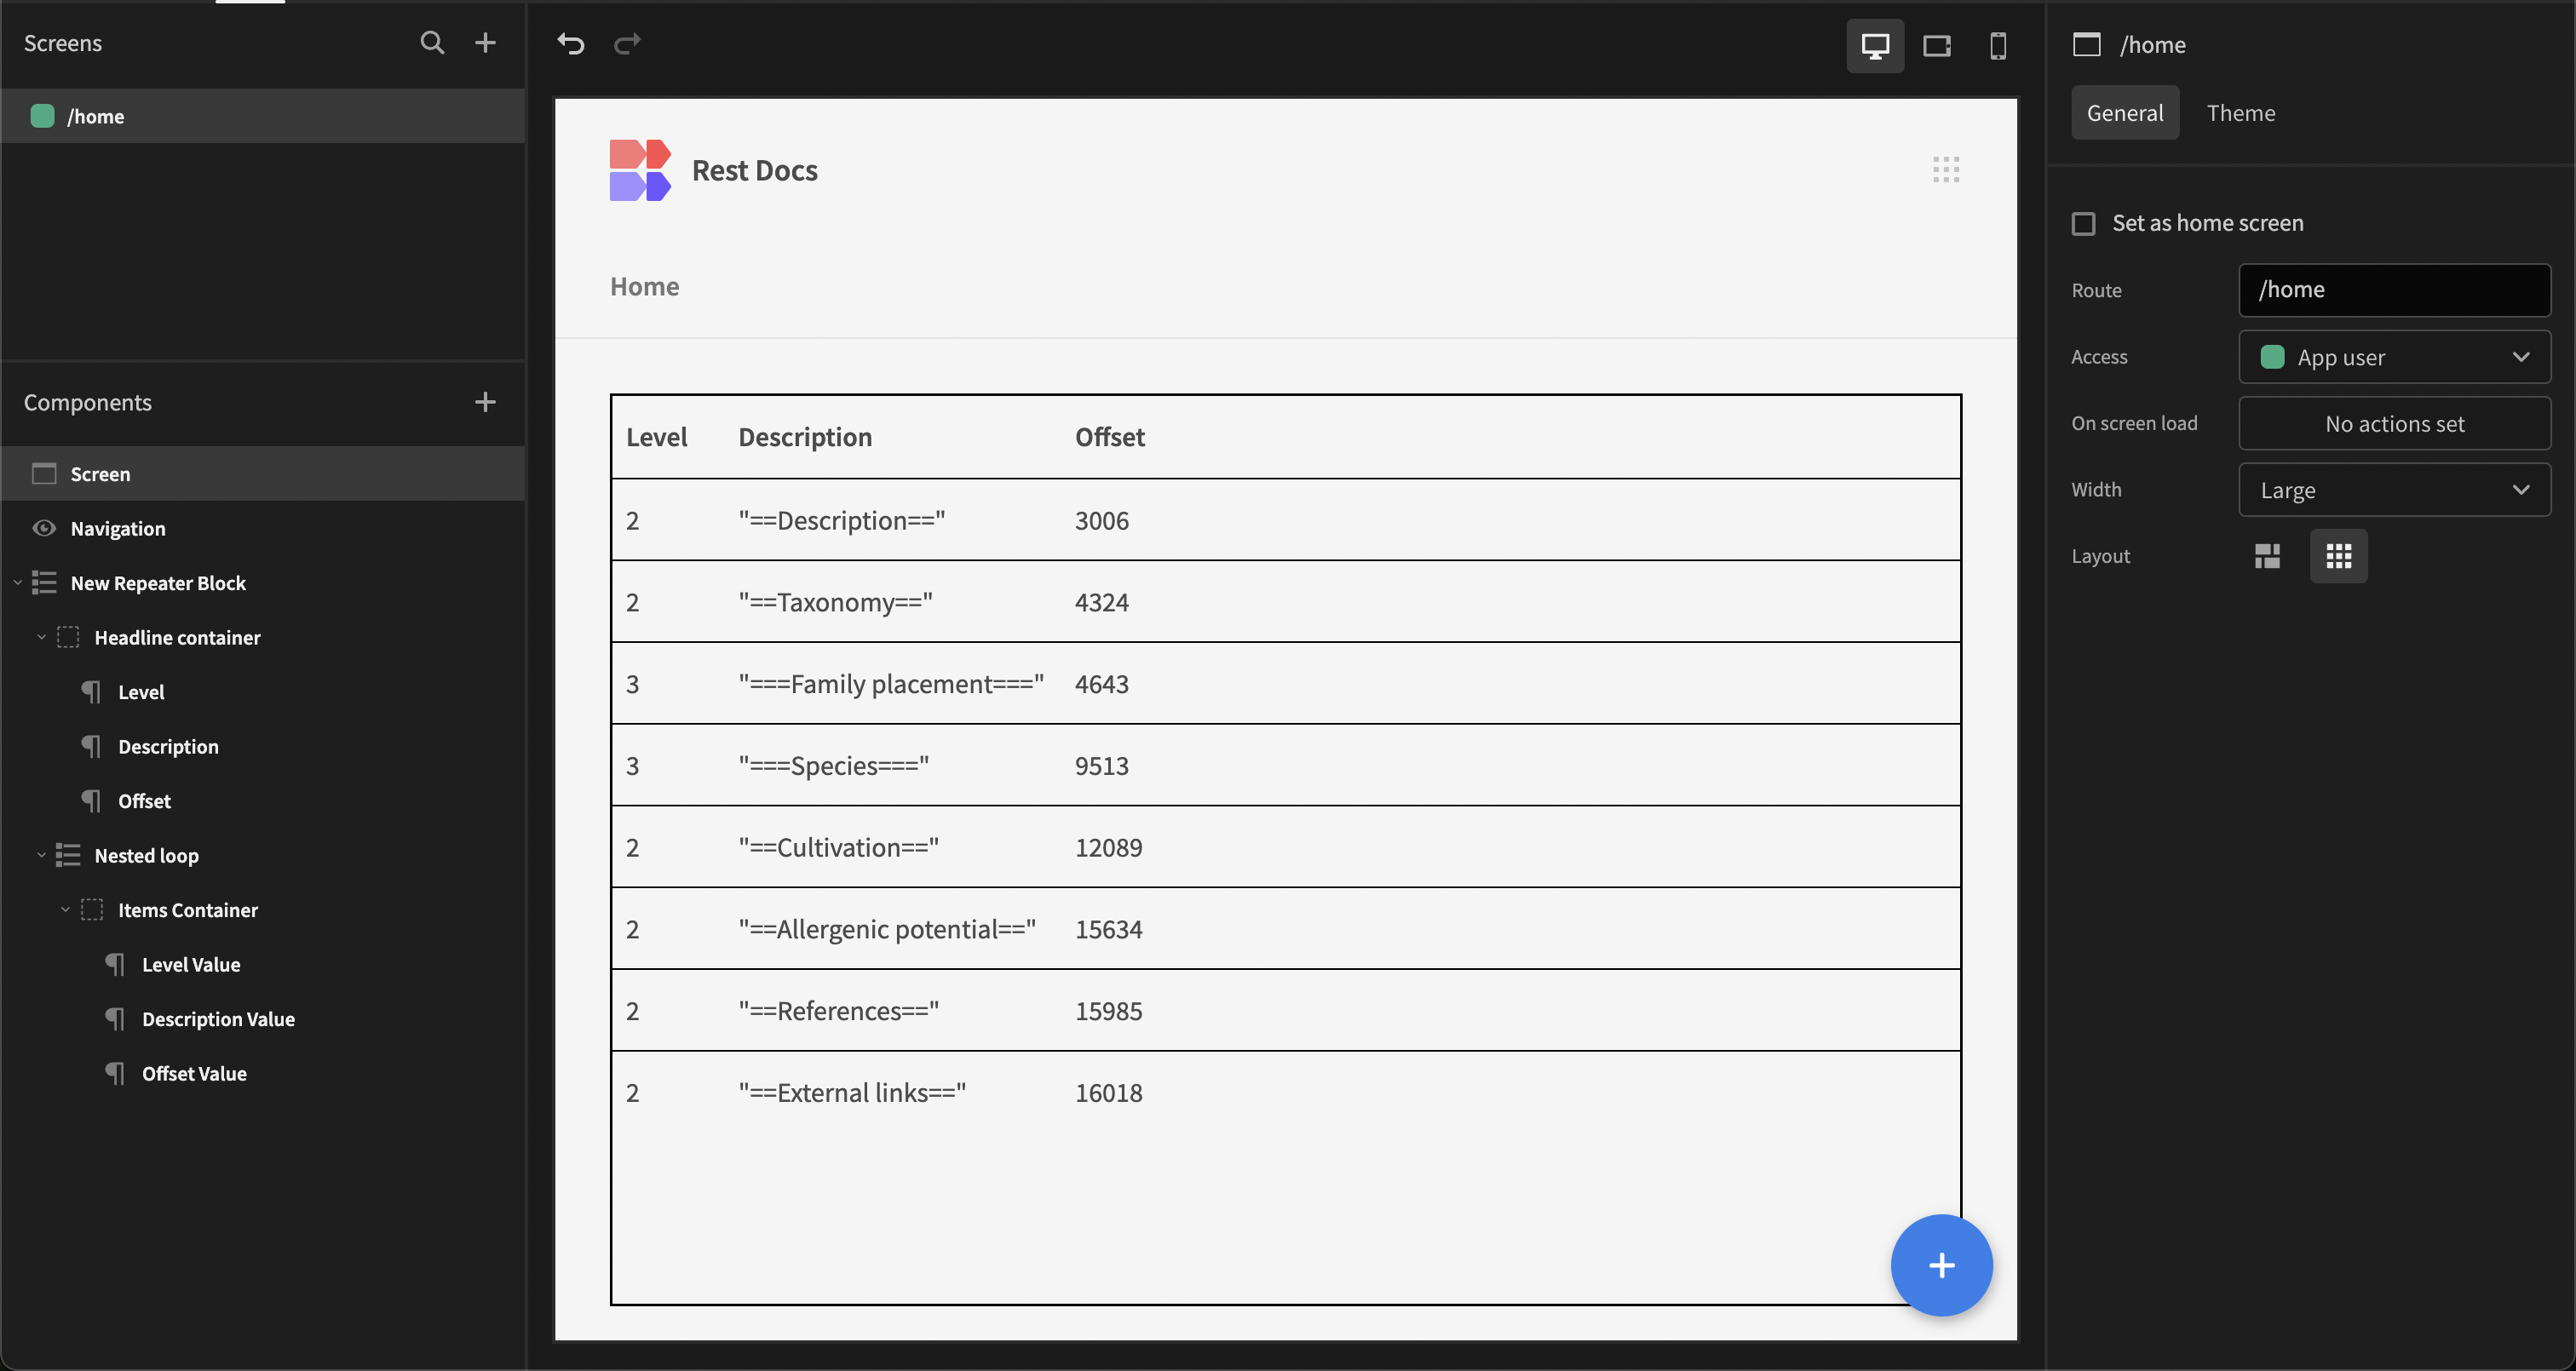
Some border styling has been added to give it that table look and feel.
To optimise this further, add another container to wrap your headline and items containers in. After doing this, you can duplicate this parent container and change the nested loop source to 'toSections'.
Updated 5 months ago