DigitalOcean
One-click Budibase setup using DigitalOcean
The simplest way to self-host Budibase is to use DigitalOcean. If you don't have an account, you can use our referral code to get $100 of free DigitalOcean credit!
The minimum supported version is 4GB of memory.If you choose something smaller, you will likely encounter a 502 error when accessing the platform.
Once you've signed up, use our one-click offering on the DigitalOcean marketplace to deploy your Budibase server to DigitalOcean as shown below.
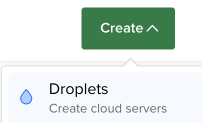
Create Droplet
In the Digital Ocean dashboard choose Create > Droplet
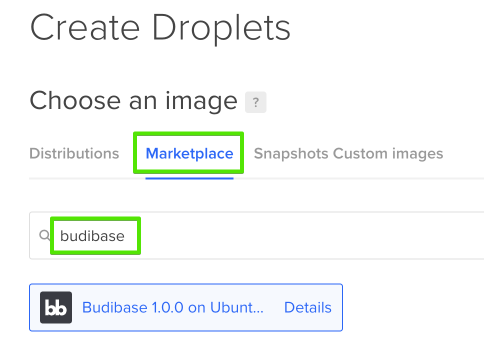
Select the Marketplace tab and search for Budibase:
Choose from the remaining options to suit your expected usage and budget.
After clicking the Create Droplet button
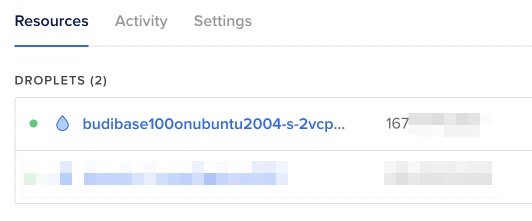
After launching wait a few minutes for Budibase to initialise. Take note of the IP address listed for the droplet and in a web browser visit port 10000 on the IP address e.g.
https://111.222.111.222:10000The video below demonstrates how we can run Budibase on Digital Ocean. The video goes one step further showing how to expose the database for troubleshooting. Exposing the database is not necessary for normal operation and is only demonstrated here as an example of how to check the database. For security reasons do not leave the database port exposed during normal operation and ensure the port mapping of 5984:5984 is not in your docker-compose.yml file after troubleshooting.