Relationship picker
Whilst also a dropdown list, the relationship picker enforces select one or many options depending on whether the chosen relationship field is defined as one or many. Furthermore, the available options will automatically be populated from the rows of the related table.
The label column (the option text the user sees) will match the display column of the related table.
The value column (the option value that will be saved) will be the _id of the selected relationship row(s).
_id
The _id field represents a unique row identifier, which will exist on all data tables, including the internal DB and SQL tables within Budibase. It is a URL-safe encoded string.
For testing purposes, you can copy the row _id by right-clicking on a row in the Data section, and clicking Copy row _id. When setting up filters, the _id field is explicitly available for selection within the field list for relationship fields (e.g., Relationship._id).
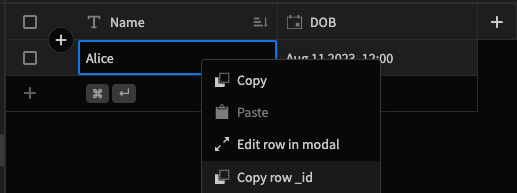
Copy row _id
As Relationship links in Budibase are stored in this format, the _id field must be used when filtering a table on a chosen relationship picker value.
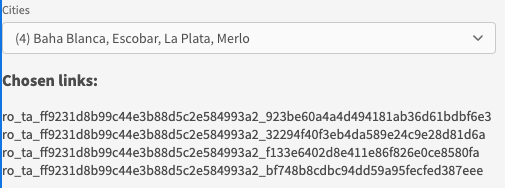
Displaying the underlying values of the chosen relationship links
One or Many relationship valueRegardless of whether the relationship picker is a multi-select or a single-option, the relationship picker will always return an array of rows IDs.
Default value
As mentioned above, relationship pickers expose encoded row identifiers. Therefore, to provide a Default Value for a relationship picker, we must provide an array of row identifiers.
While you can manually enter an array of hard-coded row identifiers, typically you'll want to base the default value on the known display name, as this is easier to maintain and read.
- Above your relationship picker, add a Data provider
- Select the table that matches the source of the relationship field, and untick Paginate
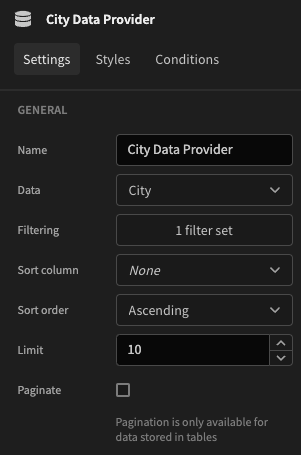
Adding a Data provider to be used by the 'Cities' relationship picker
- Click the button beside Filtering, and add an Is in filter as follows:
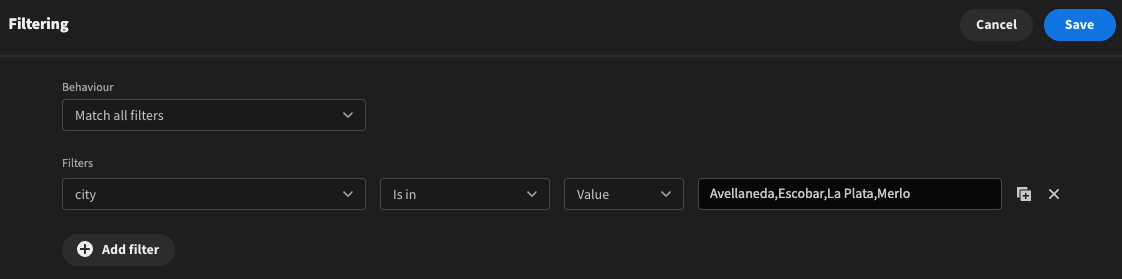
Fetch some default (comma separated) cities
- Make sure the relationship picker is nested under the data provider
- Click the lightning bolt icon beside the Default value field of the relationship picker, and add the following JavaScript code:
return $("City Data Provider.Rows")?.map(row => row._id);- Refresh the page to see the default values load in

Relationship picker with default values
Filter the list of options
By default, the relationship picker options will be populated by all rows in the related table. This may be appropriate for small numbers of relationships, but for larger lists you will want to filter this down. Furthermore, there is a hard limit of 100 options, so if you have more than this you will need to apply a filter.
You can add filters in the Settings Panel by clicking on the Filtering button. When a filter is applied to a relationship picker, the current selection will automatically be cleared if the filter configuration or criteria change. This ensures that the selected values always remain valid based on the active filtering rules (e.g. in cascading dropdown scenarios).
For example, only show related cities of the selected country:
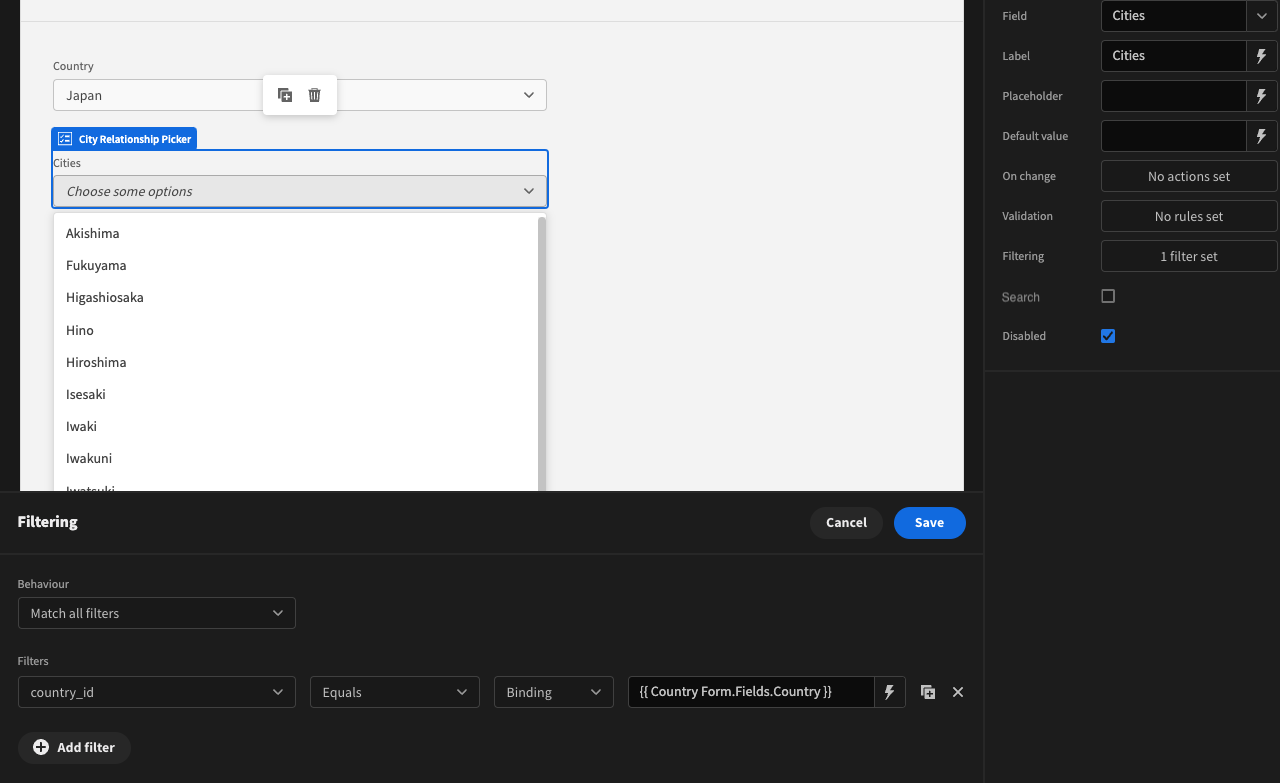
For the full tutorial, check out the Cascading dropdown filters recipe!
On change
You may want to perform an action when changing the relationship picker value. If you want to do something with the underlying related row data, then you will need to use the Fetch Row action.
- Click the button beside On change in the Settings Panel
Add action: Fetch Row and select the table that matches the relationship table- Set the Row ID to
{{ Field Value }}
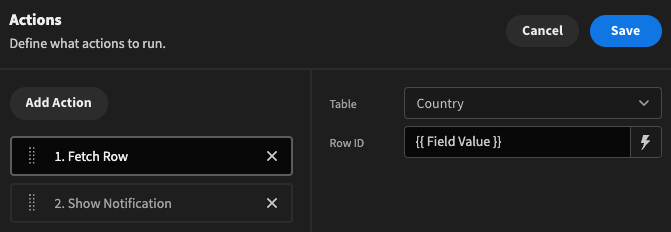
Fetching the selected row data
Add action: Show Notification and use Action chaining to retrieve the value from the Fetch Row action, using the Binding{{ Action 1.Fetched row }}to retrieve the whole row, or reference specific columns such as the country name.
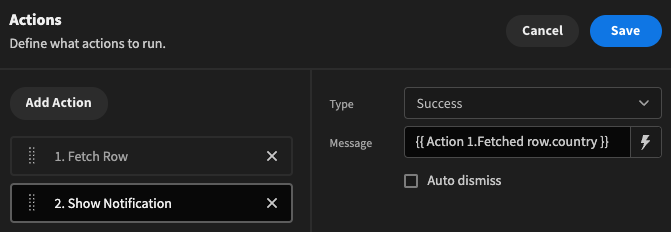
Result

There are many other Actions that you can make use of.
Tutorial: Filter on selected relationship picker value(s)
When using an external SQL datasource, such as MySQL, PostgreSQL and SQL Server, it is possible to use the Relationship Picker to filter related data.
The Budibase DB could be used in this context, however it is a NoSQL database and generally not ideal for extensive relationship functionality.
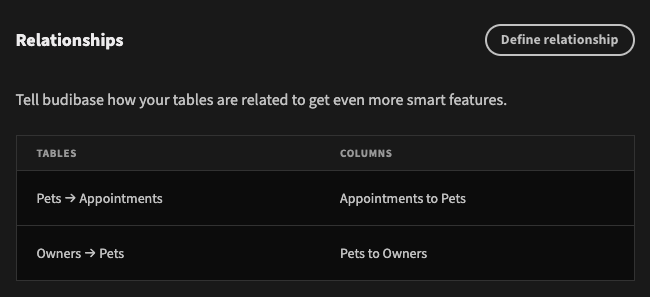
For this tutorial we will use PostgreSQL, and assume there are three tables with the following relationships:
- One Owner -> Many Pets
- One Pet -> Many Appointments
For a given owner, we want to display a list of appointments based on the chosen pet.
Follow this guide to see how to connect to your Postgres database, fetch the tables and define the relationships.
1. Setup the owner form
Set the Pet and Owner name column as the display column and create the autogenerated screen for the Owner table.
Next Eject the Table block. Select the 'Details' Form block, uncheck all fields except for the Pets relationship field, and also uncheck the Show save button and Show delete button settings. Finally eject the details form block, and once ejected rename the form to 'Details Form' and set the form type to Create.
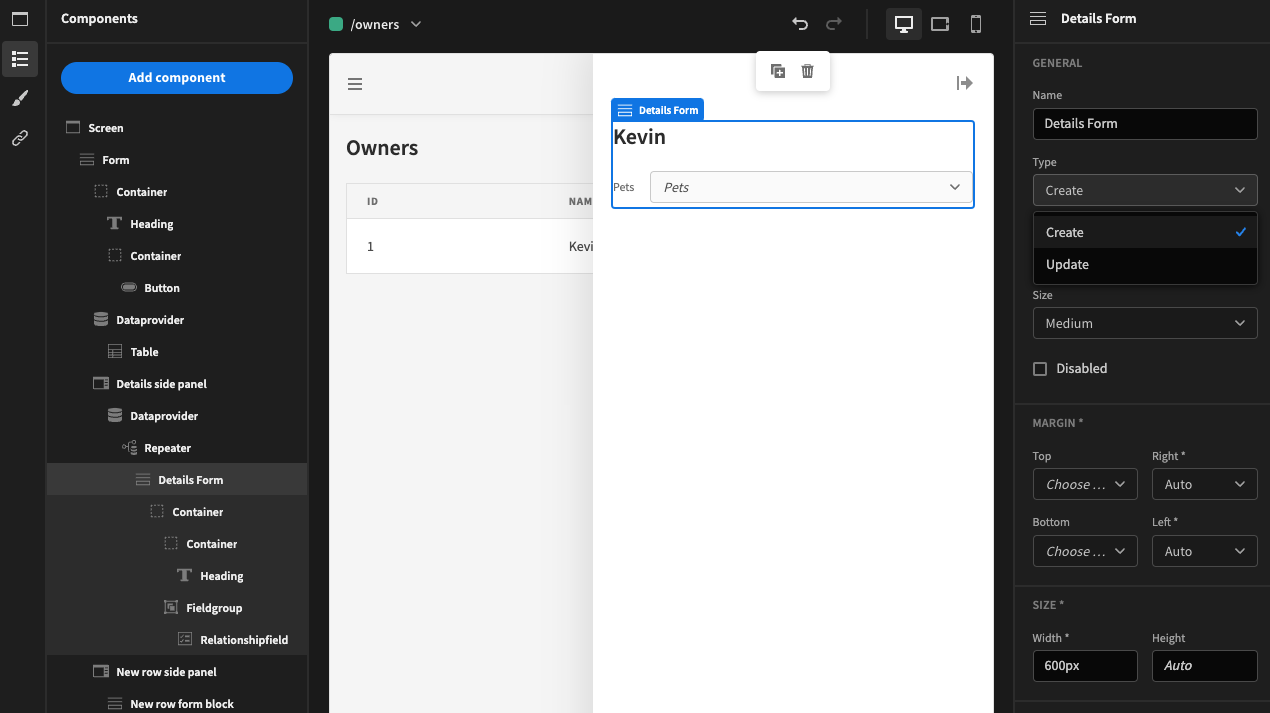
Ejected 'Details' form block
2. Add the appointments
Within the details form, add a Headline for 'Appointments' and add a Divider below.
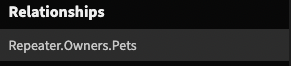
Next add a Repeater block for the Pets relationship.
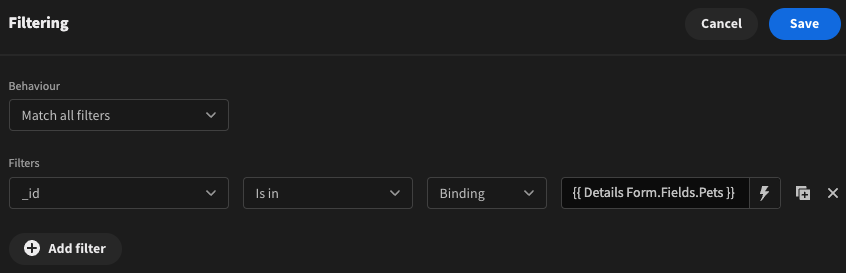
Define filters for the repeater block using the Is in filter as follows:
Finally, nest a Cards block within the repeater block. Set the datasource to the appointments relationship.
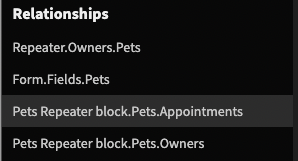
Set the title to the name of the pet: {{ Pets Repeater block.Pets.Name }}
Set the cards title and subtitle to the date and reason of the appointment, e.g. {{ Appointments Cards block.Appointments.Reason }}
The date can be prettified as follows: {{ date Appointments Cards block.Appointments.Date "dddd, MMMM Do, h:mm a" }}
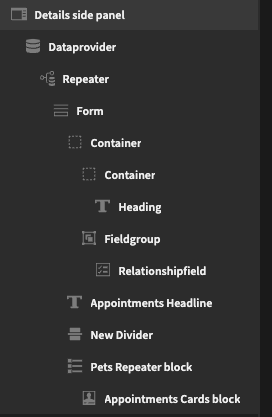
Details side panel final component tree
Result
Updated 16 days ago