Linode
Install Budibase on a Linode server
Launch Marketplace App
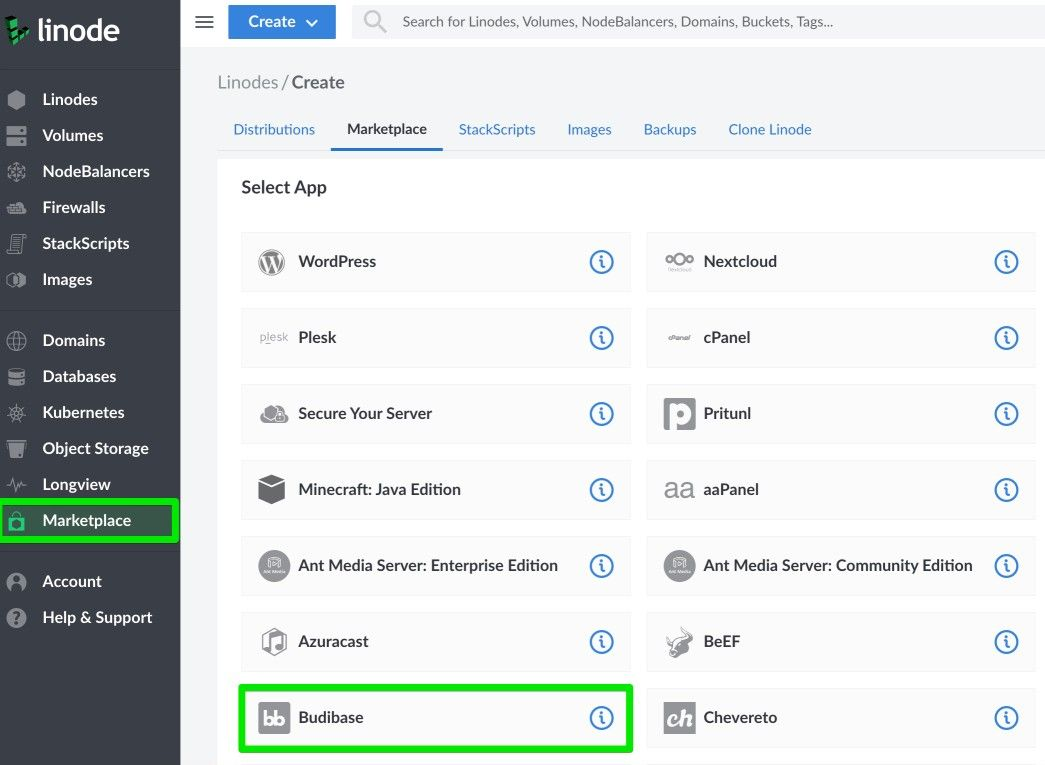
After logging in to your Linode account choose Marketplace from the menu.
Select the Budibase app as shown below:
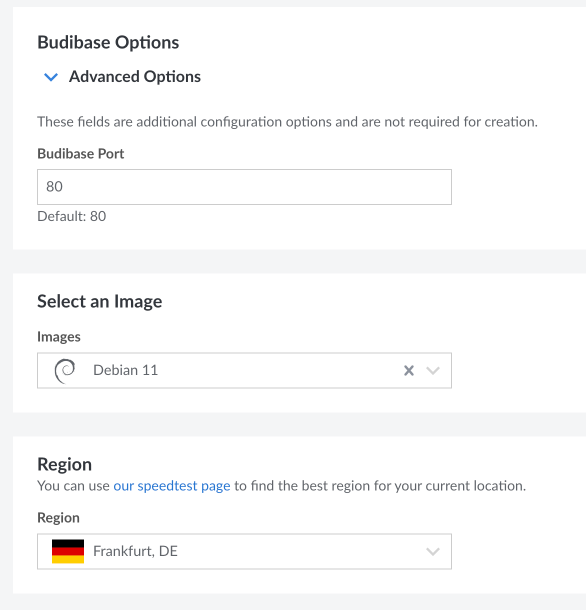
Scroll down the page to set options for the Budibase app including:
- Budibase Port: The default port is 80 but you can choose another port number if you plan to add a load balancer or proxy in front of your installation
- Select an Image: The base operating system you would like Budibase installed on. Choose from Debian 11 or Ubuntu 22.04
- Region: Choose to launch the app in a region close to your intended audience
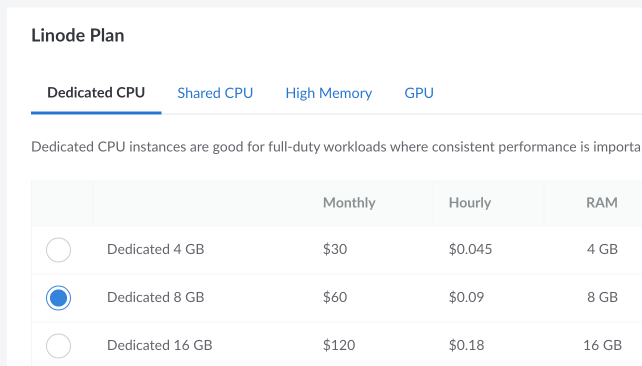
Choose a plan to match your requirements and budget:
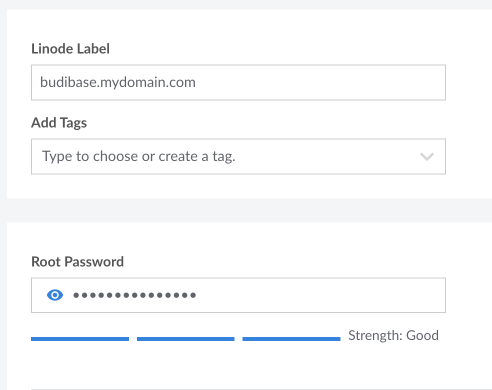
Under Linode Label provide a useful reference such as the domain name you will use and enter a Root Password that can be used if you need to manage your server instance over SSH
Add your public SSH Key that can be used if you need to manage your server instance over SSH. There are many guides and videos online demonstrating how to generate SSH keys for your own desktop operating system.

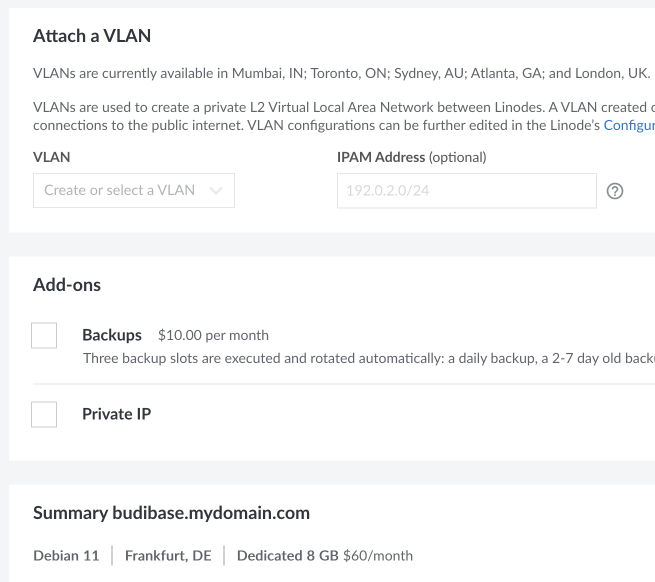
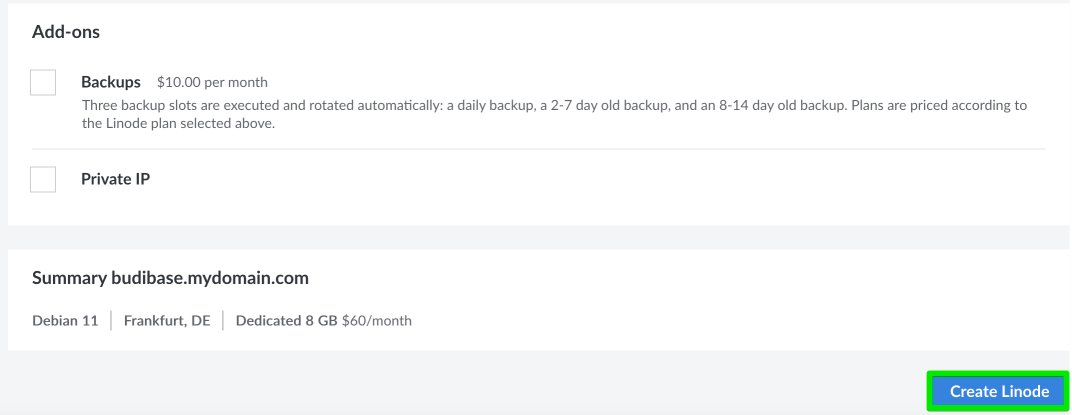
The remaining choices are optional. You may wish to choose to add Backups unless you have an alternative backup strategy.
With all the options set, click the 'Create Linode' button at the bottom of the page:
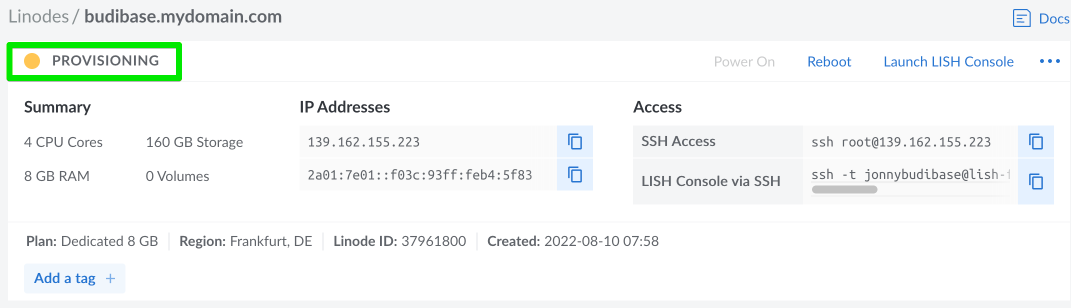
You will see a summary of your Linode server instance and a status indicating that it is currently provisioning. Please allow a few minutes for the provisioning of the server to complete.
Note that the summary shows:
- IP Addresses of your server ( 139.162.155.223 in the example below ). We will use this IP address in a web browser to display Budibase but if you have already purchased a domain name this would be a good time to use the DNS settings of your domain name provider to add a DNS A record pointing to the IP address you have been provided by Linode.
- SSH Access command that you can use from your computer’s command-line terminal to connect to the server
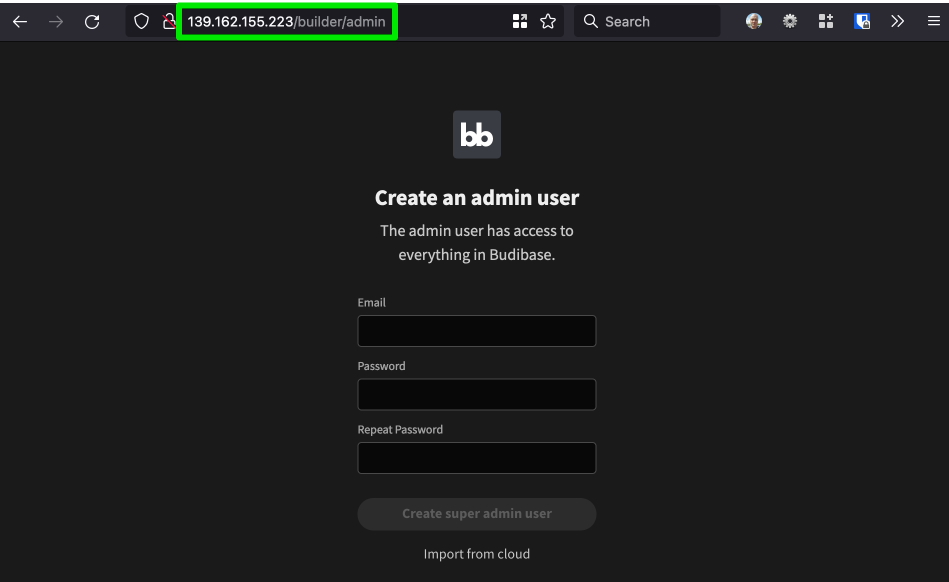
When the status appears as Running please allow a further few minutes for the Budibase installation to complete.

When the server status is shown as Running you can visit the IP address (or the domain name if you created a DNS entry) in a web browser to create the initial admin user:
Next login as the admin user to start creating Budibase applications. There are many templates to help you get started and you can learn more about connecting to existing database and building your own custom apps from the Budibase Docs.
Further Configuration
If you would like to examine the installation you can SSH to the server using the IP address supplied by Linode and the SSH key you provided during the setup. Running docker ps should display the list of docker containers that run Budibase:

You may wish to examine the files under /opt/budibase
docker-compose.ymlUse this file for future management/customisation of your budibase install.envThe .env file contains the passwords used to access various budibase components.
SMTP
By default Linode will block connections to external SMTP ports to reduce abuse by spammers. You will need to open a support ticket with Linode to unblock your Linode server if you want to send emails via an SMTP server.
Backups
Backing up your data is beyond the scope of this introduction but you should investigate storing regular copies of your docker volumes stored under /var/lib/docker/volumes
Security
Server security is beyond the scope of this introduction but you should investigate methods to secure your server by regularly applying operating system updates with: apt update && apt upgrade You should also add a firewall and intrusion prevention utilities such as fail2ban.
HTTPS
Although beyond the scope of this introduction there are a variety of ways to add a certificate to your installation including using a Linode NodeBalancer or Cloudflare. There is also the possibility of using Let’s Encrypt certbot on the server and configuring an nginx proxy listening on port 443 to proxy traffic to your Budibase container.