Quickstart
Using our internal database to hit the ground running
This tutorial will take less than 5 minutes, and at the end, you will have successfully built a complete CRUD application.
We will use the Sample data, which includes a few tables with various data types to look at.
Getting started
- Create a new account at https://account.budibase.app/register (onboarding takes a few seconds).
- Once registered, you will be able to log in.
- Step through the first Workspace wizard, selecting the Budibase Sample data.
Data
Most of the columns in our sample data, for exampl,e First Name, Last Name and Email, are Text data types, which is the most common.
Other types include Number, Date/Time, and more!
The values of some fields are highlighted in a coloured pill. This indicates the value to be either a Multi-select value such as the Employee Level in the Employees table, or a Relationships link such as Assigned in the Jobs table.
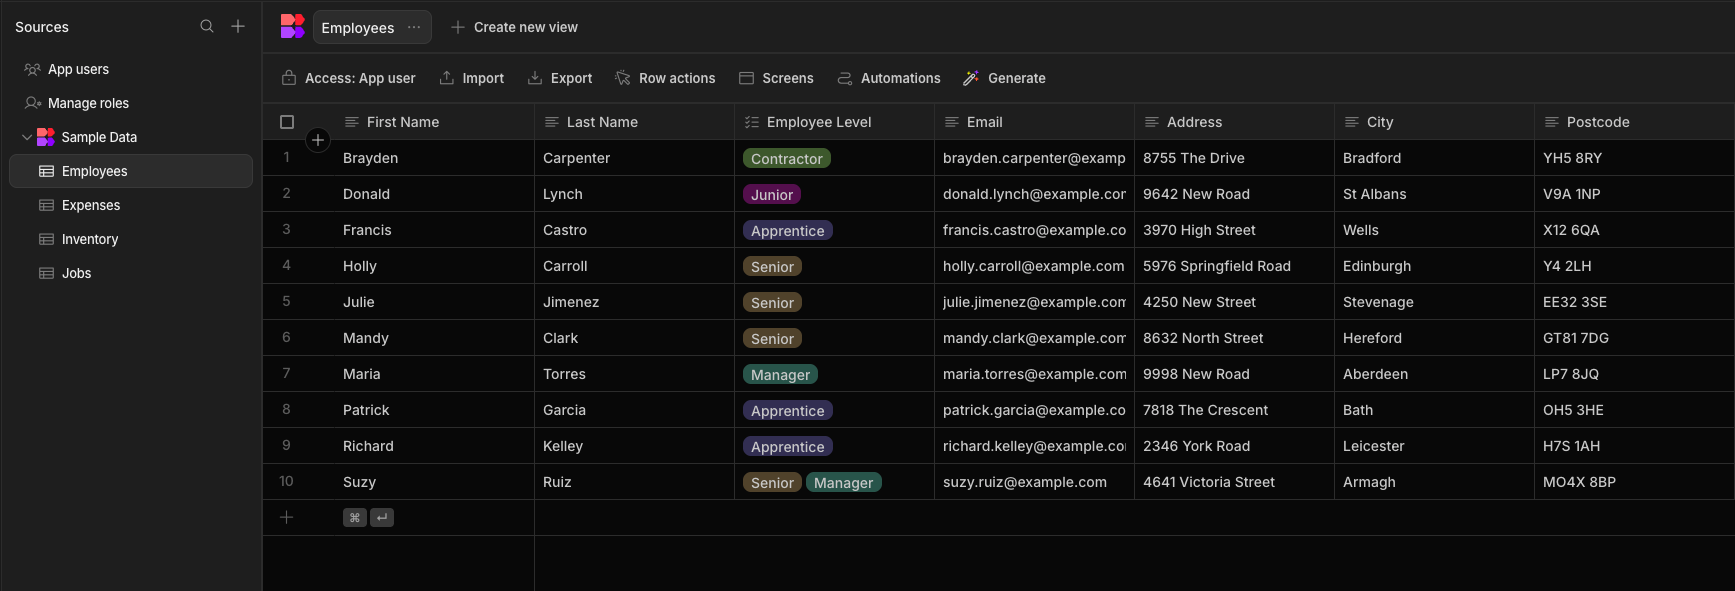
Data section with sample data
In Budibase, data sources are shared across their Workspace. This means that we can utilize them within any App or Automation in the same Workspace.
External datasource
If you want to connect to external datasources, have a look at our Datasources section for a list of available connectors.
Further information can be found in the Introduction to Data page.
Apps
As we have some data, we can now start building out end-user apps. This is done in the Apps section, which can be navigated to via the tab on the left-hand side of the page.
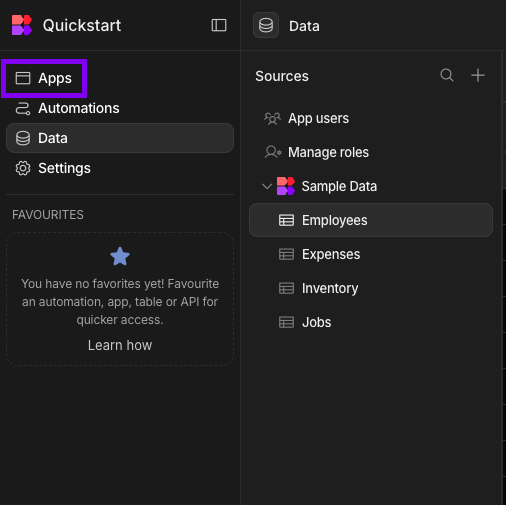
Here, we’re prompted to create our first app.

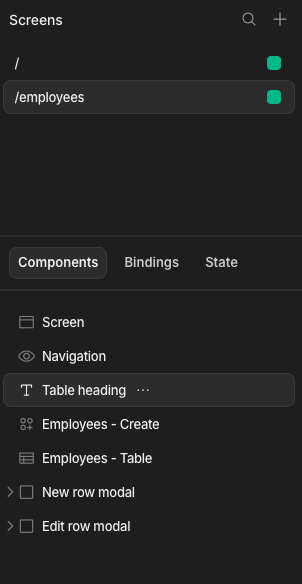
Within the app builder, the left-hand panel includes two core areas for building out your apps:
When building apps, you will mostly be focused on the Screen and Component views.
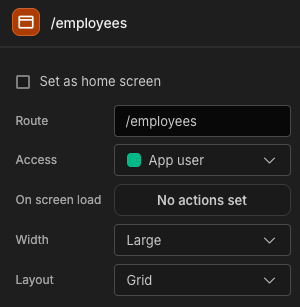
When the Screen is selected in the component tree, basic settings are available in the right-hand side panel.
We can access navigation settings under Navigation.

Autogenerated screens
To get started quickly, click on Add screen. Next, select Table to create new CRUD (Create, Read, Update, Delete) screens for each of your tables.
These autogenerated CRUD screens will make use of the Table and Side panels for fast, all-in-one data interaction.
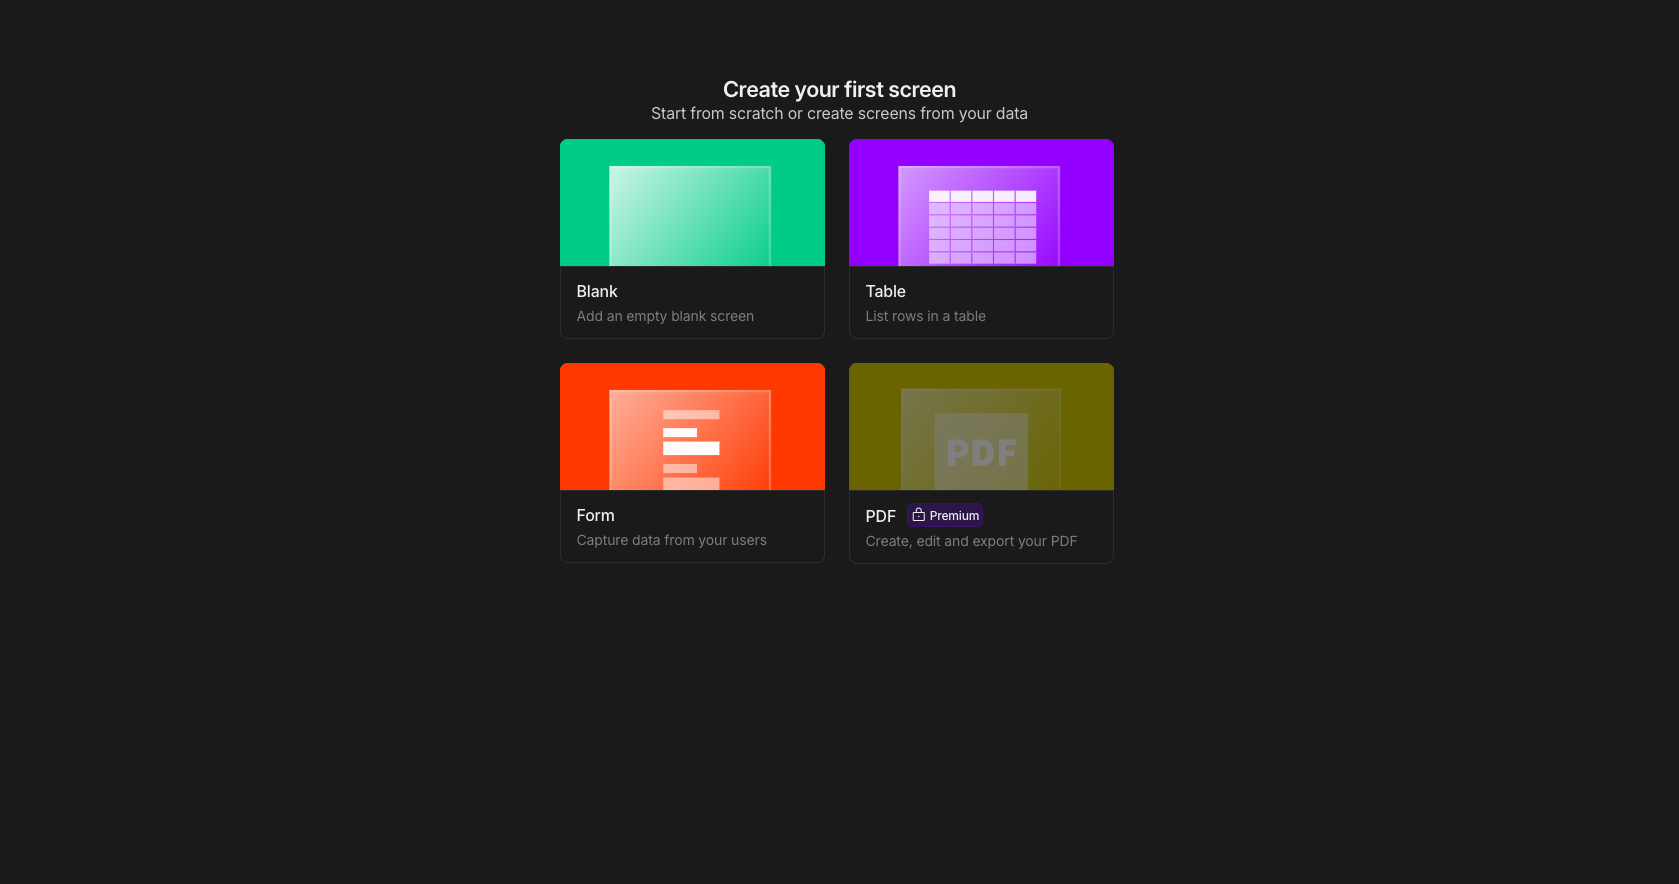
Adding autogenerated screens
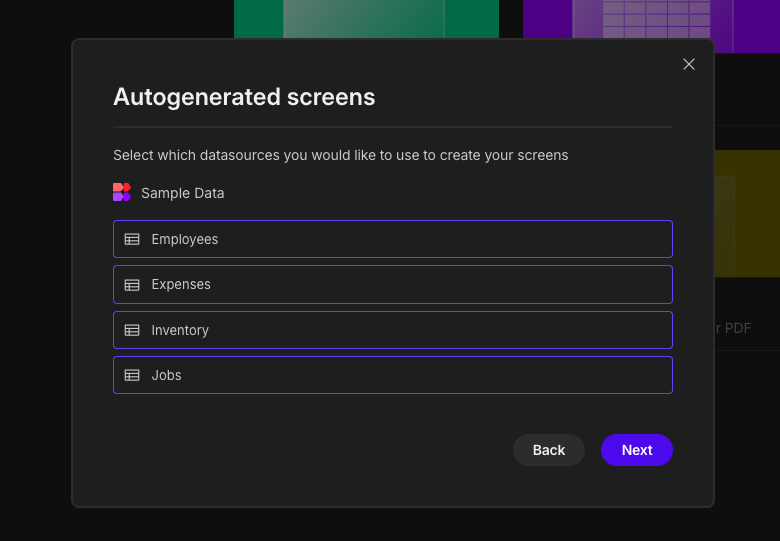
When auto-generating, they’ll automatically inherit the access level from the underlying data source.
You can read more about screen access levels, but in this tutorial, we will stick to the defaults.
Upon clicking Done, a new screen will be generated for each table selected.
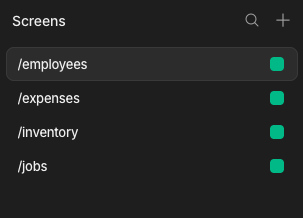
Autogenerated Screens
Components
With the screens created, we can view and edit the components for each.
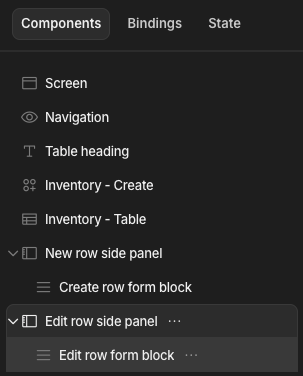
Table screen component tree
With the Table component selected, you will be able to edit its settings via the Settings Panel. Here you can change the Data Source, Filters, Column, and more! These settings are explained on the Table page.

You can also click the + icon in the bottom right to add another component to your screen. You can view a list of available core Components and learn more about Data in design.
Blocks
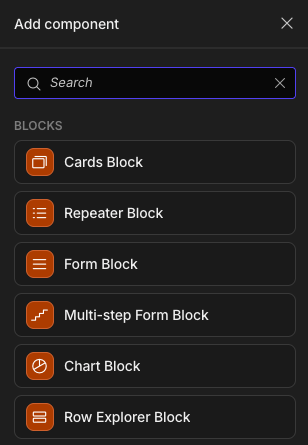
In Budibase, there is a category of components known as Blocks, which are collections of pre-built components designed to make building your apps easier and faster.
A list of them can be found in the Blocks section of the components view.
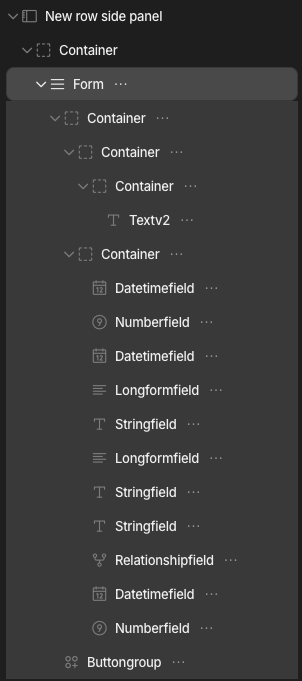
Sometimes you will find yourself needing to make a fine-grain tweak that cannot be done through the settings panel alone.
If you want to edit the form fields in the side panel of a Form Block, for example, you will need to click the Eject button to pop open the block, exposing its constituent componets.
Preview and Publish
During development you may wish to test out your app so far. Click the Preview button in the top-right to open the app in a modal. The app preview will always open the screen selected within the builder.

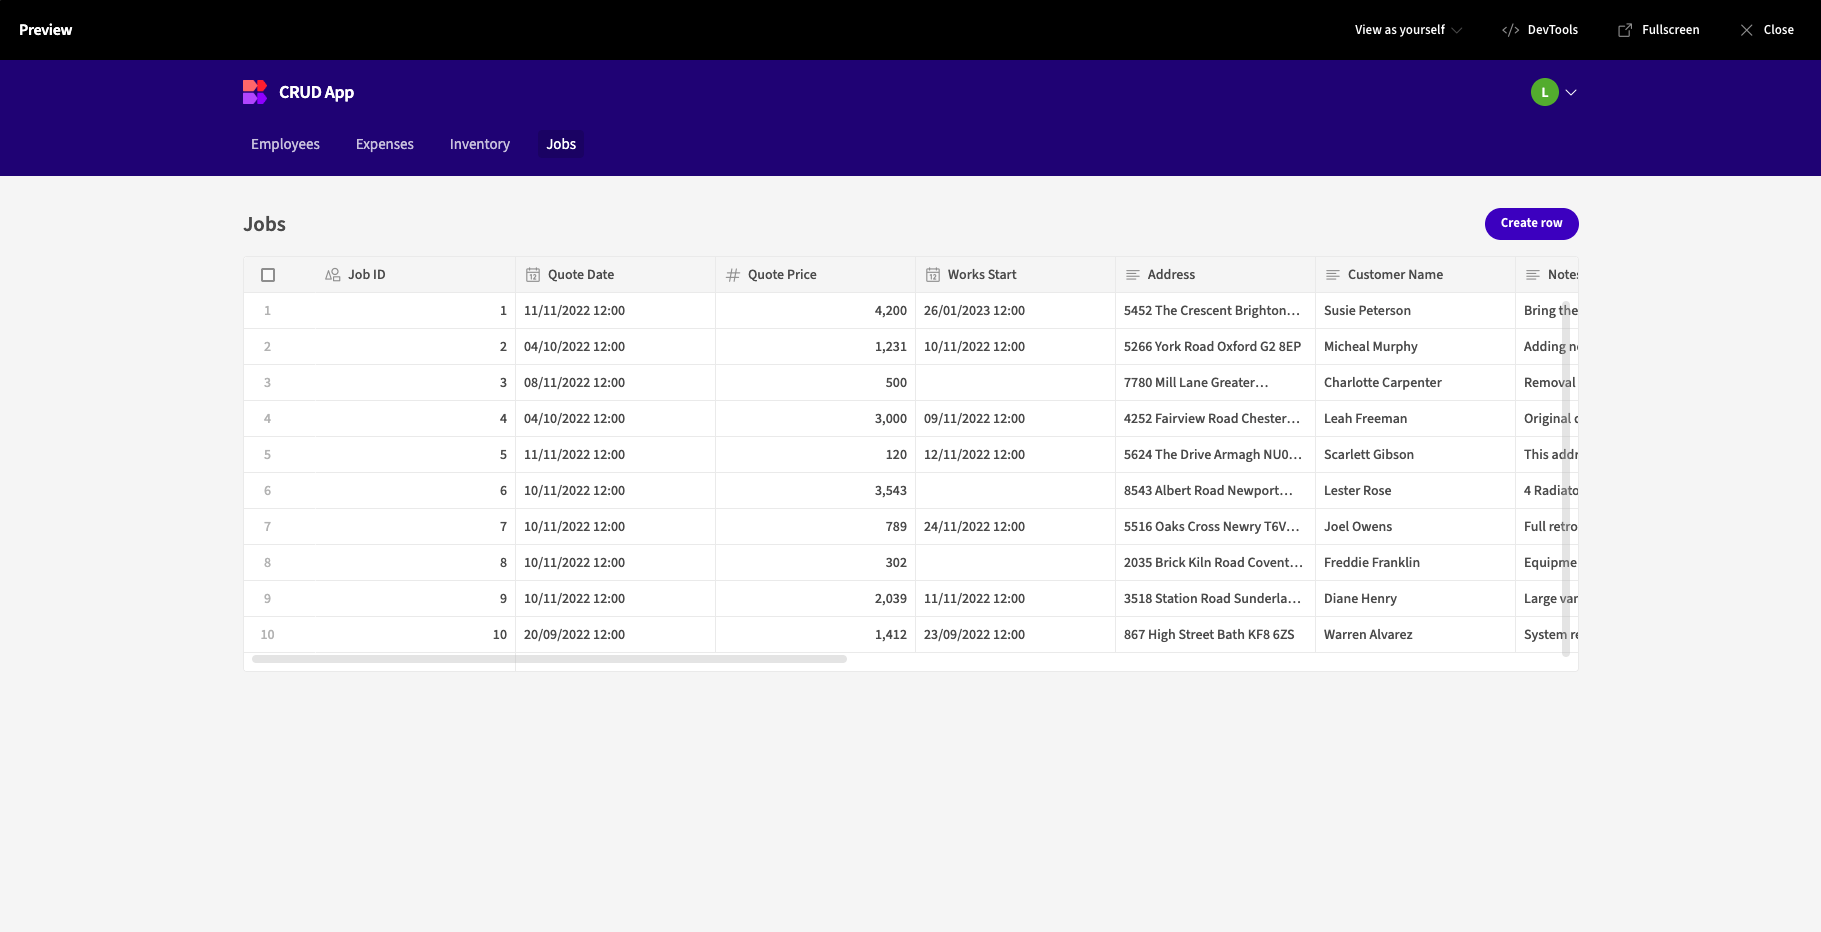
You will also notice that navigation links were automatically added to the nav bar when we created the autogenerated screens.
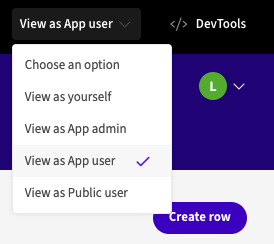
To view the app with a different permission level, change the View as option.
When you are happy with your app, you can enable the Live setting to push your app live into production.

Automate
Automations are not needed for all use-cases, however they offer powerful workflow options such as Cron jobs and Webhooks integrations.
In Budibase, Automations can interact with all data and apps in their Workspace.
More information can be found in the Automations page.
Settings
The settings tab includes a variety of options for your workspace. These include:
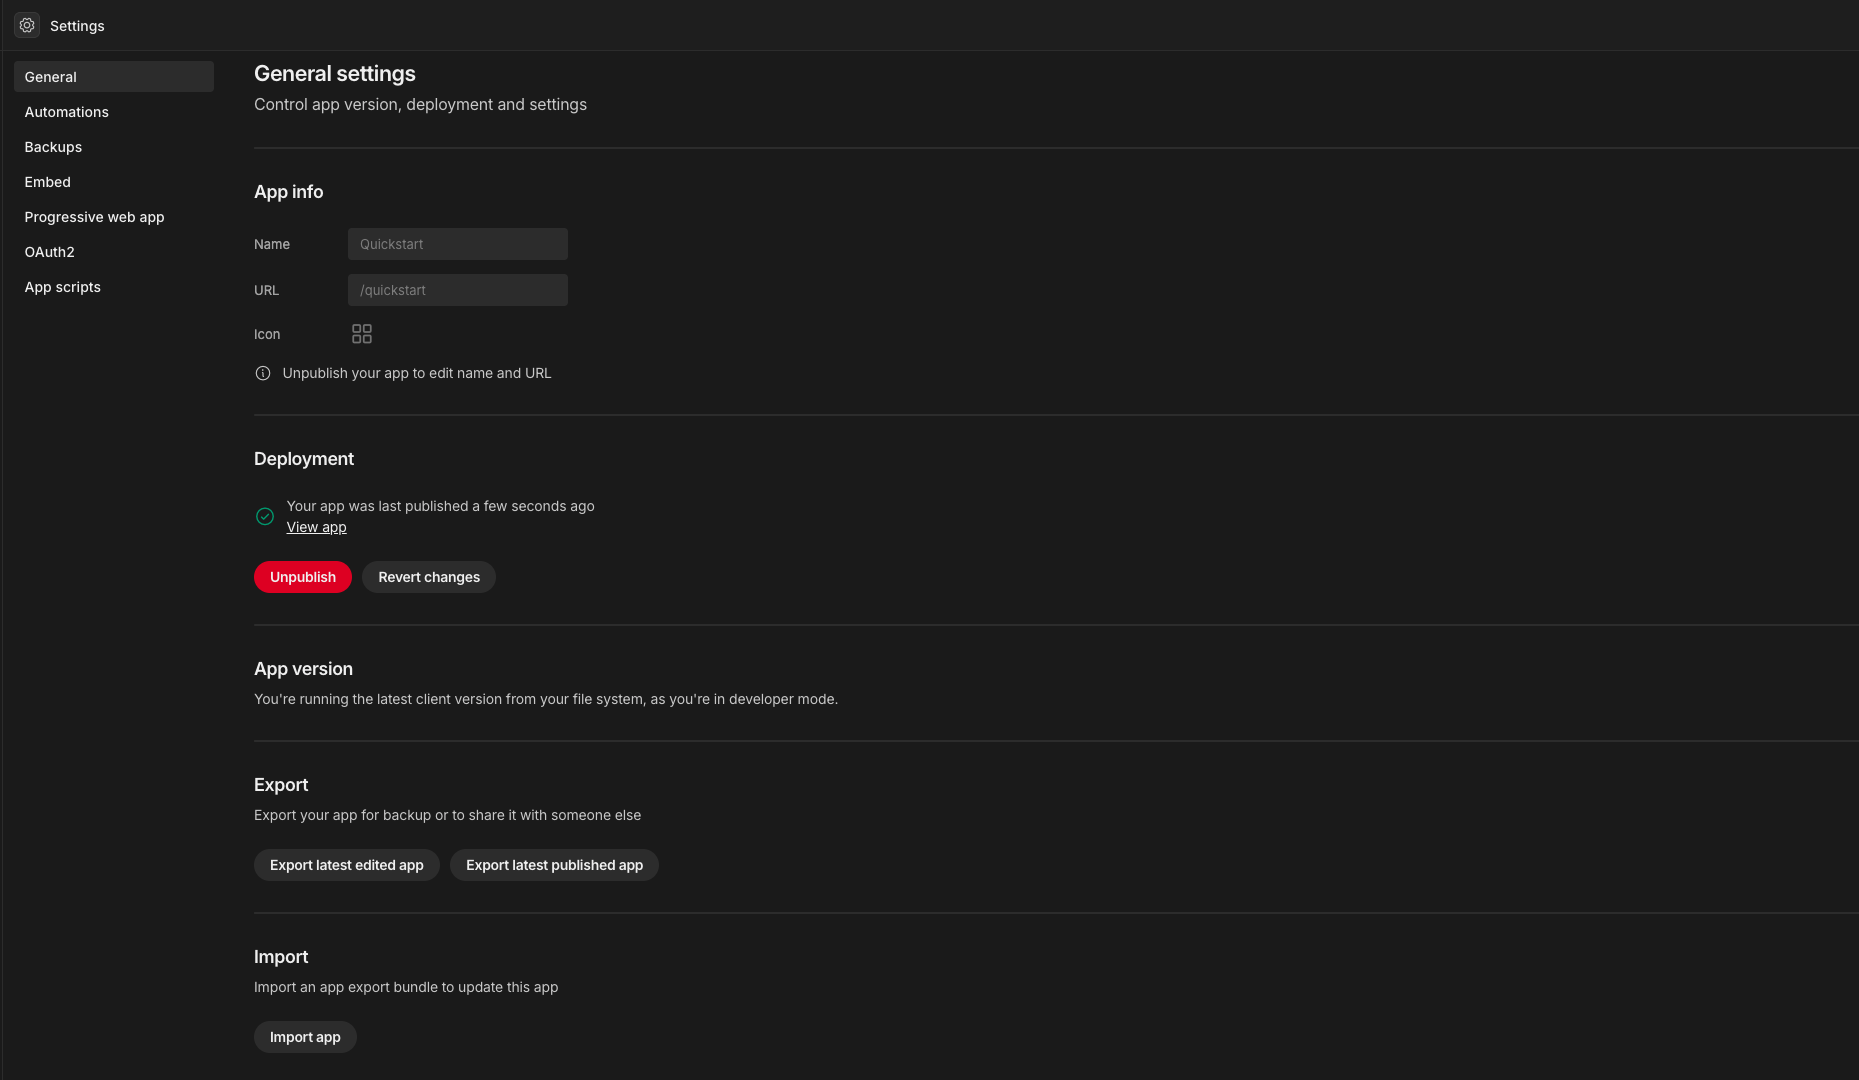
Settings tab
Further exploration
At this point, you can see the speed and convenience with which Budibase allows you to get your users interacting with data.
There is, however, much more to explore, and a broad range of possibilities. If you wish to add logic and interactivity to your apps, these docs pages may be a good place to check out:
👍
The Budibase community
If you have any questions or want to browse what other people have been building, please reach out to us on GitHub Discussions or join our Discord server.
Updated 5 months ago