SCIM provisioning 🔒
Manage users and groups externally
SCIM (System for Cross-domain Identity Management) is an open standard for managing user identity information.
It allows you to manage your users and groups outside of Budibase using any Identity and Access Management service that supports SCIM. Examples include Azure Active Directory and Okta.
Changes to users and groups made in your external IAM can be synced across to Budibase users and groups through a process known as provisioning.
It's worth noting that this is a one-way process. Once SCIM is enabled, you will no longer be able to edit AD users and groups within Budibase, any changes must be made via your external identity provider.
You can still manually add or import users outside your organization; these users will remain fully configurable within Budibase.
Unlocking SCIM provisioning
Contact sales to enquire about upgrading to the enterprise plan https://budibase.com/contact/
Enable SCIM
Login to the Budibase portal, and click on the Settings tab. Select the Auth tab.

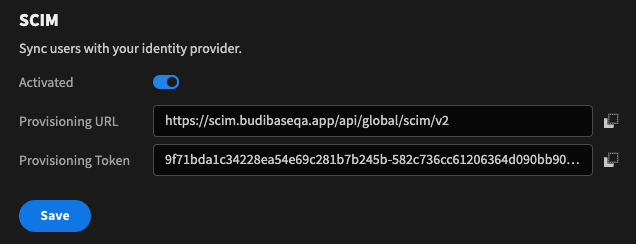
Scroll to the bottom of the page, and under SCIM toggle Activated on. The provisioning URL and Token will become available to quickly copy using the clipboard buttons to the right of the fields.
Enforced SSOWhen using SCIM, users can only log-in to Budibase using SSO. With this in mind, we recommend that you Enforce SSO 🔒.
Example: Azure Active Directory
This example will look at provisioning active directory users from Azure into Budibase
Step 1 - Create an enterprise application
First, we need to create an Enterprise application to manage the users and groups that we want to provision for Budibase.
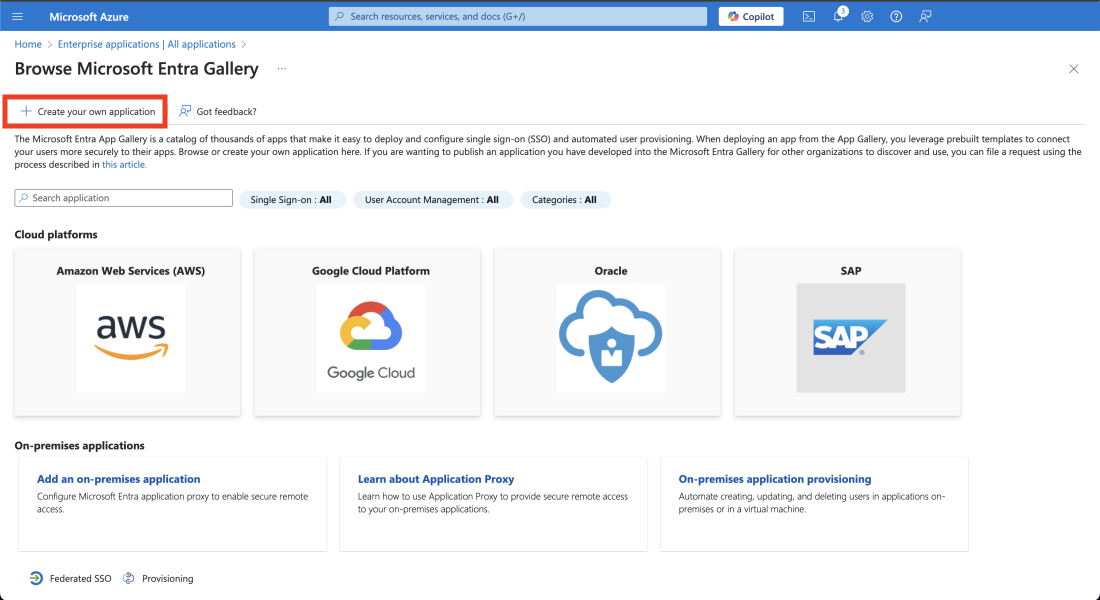
Log in to Azure Active Directory, and Navigate to Enterprise applications.
Click on New application

Then click on Create your own application. A side panel should appear on the right hand side of your screen.
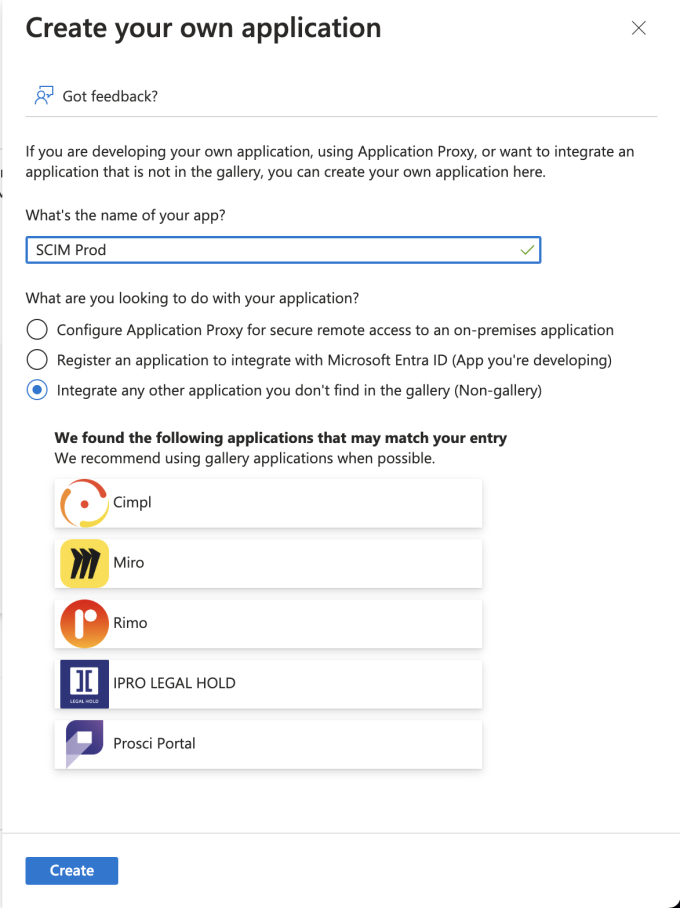
Create new application
Select the (Non-gallery) option and give your app a name.
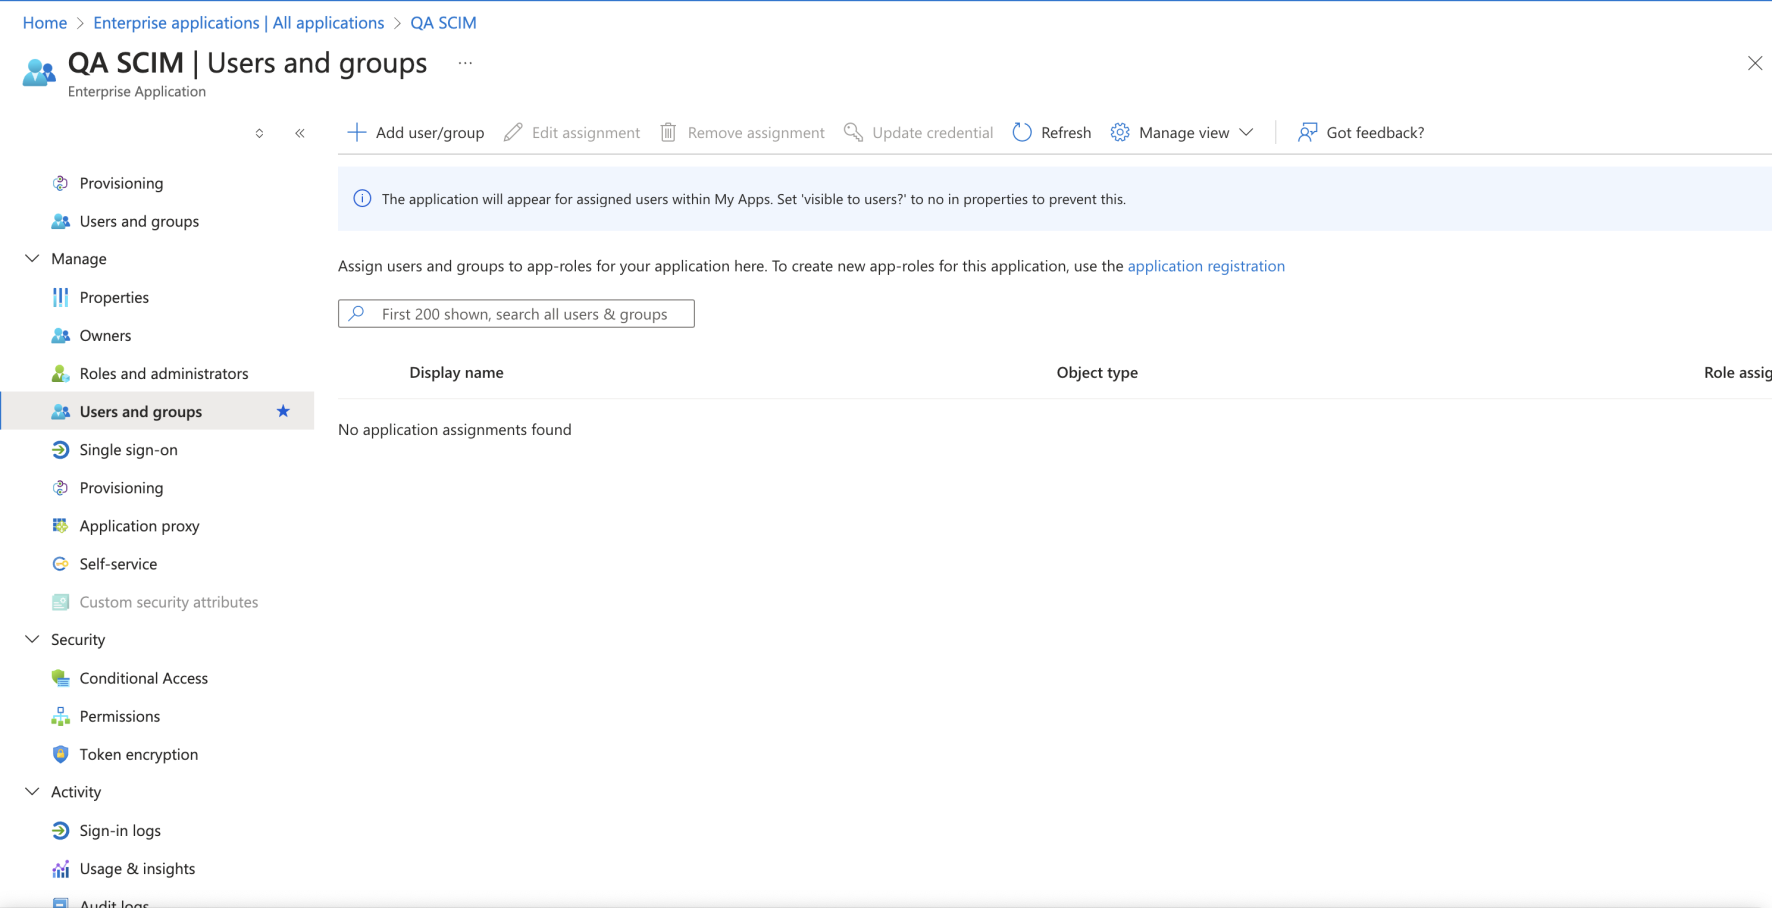
Assuming you already have some users in your active directory, you can now add them to your enterprise application.
Click on your application, and then click Users and groups under the Manage section. You can then click on Add user/group to add users individually or as user groups.
Step 2 - Provisioning
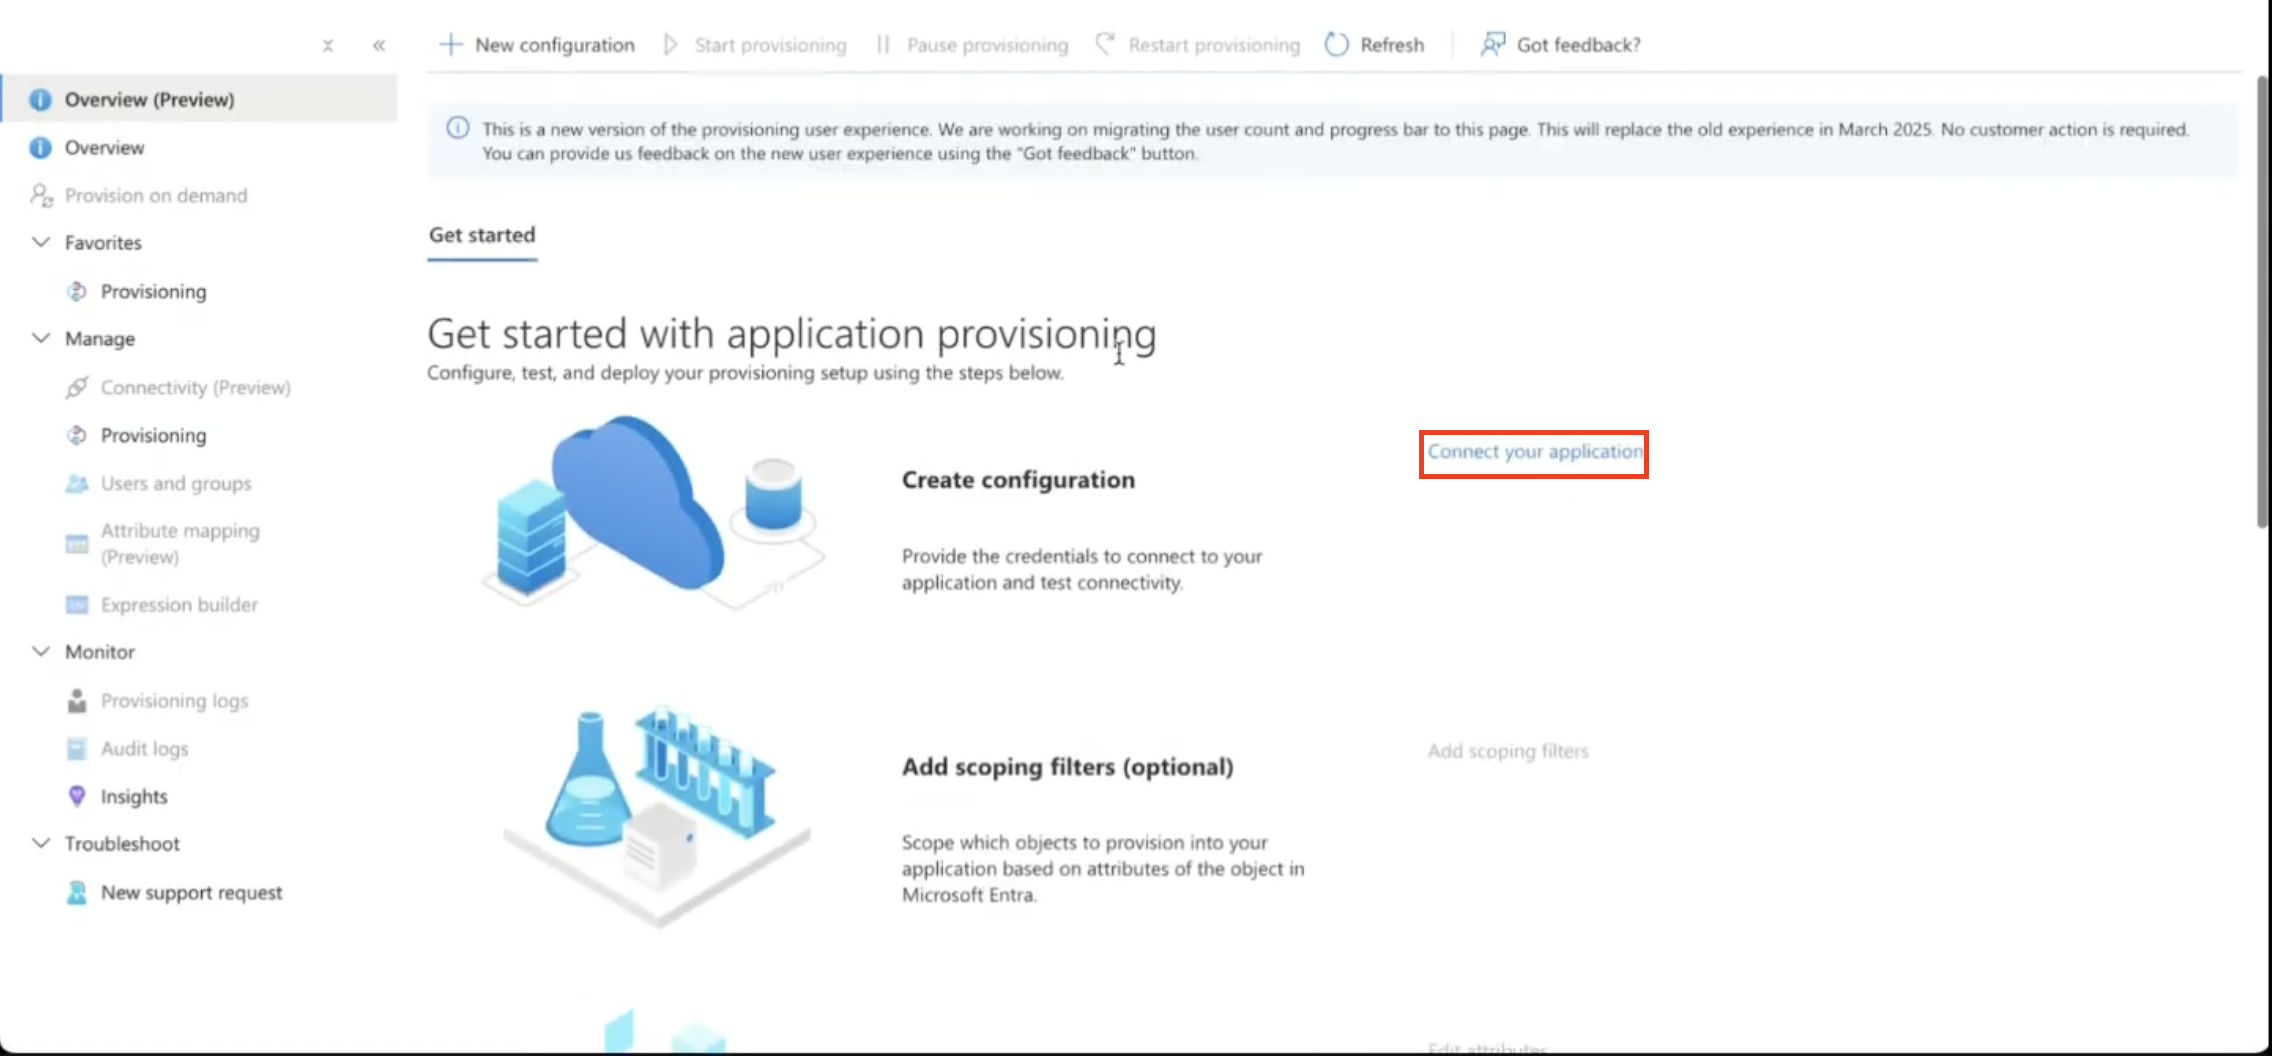
Under the Manage section, click on Provisioning. Then click Connect your application.
Copy and paste the URL and Token from the Budibase settings page as the admin credentials.
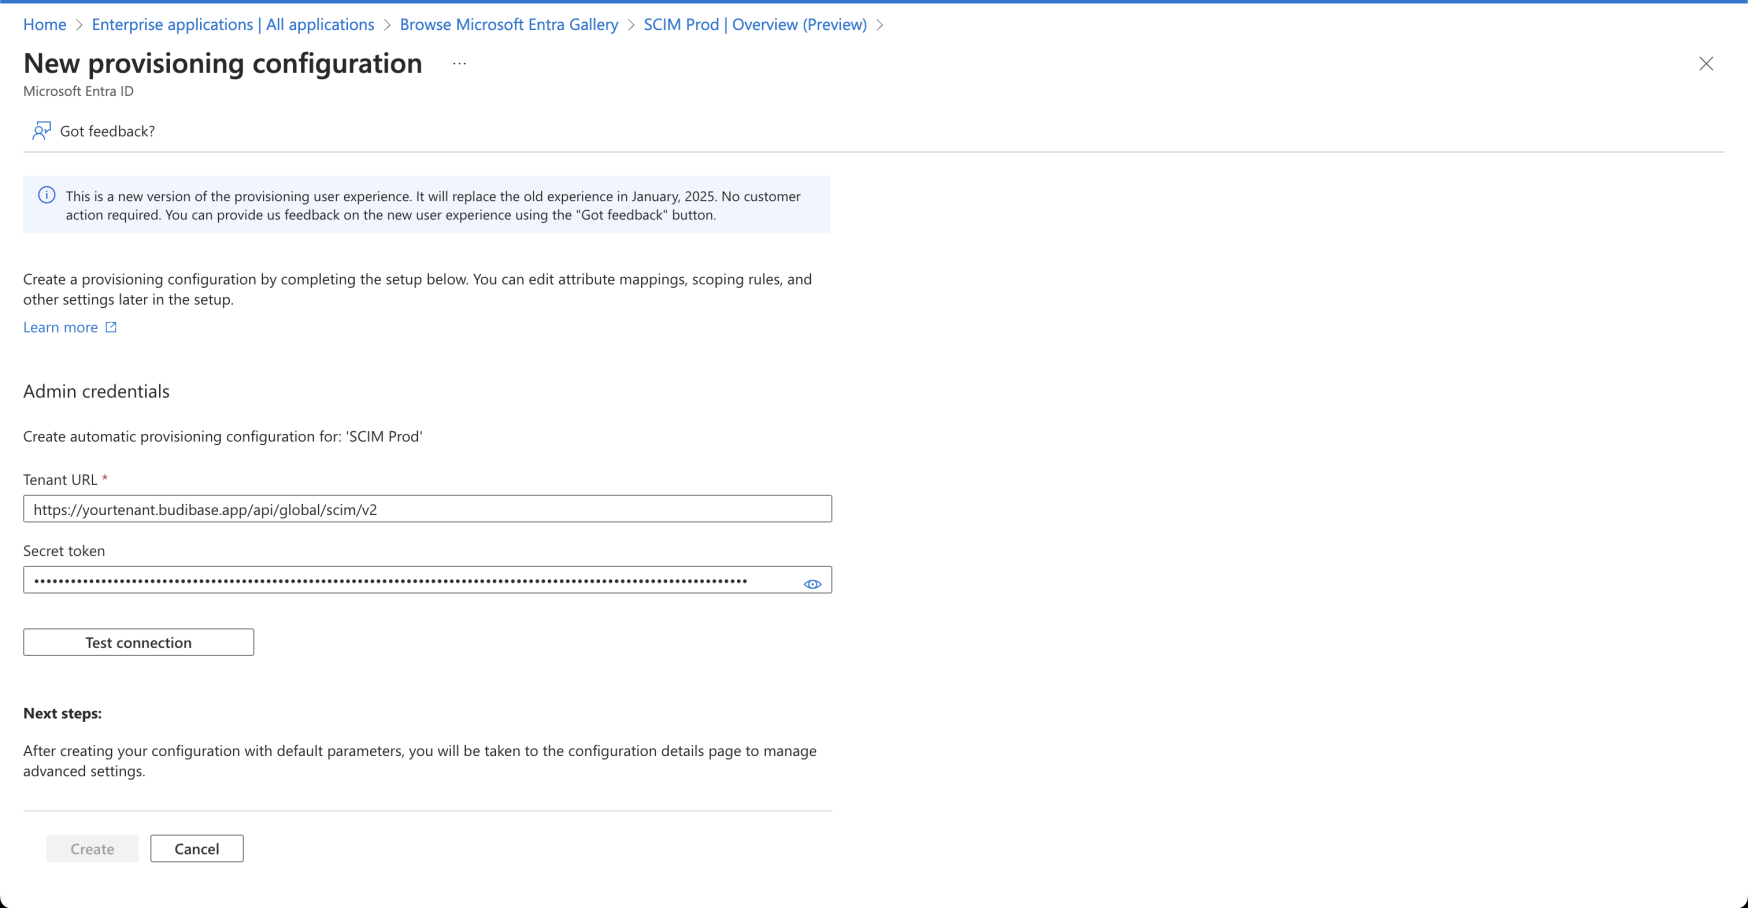
Click Test Connection to verify everything is correct. If all the information is correct, a notification will appear saying the connection was successful. The Create button at the bottom of this page will change from grayed out to blue when you successfully test the Budibase connection. Click the Create button.
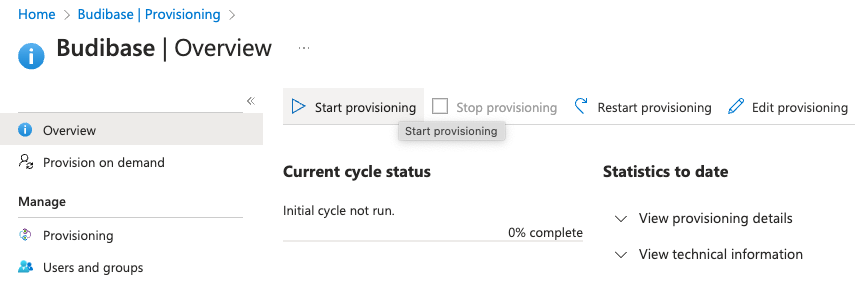
You will then be redirected to the Overview area for Provisioning. You can now click Start provisioning to sync your users and groups from your Azure enterprise app into Budibase.
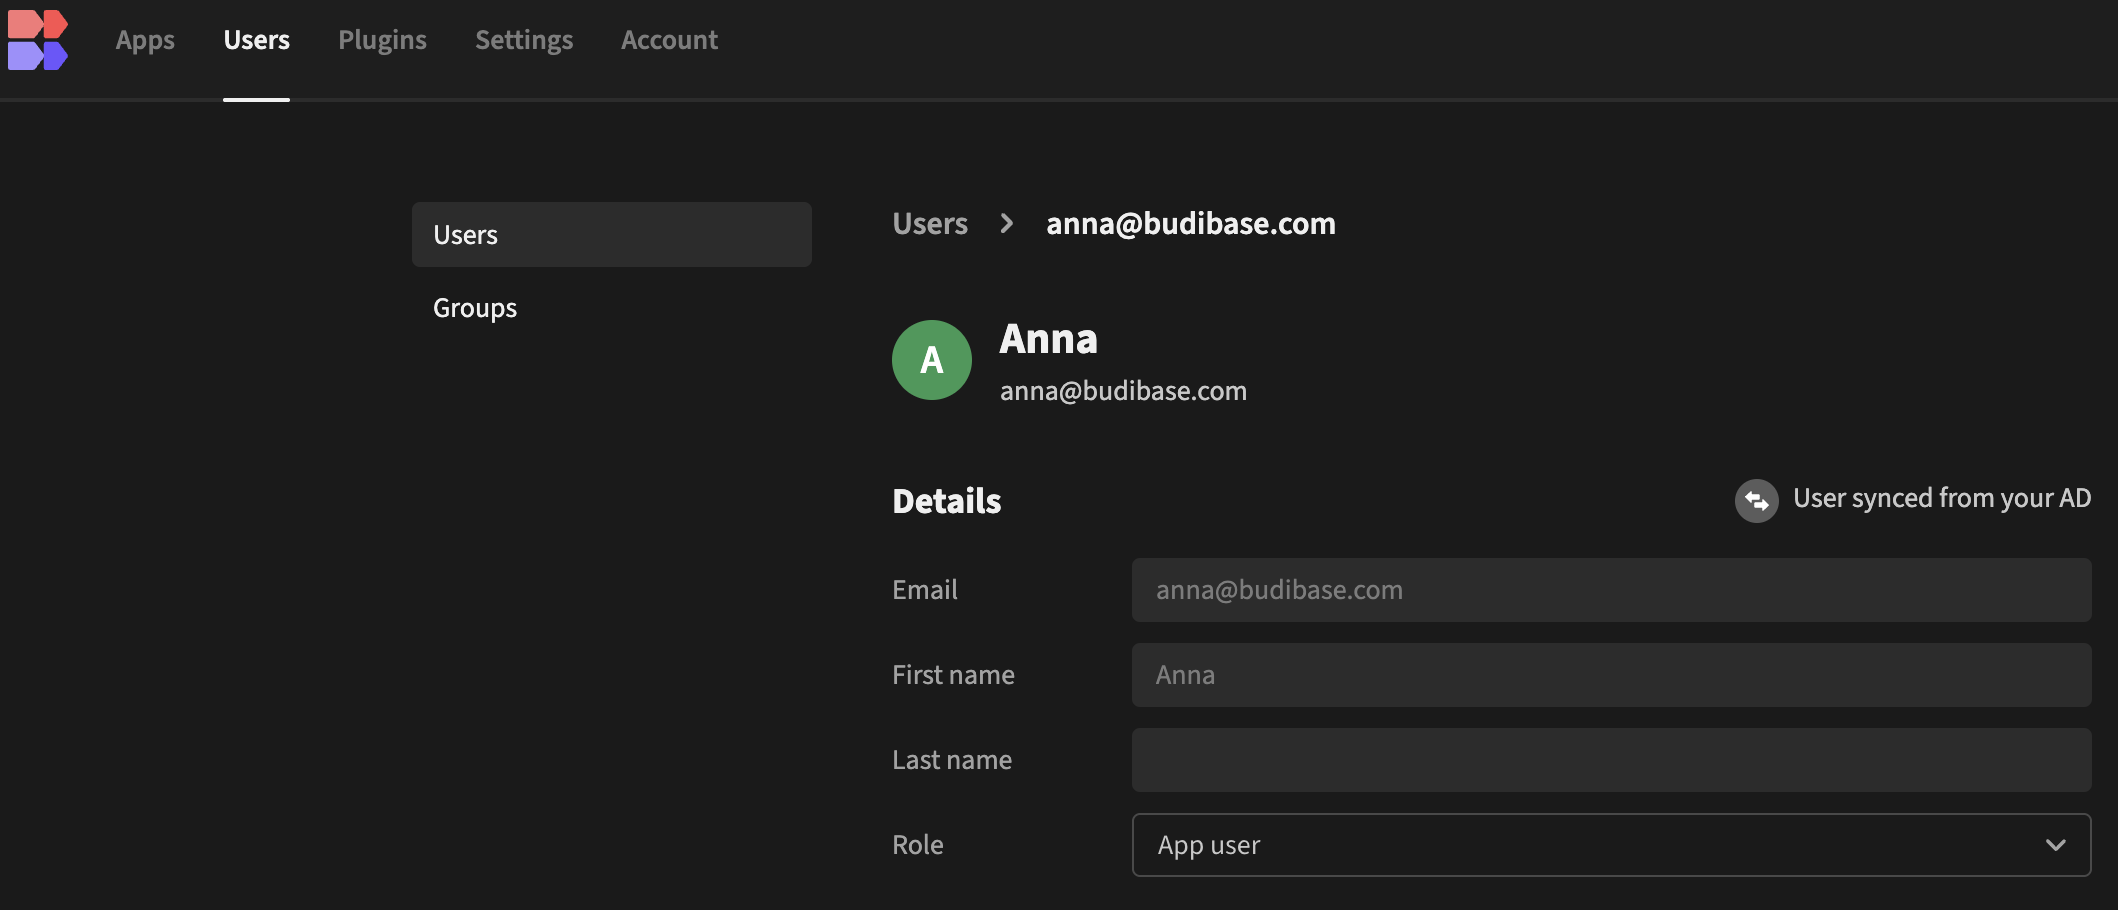
The Budibase portal now shows the users who have synced under the Users tab.
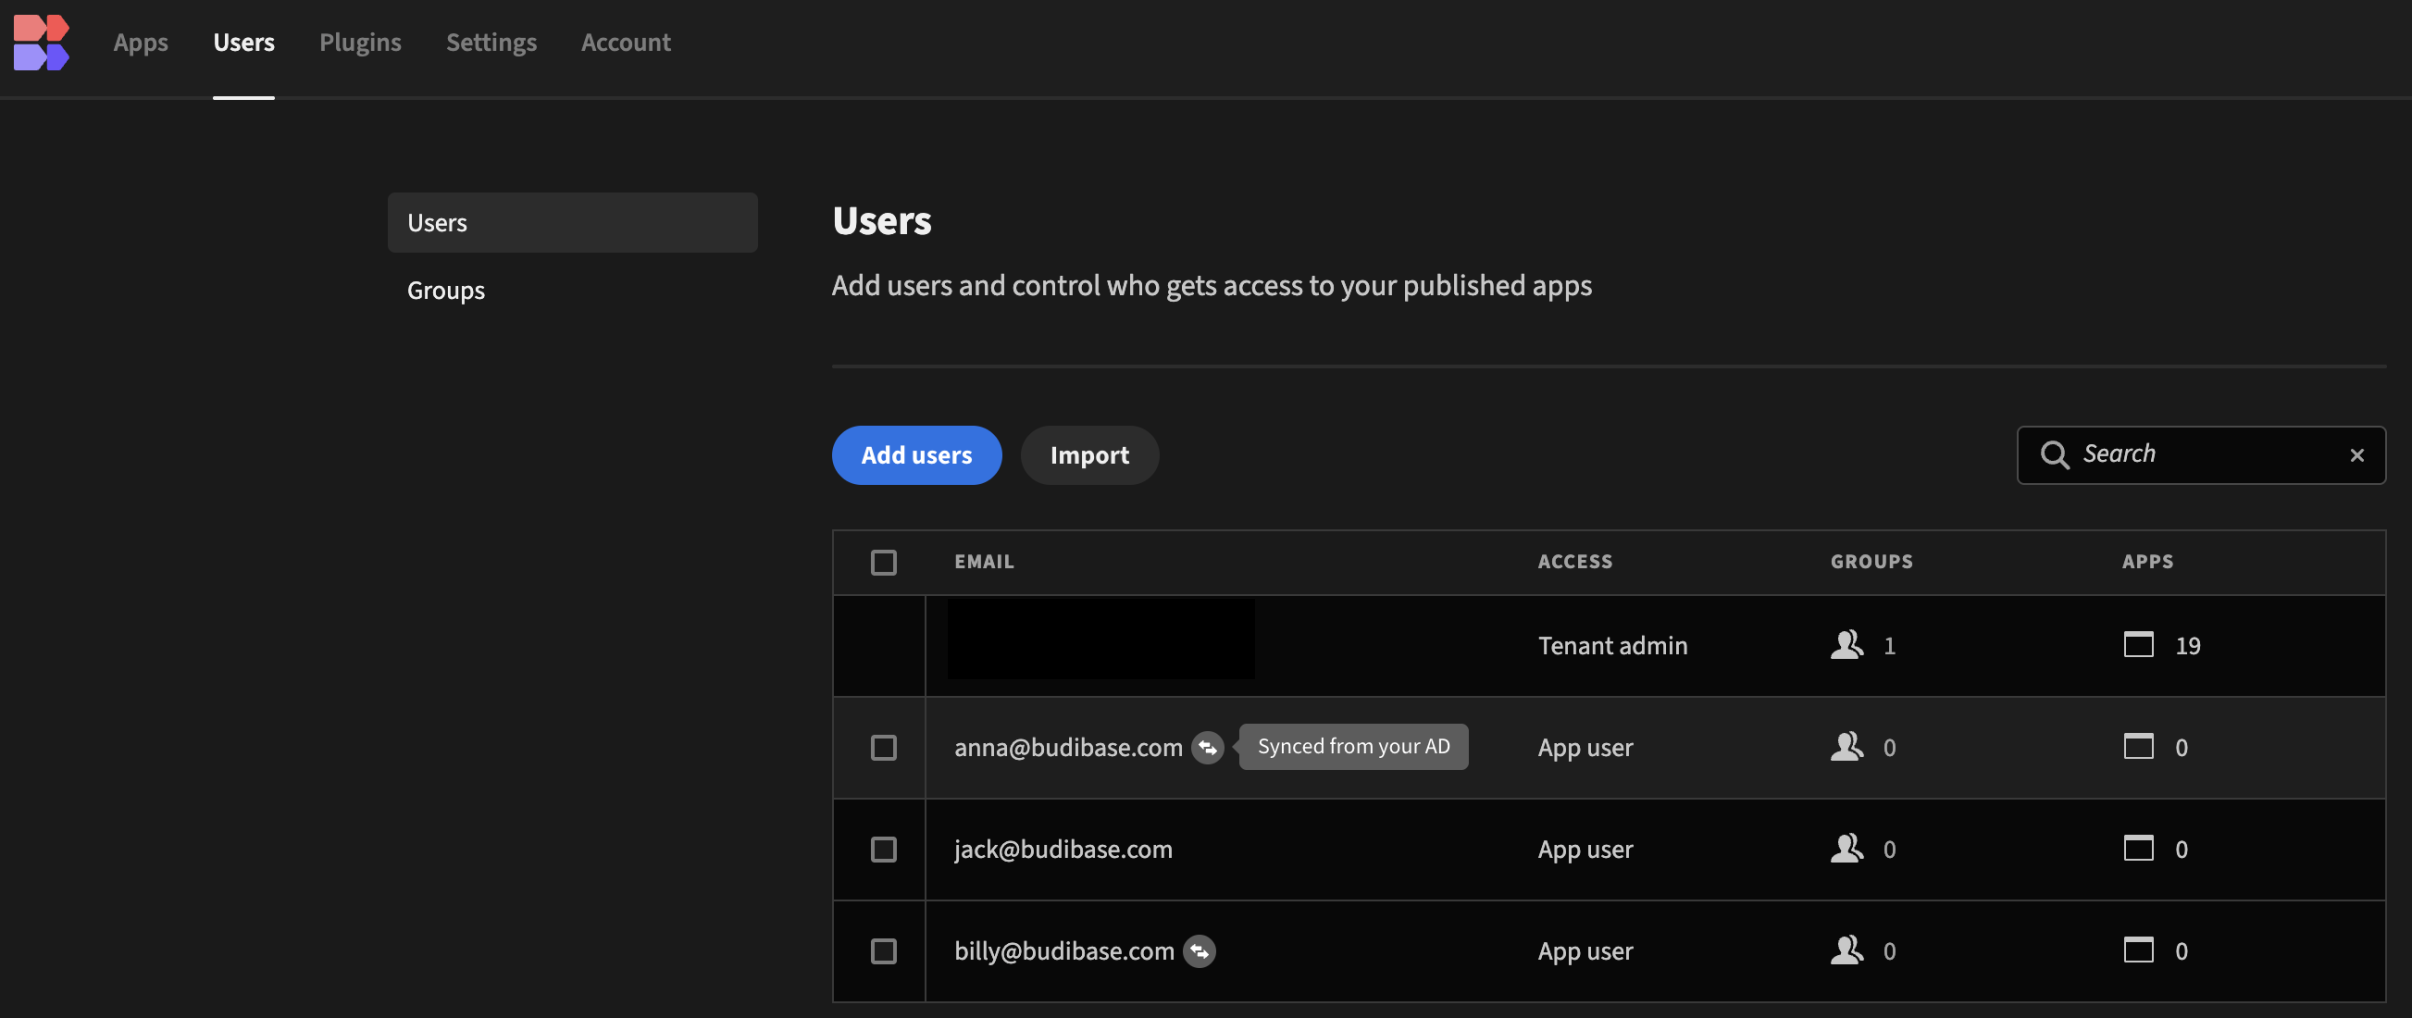
There is also a note in this section indicating that users are being synced from your AD.
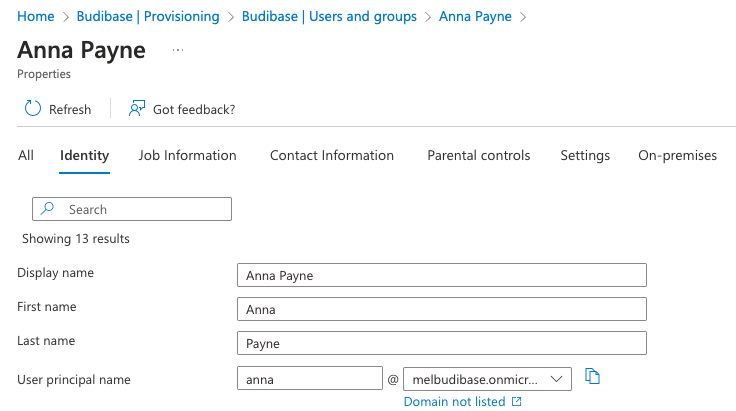
If you provide a first and last name for your Azure users, this will also be passed through, however other settings such as User roles and App roles must be set within Budibase.
Step 3 - Setup SSO and give app access
Finally, we need to ensure that provisioned users can log in to Budibase. In this case, you can follow the SSO with Azure AD guide.
Furthermore, make sure you have given your users and groups Application access.
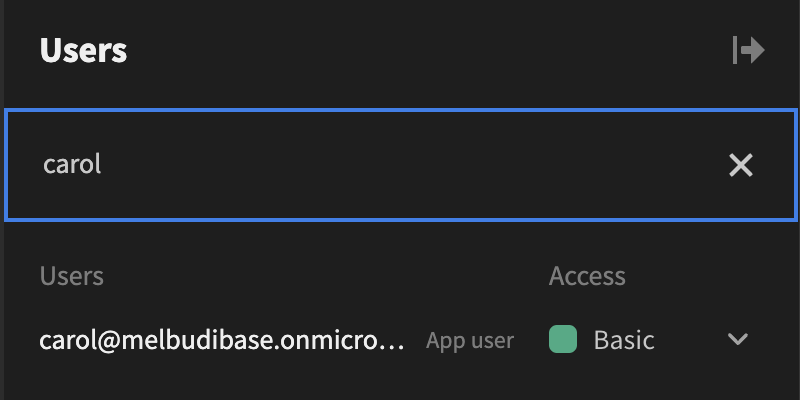
Giving Carol basic app access
Managing SCIM
Initial SCIM Sync Activation
What happens when a SCIM sync is activated for the first time?
- User Matching
- Existing Budibase users are matched with SCIM users by email.
- Matched users are marked as externally synced and managed externally thereafter.
- Group Matching:
- Existing groups are matched by name.
- Groups with matching names (e.g., “engineering”) are taken over as externally synced.
- User Assignment in Synced Groups:
- Existing assigned users will be wiped out
- SCIM specified users will be mapped to the group.
Managing SCIM Users
How to manage SCIM users?
- Identifying Synced Users:
- Synced users are marked with a sync logo in the Budibase builder.
- Certain fields will be read-only for synced users.
- Fields for Synced Users:
- Read-Only Fields: Email, name, and surname (managed via external SCIM datasource).
- Editable Fields: Role and other non-synced fields can be edited in Budibase.
- Non-SCIM Users:
- Users created manually or not matched with SCIM are fully editable in Budibase.
Managing SCIM Groups
How to manage SCIM groups?
- Identifying Synced Groups:
- Synced groups are marked with a sync logo in the Budibase builder.
- Some fields will be read-only for synced groups.
- Editable Fields for Synced Groups:
- Read-Only Fields: Group name (managed via SCIM).
- Editable Fields: Icons and other non-synced fields can be edited in Budibase.
- Non-SCIM Groups:
- Groups created manually or not matched with SCIM are fully managed in Budibase.