Send Email
Send an email through a configured SMTP server
Before you can use the Send Email action step, please make sure you have configured Email.
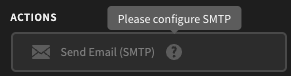
Please configure SMTP to use the Send Email action!
Settings
All of these settings support Bindings. For email address settings, you can provide multiple addresses by separating them with a comma, e.g. [email protected],[email protected]. You can also include a display name by using the format Display Name <[email protected]>.
| Setting | Description |
|---|---|
| Send To / From | The to / from email addresses. Supports display names, e.g. Budibase <[email protected]>. |
| CC / BCC | The carbon copy email addresses |
| Email subject | The subject line |
| HTML Contents | The body of the email, which support HTML tags. This will also be the {{ contents }} binding in the custom automation email template. |
Add calendar invite
Optionally you can attach a calendar invite to an email. Check the Add calendar invite box to see the additional invite settings:
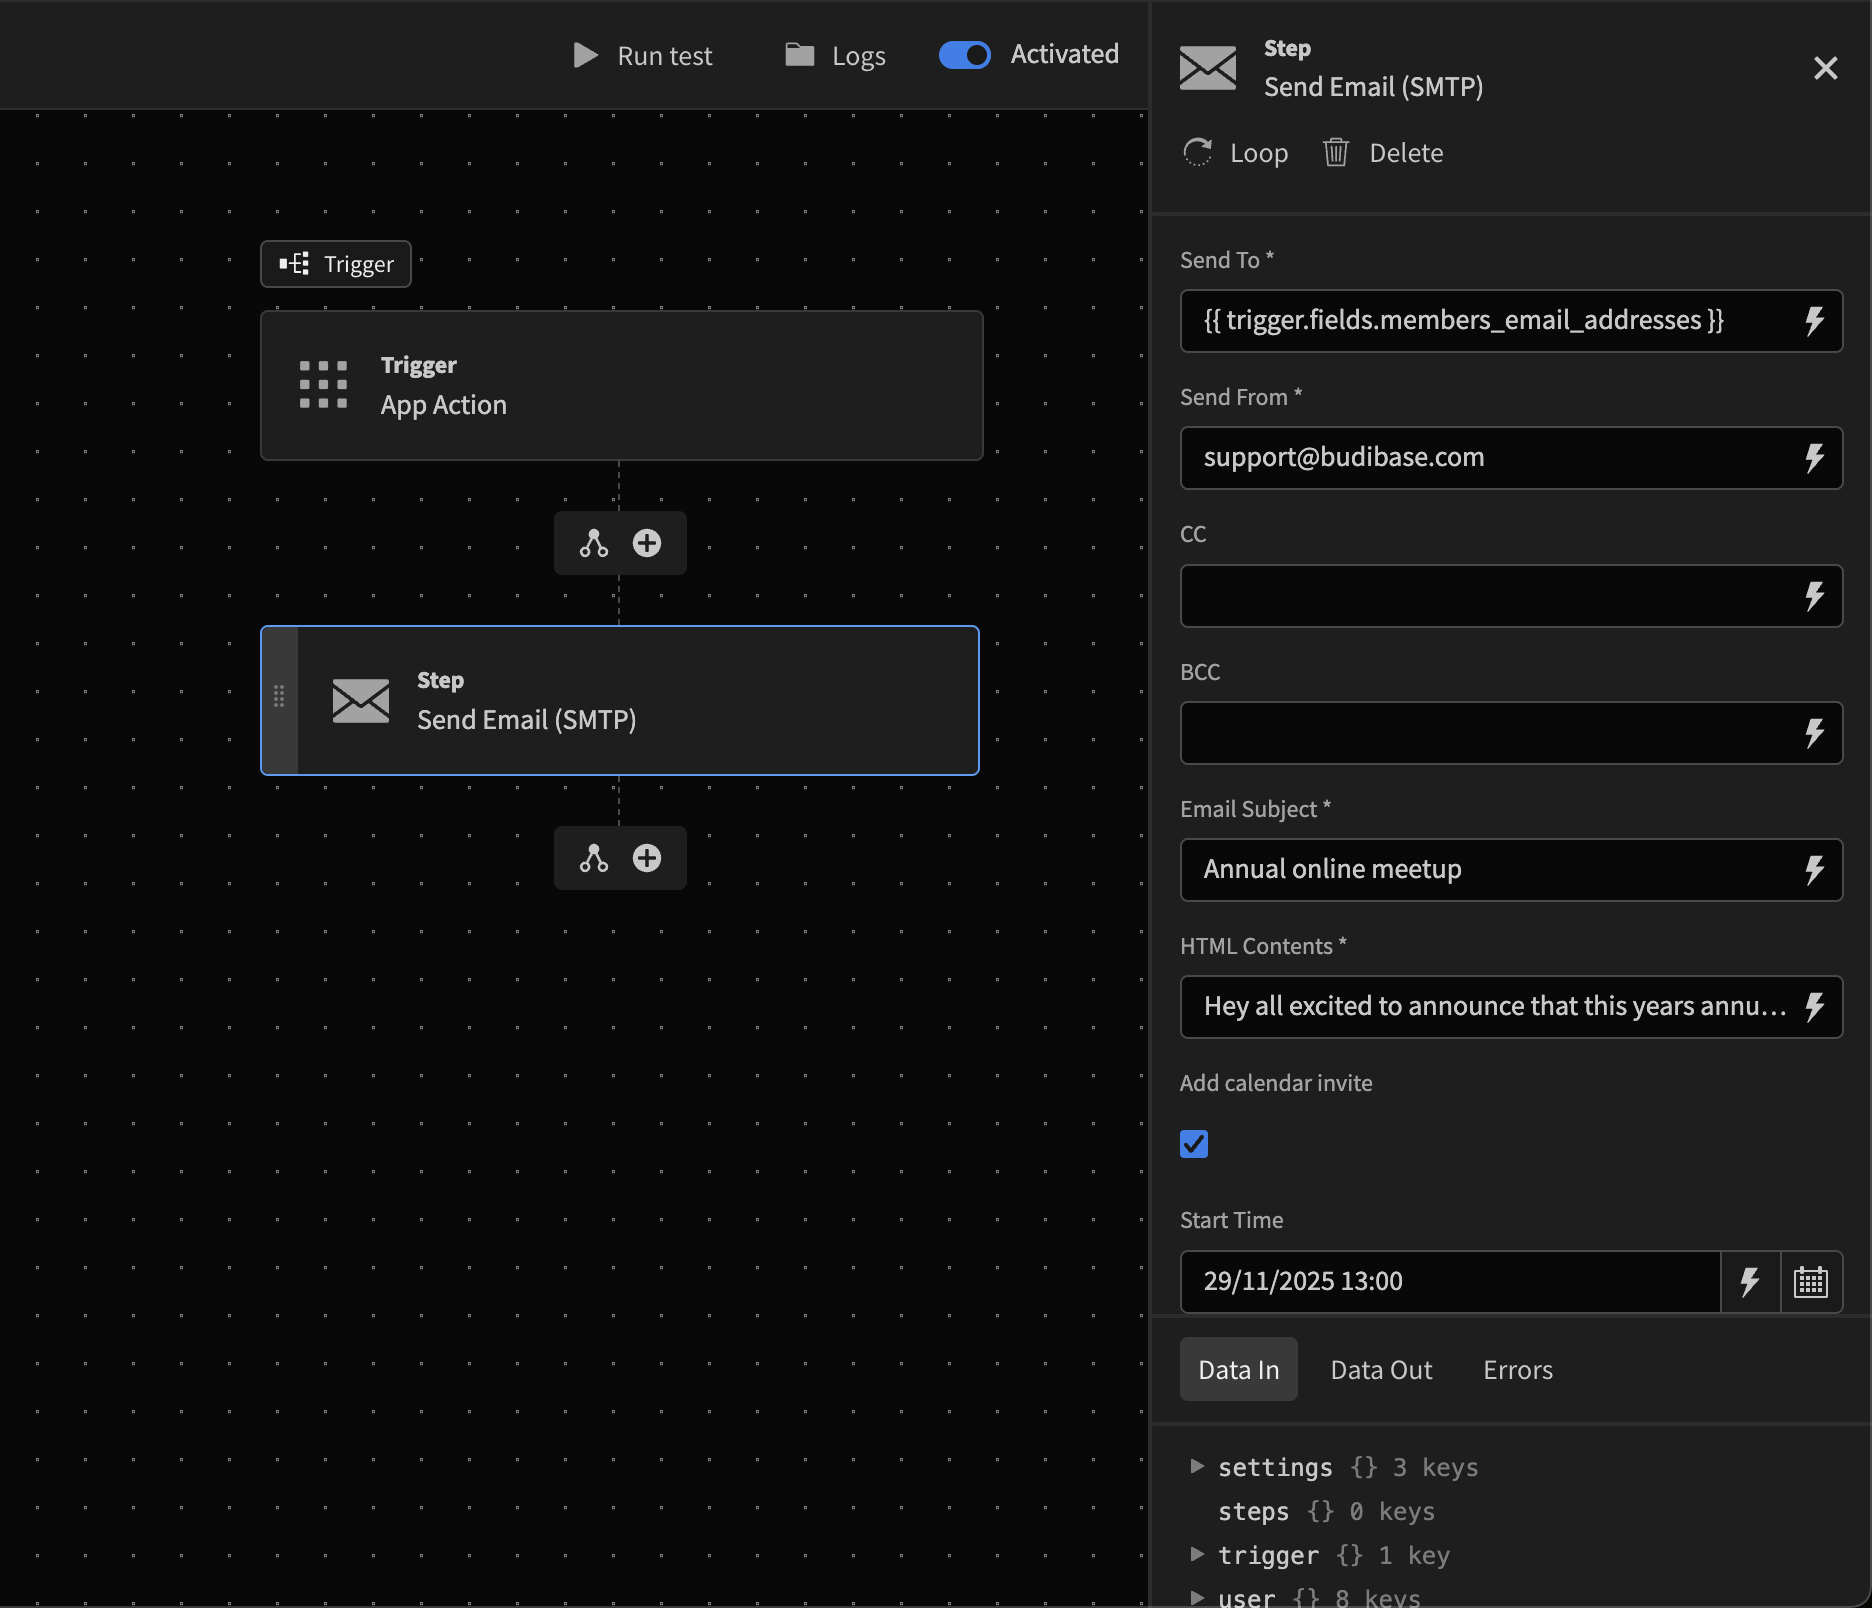
Sending a calendar invite
In this screenshot above, a start and end time for the meeting was manually selected, however you can also use Binding values, by clicking the lightning bolt icon.
Both the Location and URL properties are optional, as your meeting may be in person, or online.
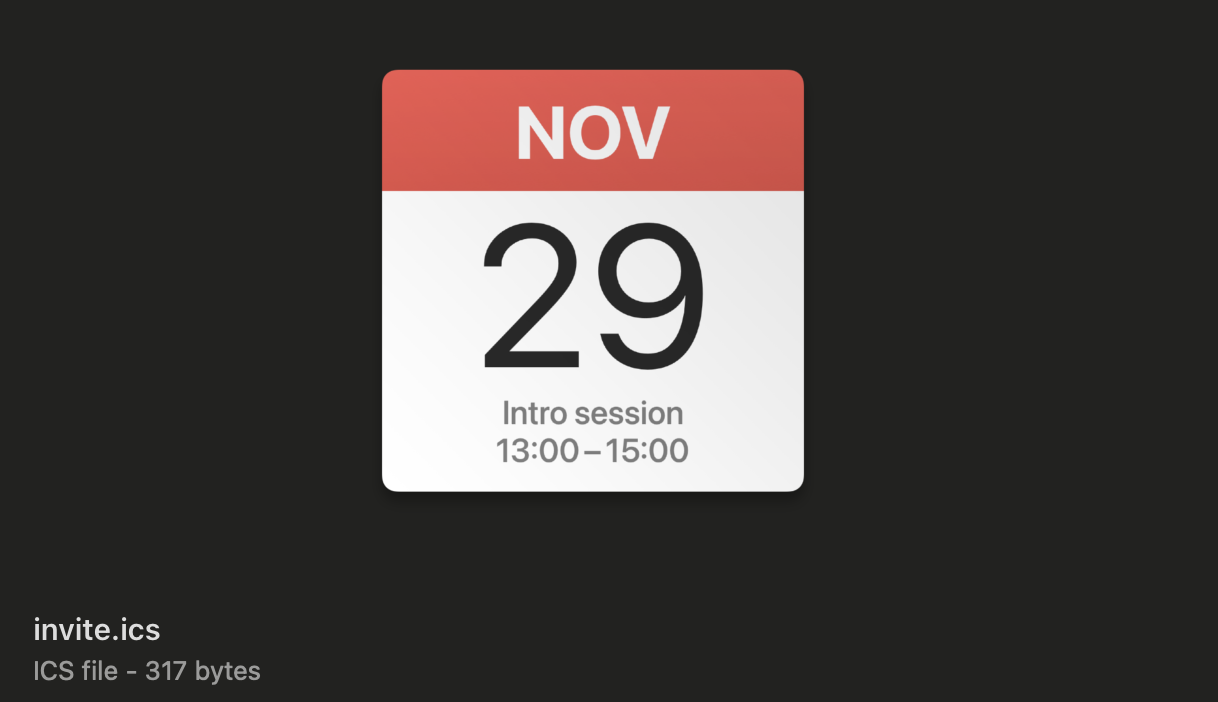
The email will then be received with an .ics invite file attached:
Adding Attachments
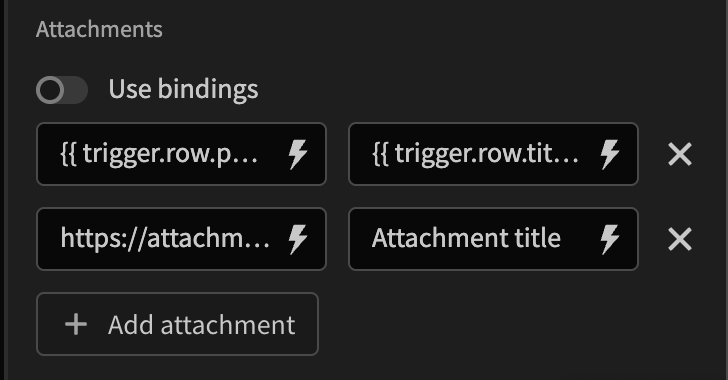
When adding attachments to the Send Email step, you will need to provide 2 parameters - the URL and the filename. These values can come from bindings, or plain text, or a mixture of the two.
These files will be attached to the email sent. Images attached this way may be displayed with the message body, or simply denoted in the list of attachments, depending on the recipient's mail client.
Alternatively, you can switch the "Use bindings" toggle to open the bindings draw. You should return an array of objects that match this pattern: {url: string, filename: string}. This is useful if you have an unspecified or undetermined number of attachments that you wish to attach.
return $("trigger.row.photos").map(photo => {
  return {url: photo.url, filename: photo.name}
})
Tutorial: Emailing new inventory details to a user
This tutorial will use the Inventory table from the Sample data. When a user assigns an inventory item, they will be sent an email with a summary of the item.
Step 1 - Automation
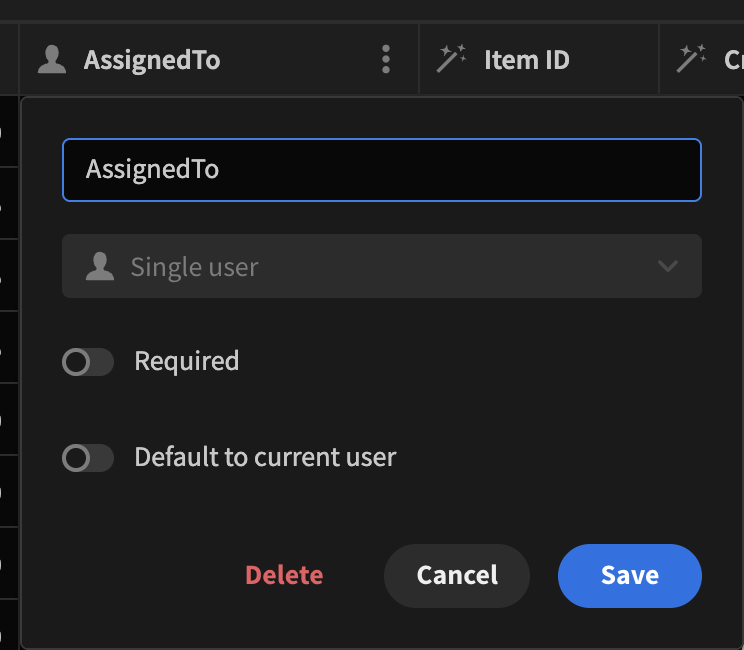
In the Data section, add a new User column to the Inventory table called 'AssignedTo' and click Save.
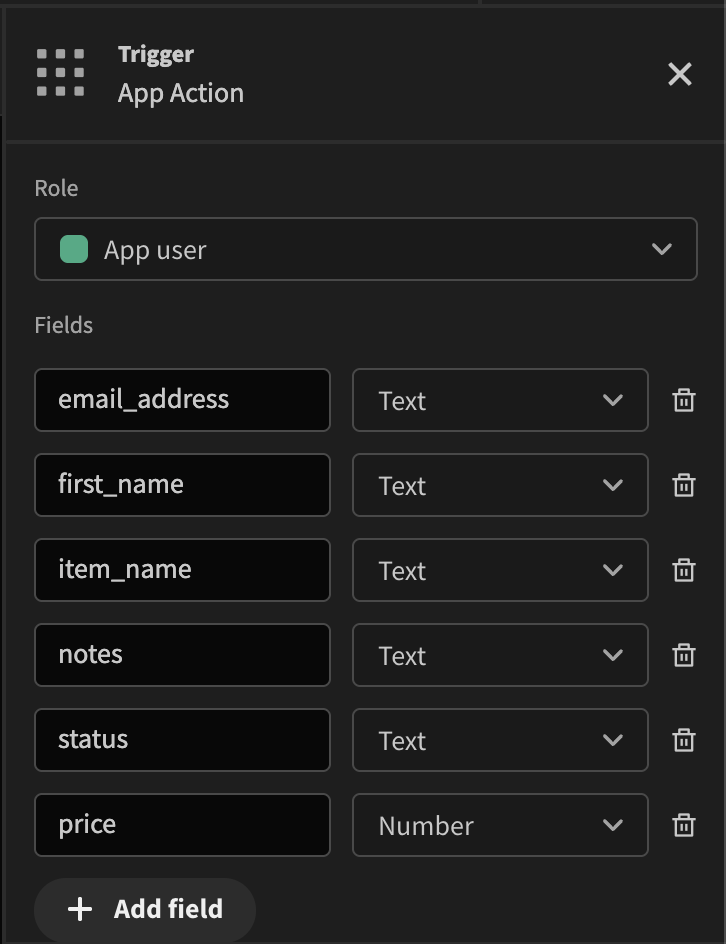
Next navigate to the Automation section. Click Add automation, enter the Name 'Confirmation email' and select On demand as the trigger.
Use the Add field button to add the following fields:
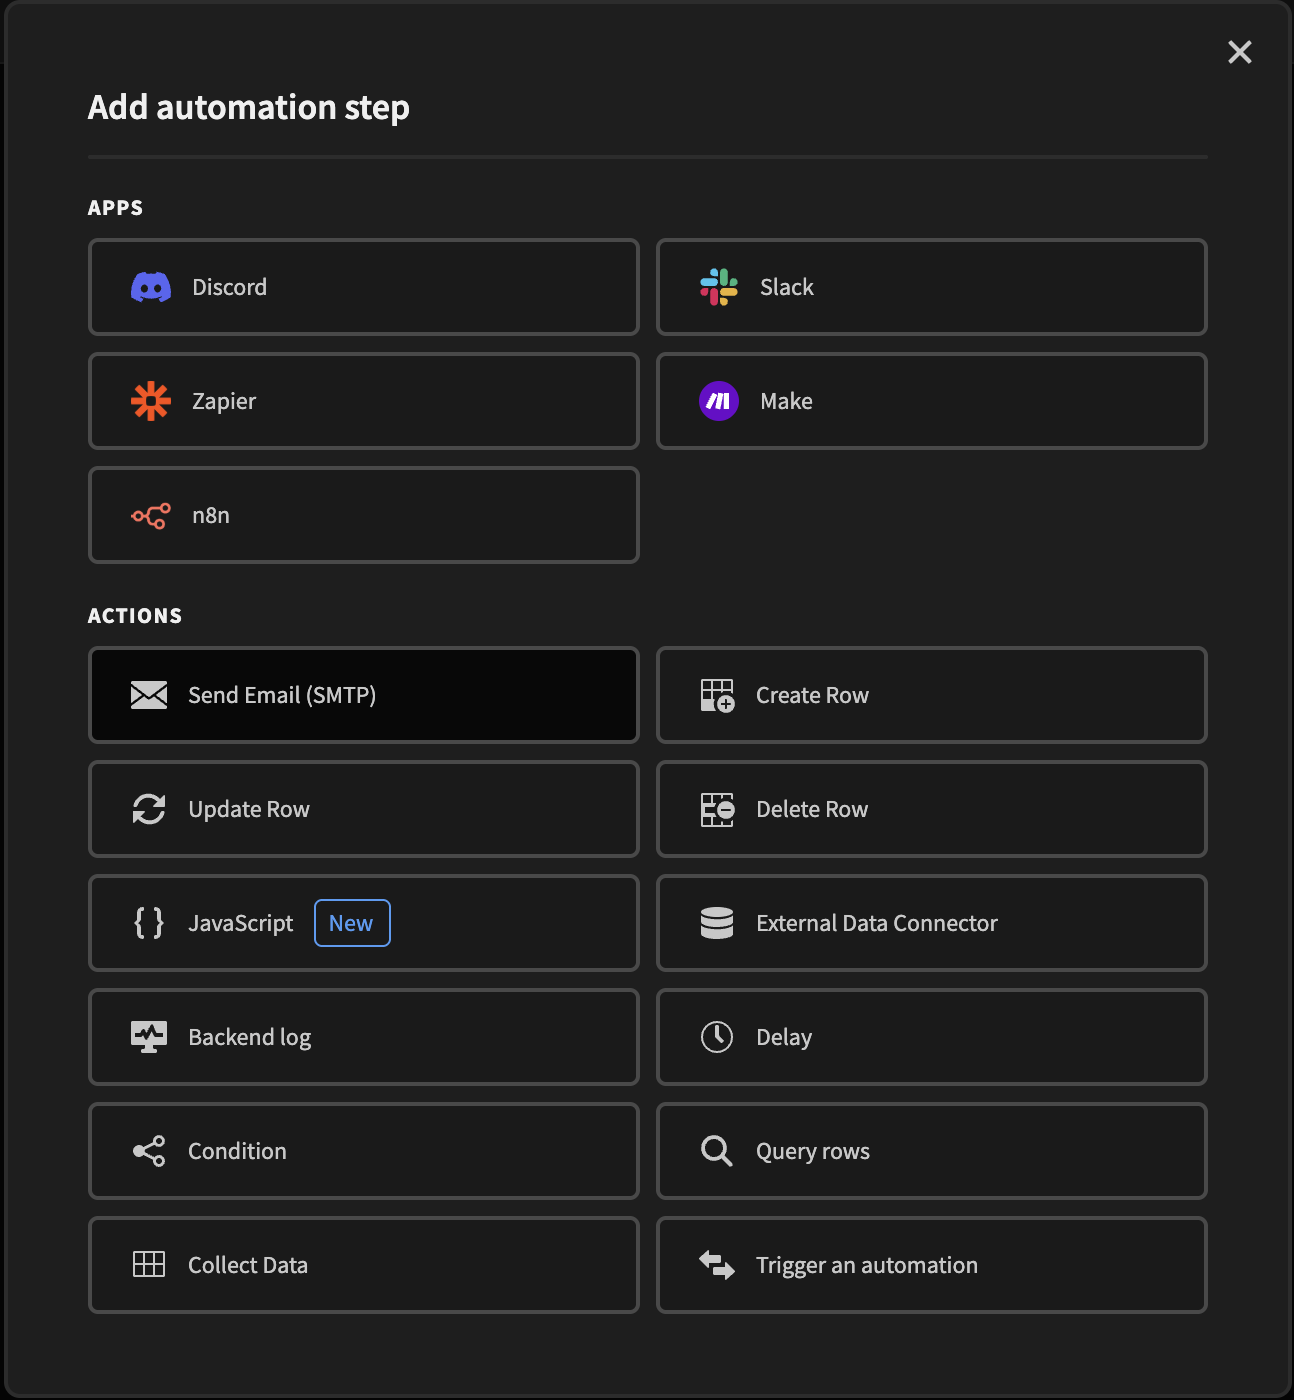
Click the + button to add the Send Email (SMTP) action step.
Set Send To as {{ trigger.fields.email_address }}, and provide a Send From address and Email Subject.
For the HTML Contents specify the email body text:
Hi {{ trigger.fields.first_name }},
<p>
The following item has been assigned to you:
<br>
<table>
  <tr>
    <th>Item Name</th><th>Notes</th><th>Status</th><th>Price</th>
  </tr>
  <tr>
    <td>{{ trigger.fields.item_name }}</td>
    <td>{{ trigger.fields.notes }}</td>
    <td>{{ trigger.fields.status }}</td>
    <td>{{ trigger.fields.price }}</td>
  </tr>
</table>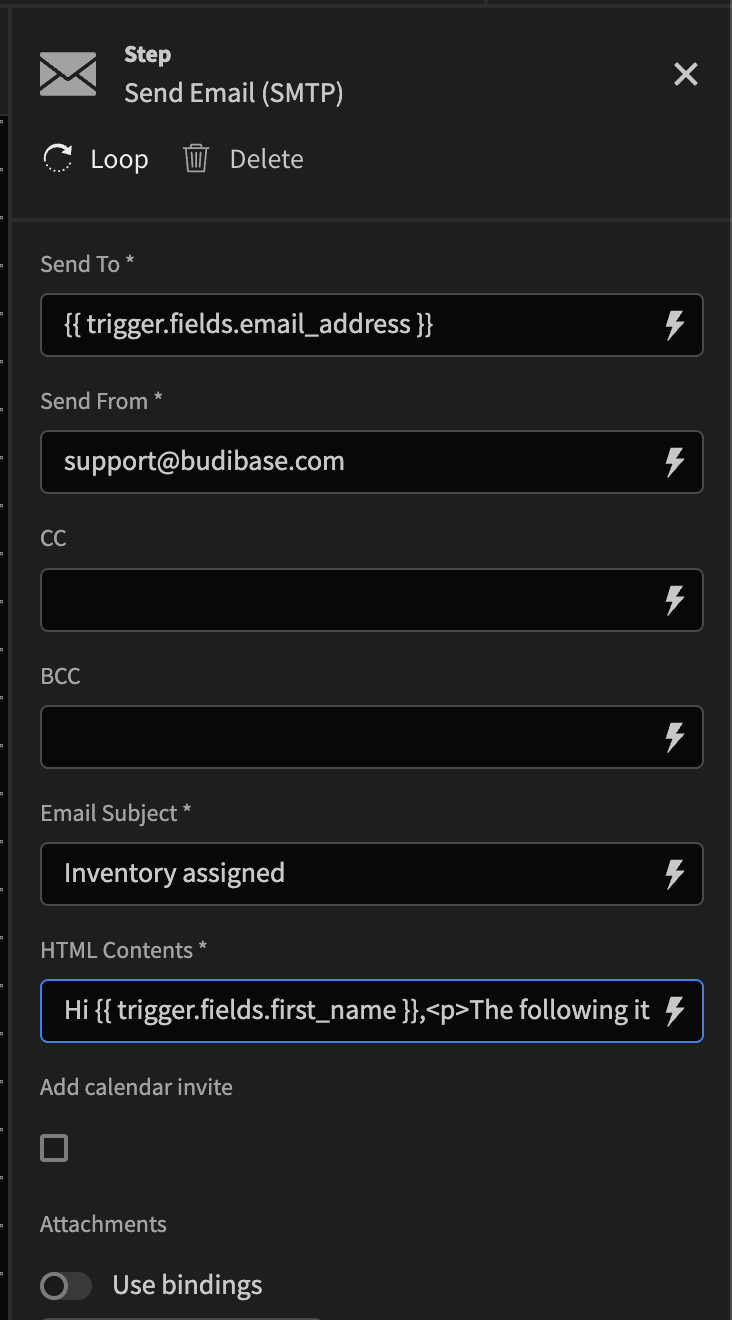
Step 2 - Design
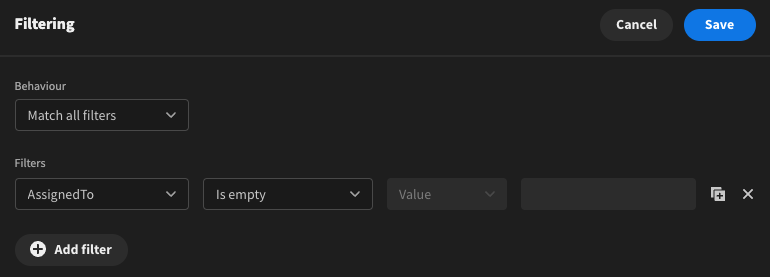
In the Design section. Add a Table for the Inventory table, with a filter: 'AssignedTo' Is empty
Add a Button to the table component.
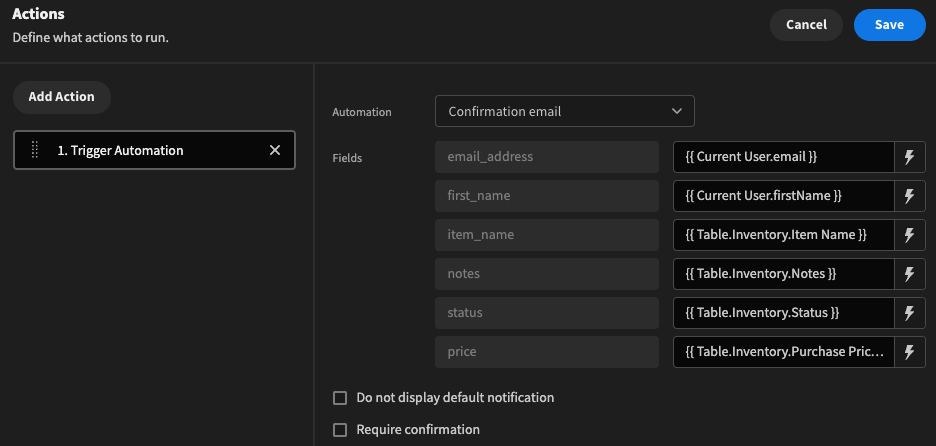
Use the setting cog to configure the buttons settings. Here you will be able to change its name and add on click actions. Add a Trigger automation action, selecting the automation you created in the previous step.
Set the email_address and first_name to the mapping bindings of the Current user.
Fill out the remaining field inputs with the table row bindings, like so:
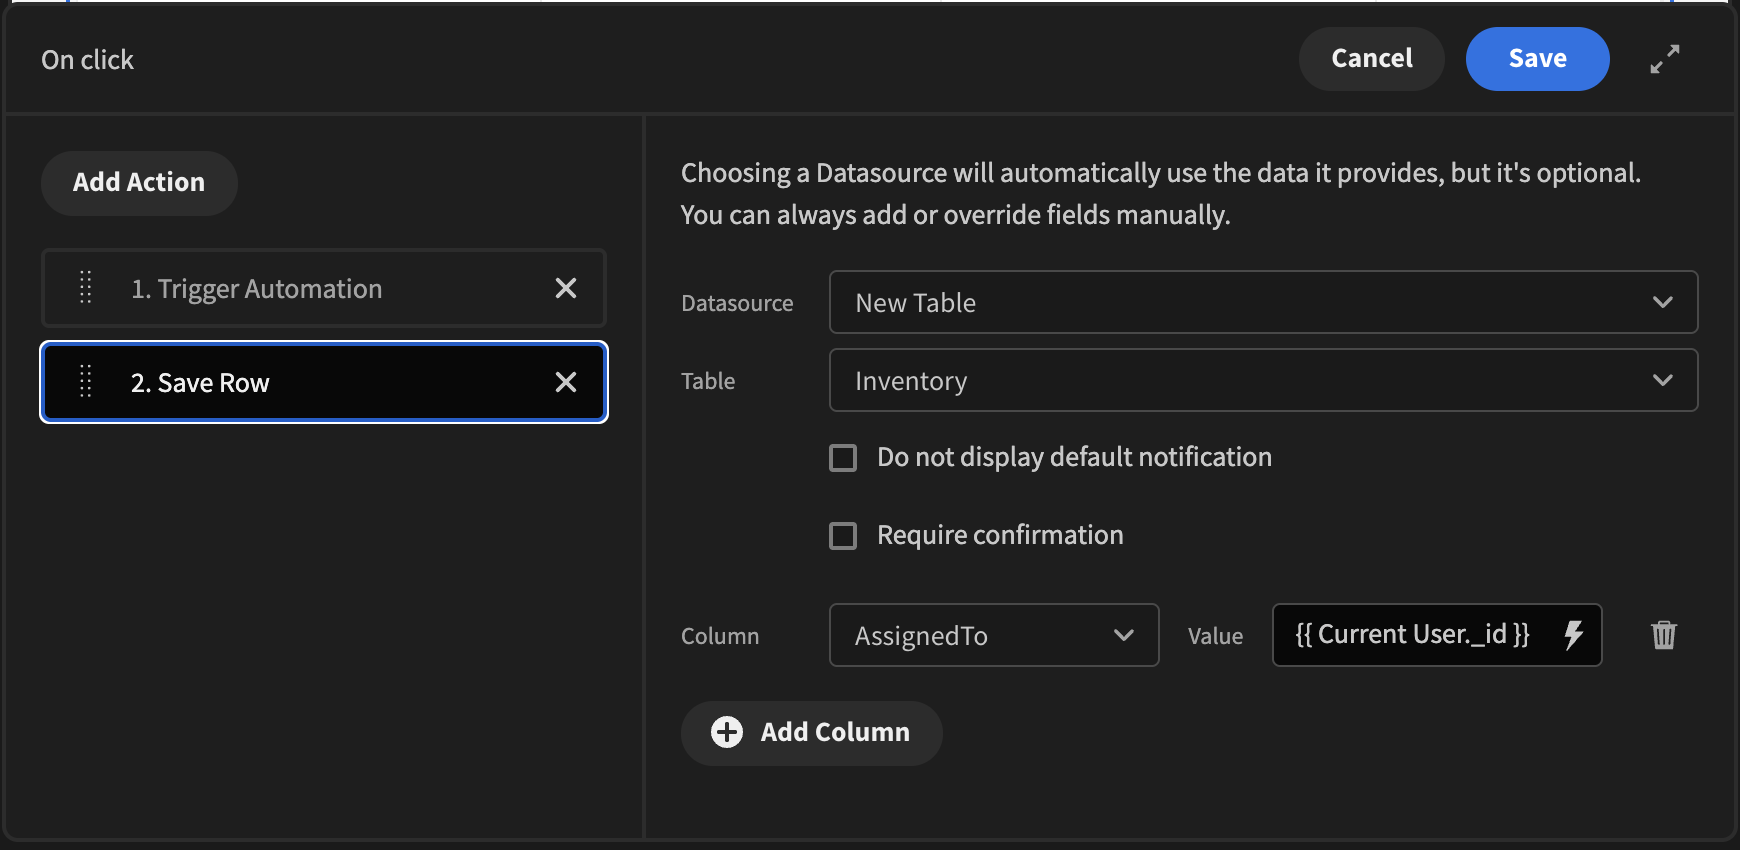
Add a Save Row action, select the table component as the Datasource, and Inventory as the target data table.
Click Add Column, and set AssignedTo as {{ Current User._id }}.
Example of received email
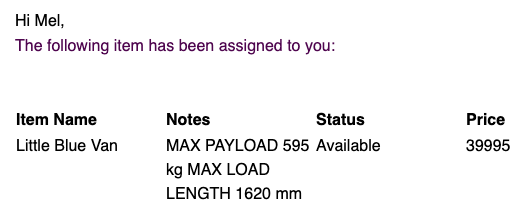
Ideally you want to specify styling in the custom automation email template.
Updated 9 days ago