

Date picker
The Date Picker allows you to select a Date, DateTime or Time, depending on your settings.
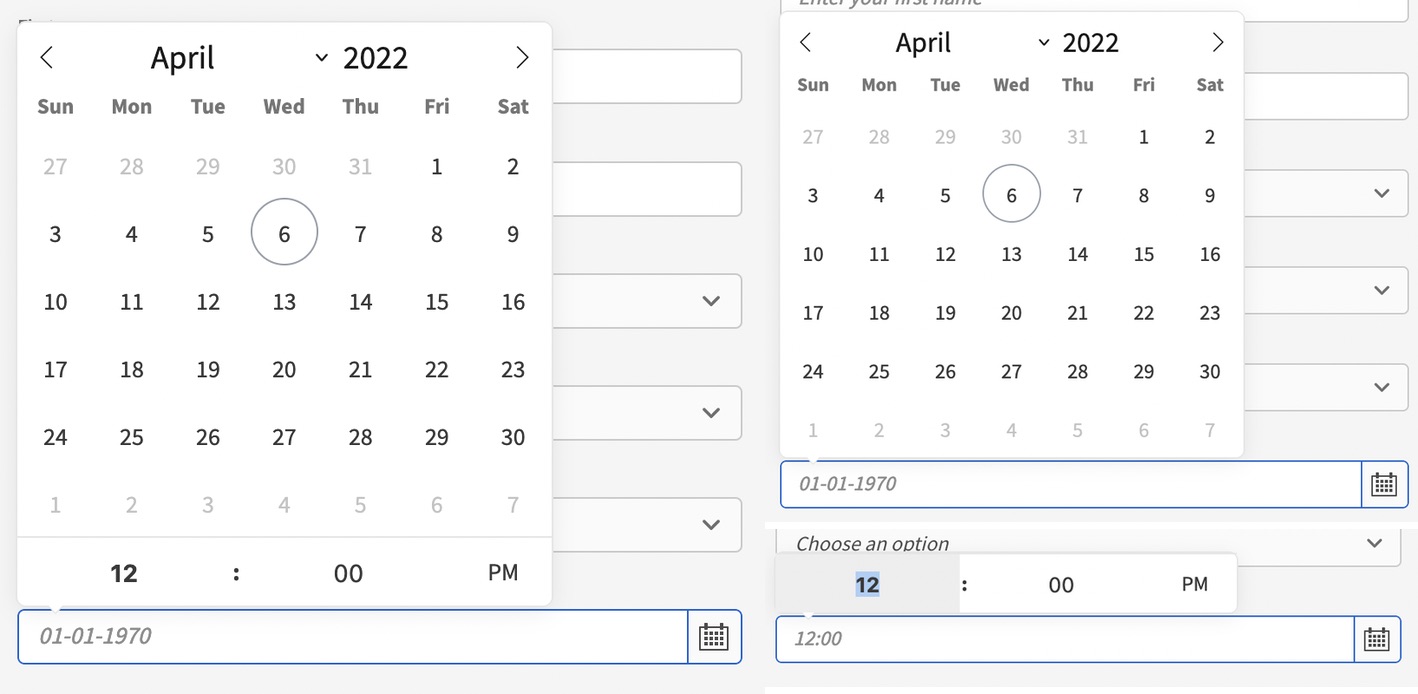
Left: Date/time; Top-right: Date; Bottom-right: Time
As you can see above there's three flavours of the date and/or time pickers.
Add a date picker
The Date Picker needs to be a child of the Form component.
To add the Date Picker component, click Form > Date Picker.
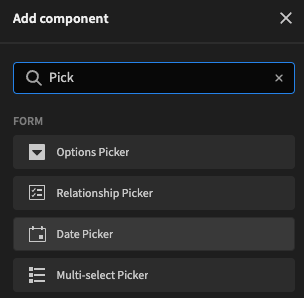
After the Date Picker is added you can start to configure it.
Date, Date/Time or Time?
To choose between the different types of pickers, you can use two checkboxes in the Settings Panel to get three different results.
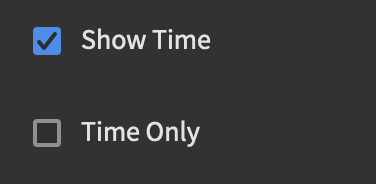
To get the results, only check the box which are mentioned below.
- Date/time: ☑️ Show Time
- Date: 🔘 Show Time + 🔘 Time Only
- Time: ☑️ Time Only
When configuring a Date (date only) picker, you can also use the Set time to setting to specify a fixed time (e.g., 23:59:59) that will be saved alongside the selected date. This is particularly useful for ensuring that "Less than or equal to" filters include records from the entire selected day.
Using the calendar
In addition to clicking the navigation arrows, users can use gestures to move between months:
- Scroll: On desktop, use a mouse wheel or trackpad to scroll over the calendar body to change months.
- Swipe: On touch devices, swipe horizontally across the calendar body to move to the next or previous month.
Further configuration
| Setting | Description |
|---|---|
| Field | Connected field from the parent Form element, or custom by typing in a field name. |
| Label | The text visible to the user next to the Date Picker as a descriptor of the field |
| Placeholder | The text displayed in a lighter tint inside the Date Picker. Will only display when the picker has no value |
| Default Value | When a default value is provided, every time the form is opened this will be prefilled in the Date Picker. Entering this will also prevent the Placeholder from showing |
| Set time to | Only available when Show Time is unchecked. Allows you to specify a fixed time that will be saved with the date. Useful for range-based filtering. |
| Disabled | When checked, disables the field; The user cannot change the value. |
Updated 21 days ago