SSO with Keycloak
Configure SSO using OpenID Connect and Keycloak
OpenID ConnectTo become familiar with OpenID Connect in Budibase, see: OpenID Connect
Configuration
Realm Setup
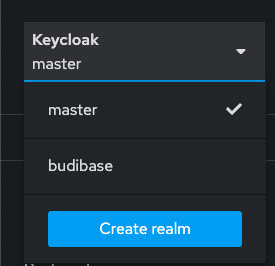
It's advised to use a realm other than the master realm in keycloak. The master realm in Keycloak contains your admin user and is meant to only be used as a top level admin space, where you can provision and manage other admin users and new realms.
To create a new realm, log in as your admin user at <keycloak-url>/admin and go to the realm dropdown on the left. Click "Create realm" and name your new realm, then save.
Add a Client
The first step of configuring Keycloak for OIDC in Budibase is to create a client. Log into Keycloak admin console with your admin credentials:
Visit the 'Clients' pane on the left side of your Keycloak admin console and click the 'Create client' button.

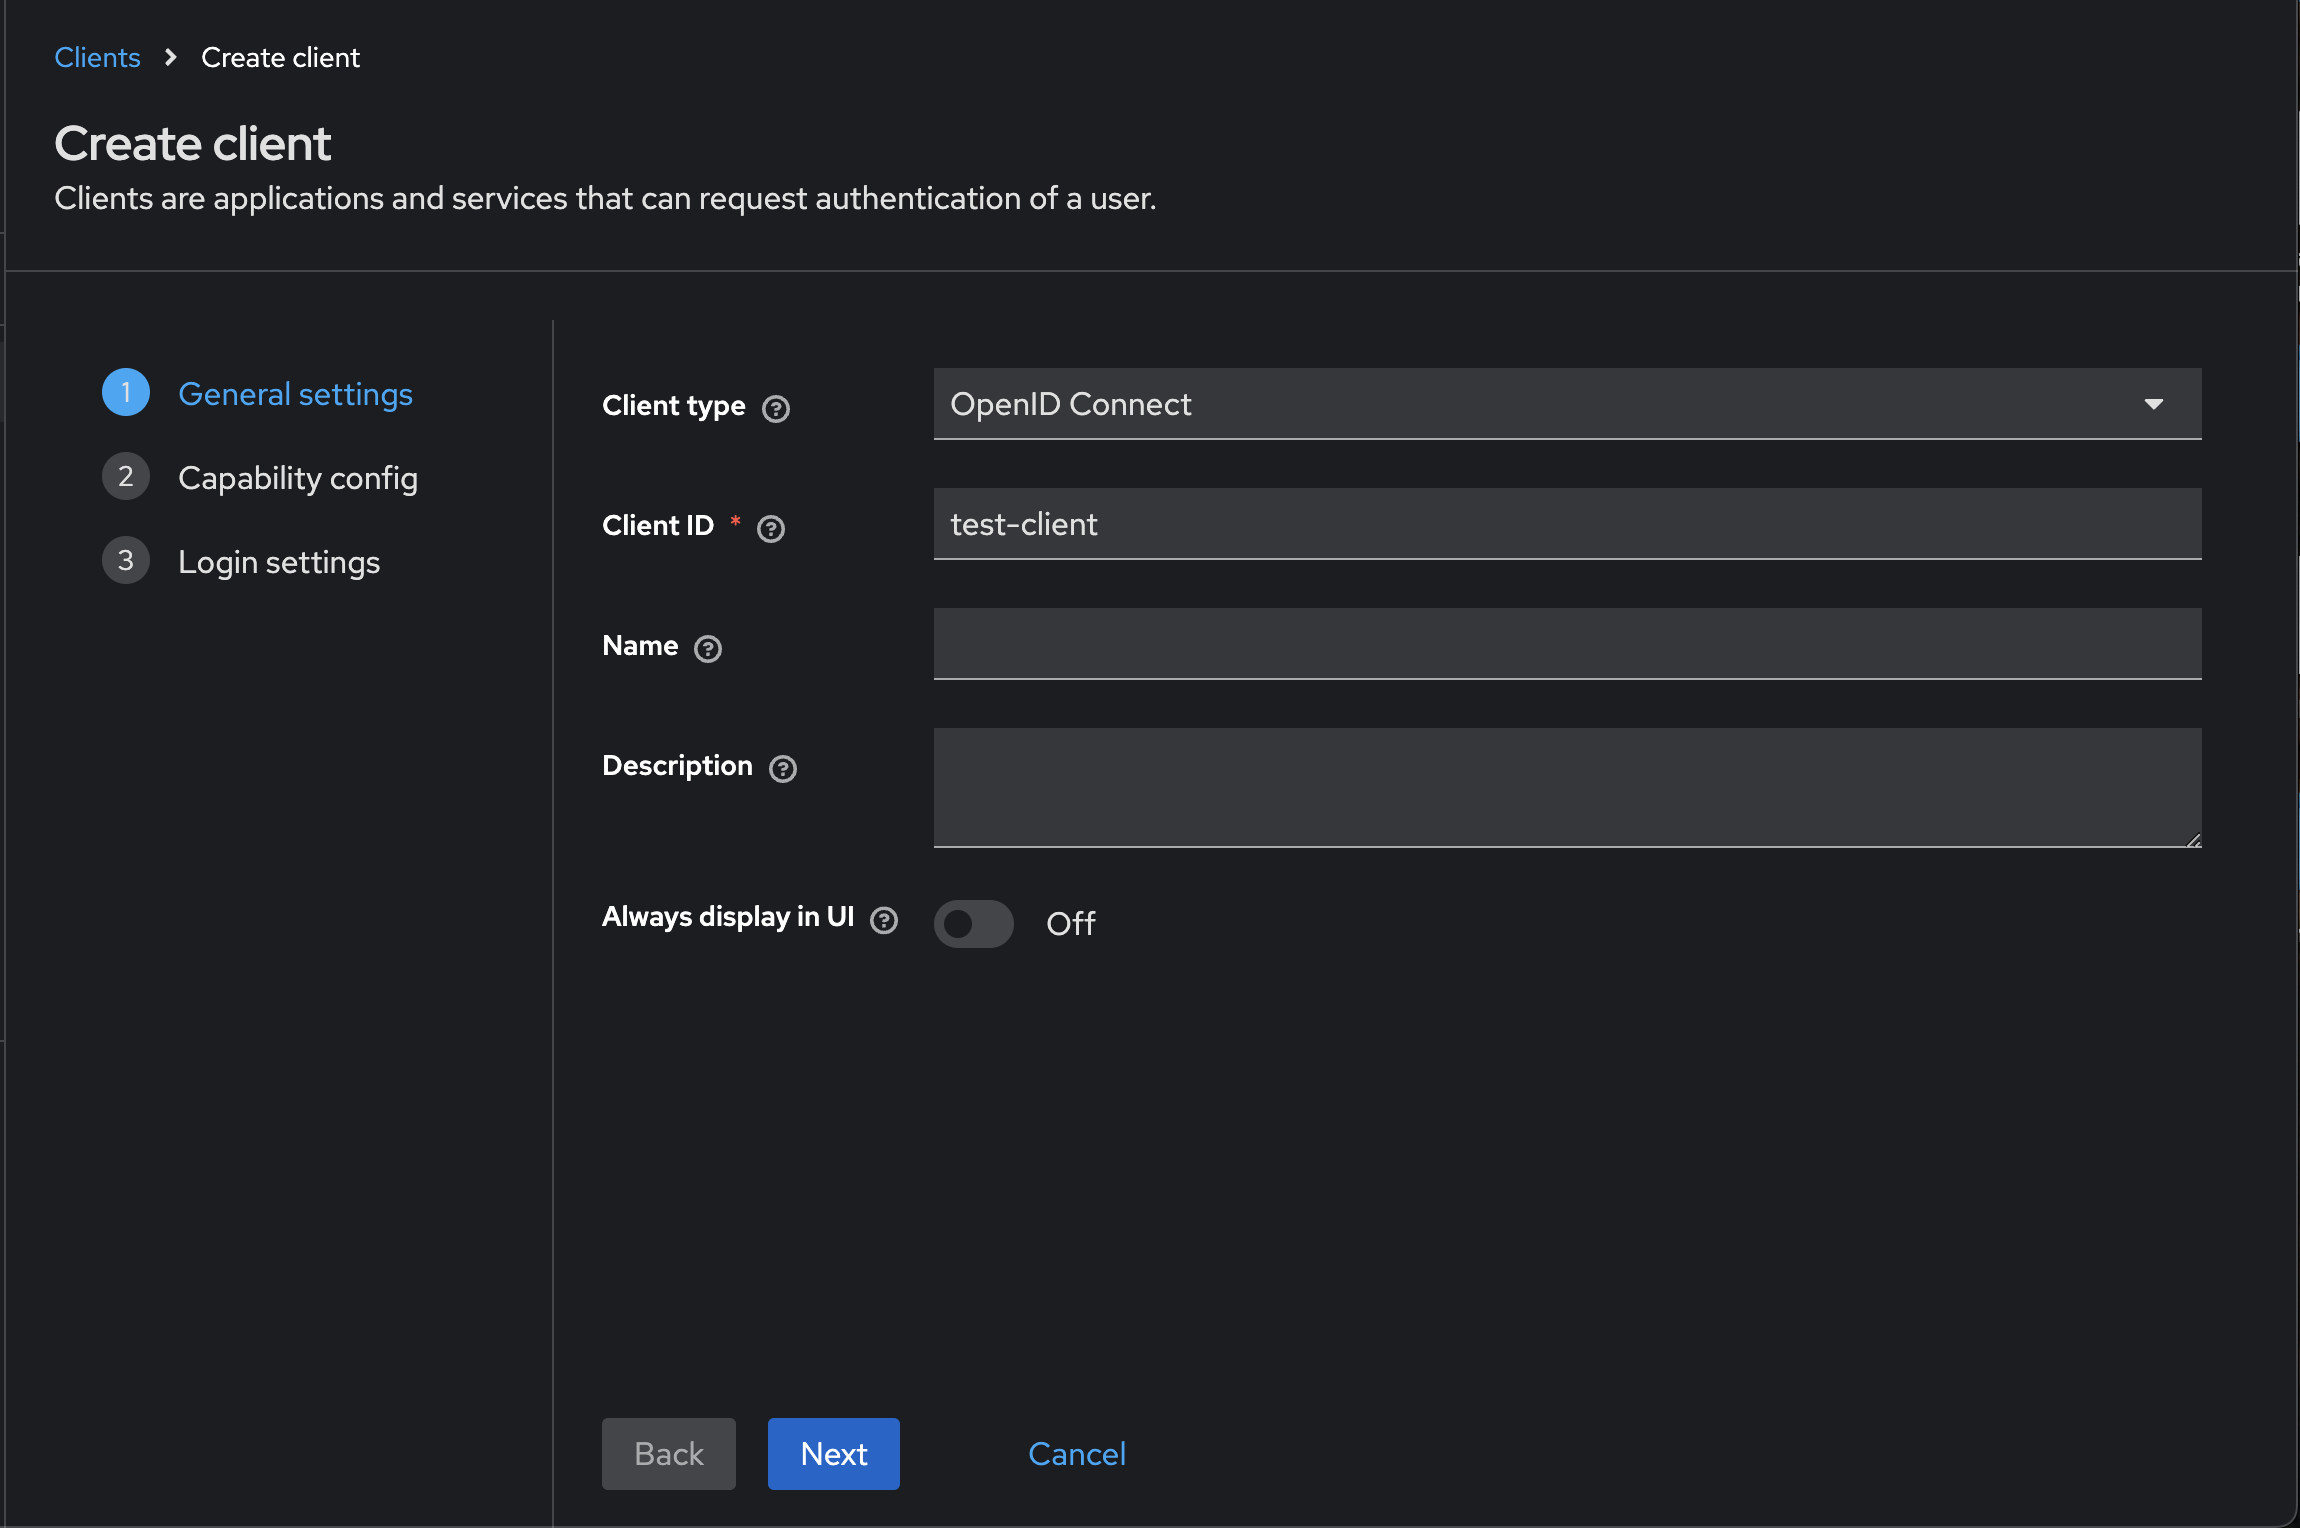
Give your new client an ID and select 'OpenID Connect' from the dropdown. Then click next. This client ID will be the one you use in Budibase to connect your Keycloak instance for OIDC authentication.
(If you have a client already created, bypass this step.)
Capability config
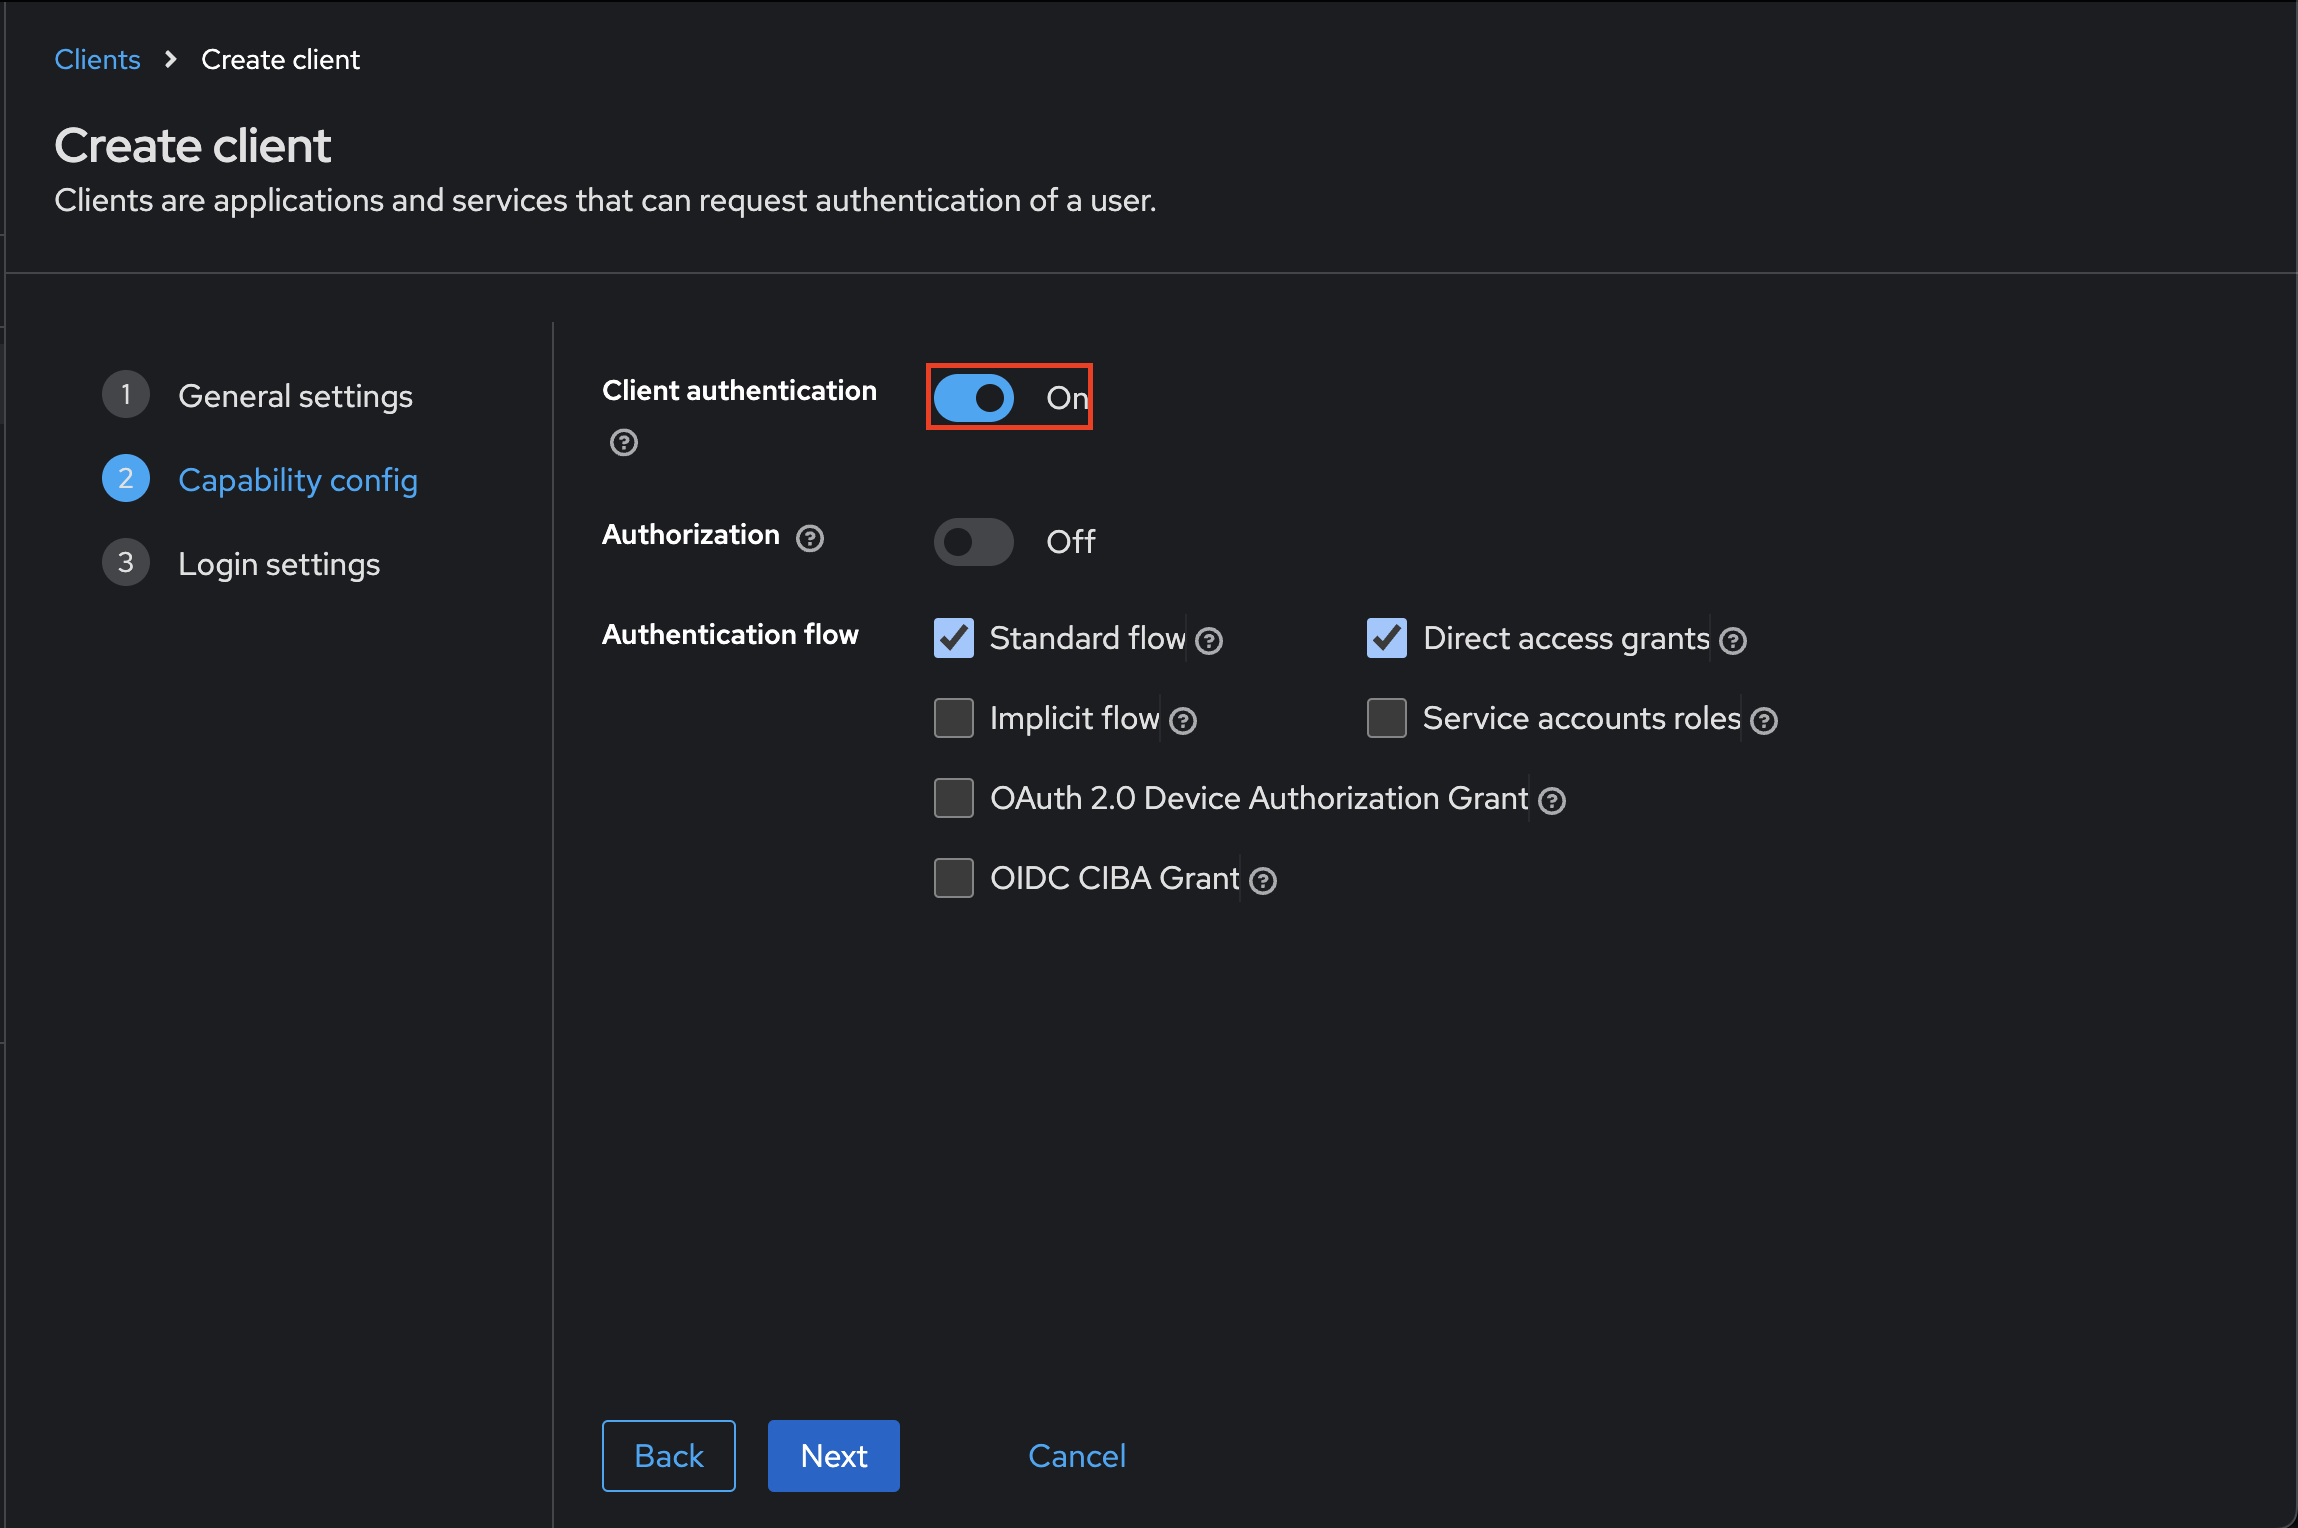
In the Capability config screen, toggle on 'Client authentication'. This will generate a secret key for the client, which you will use within the Budibase OIDC configuration later. Click the 'next' button.
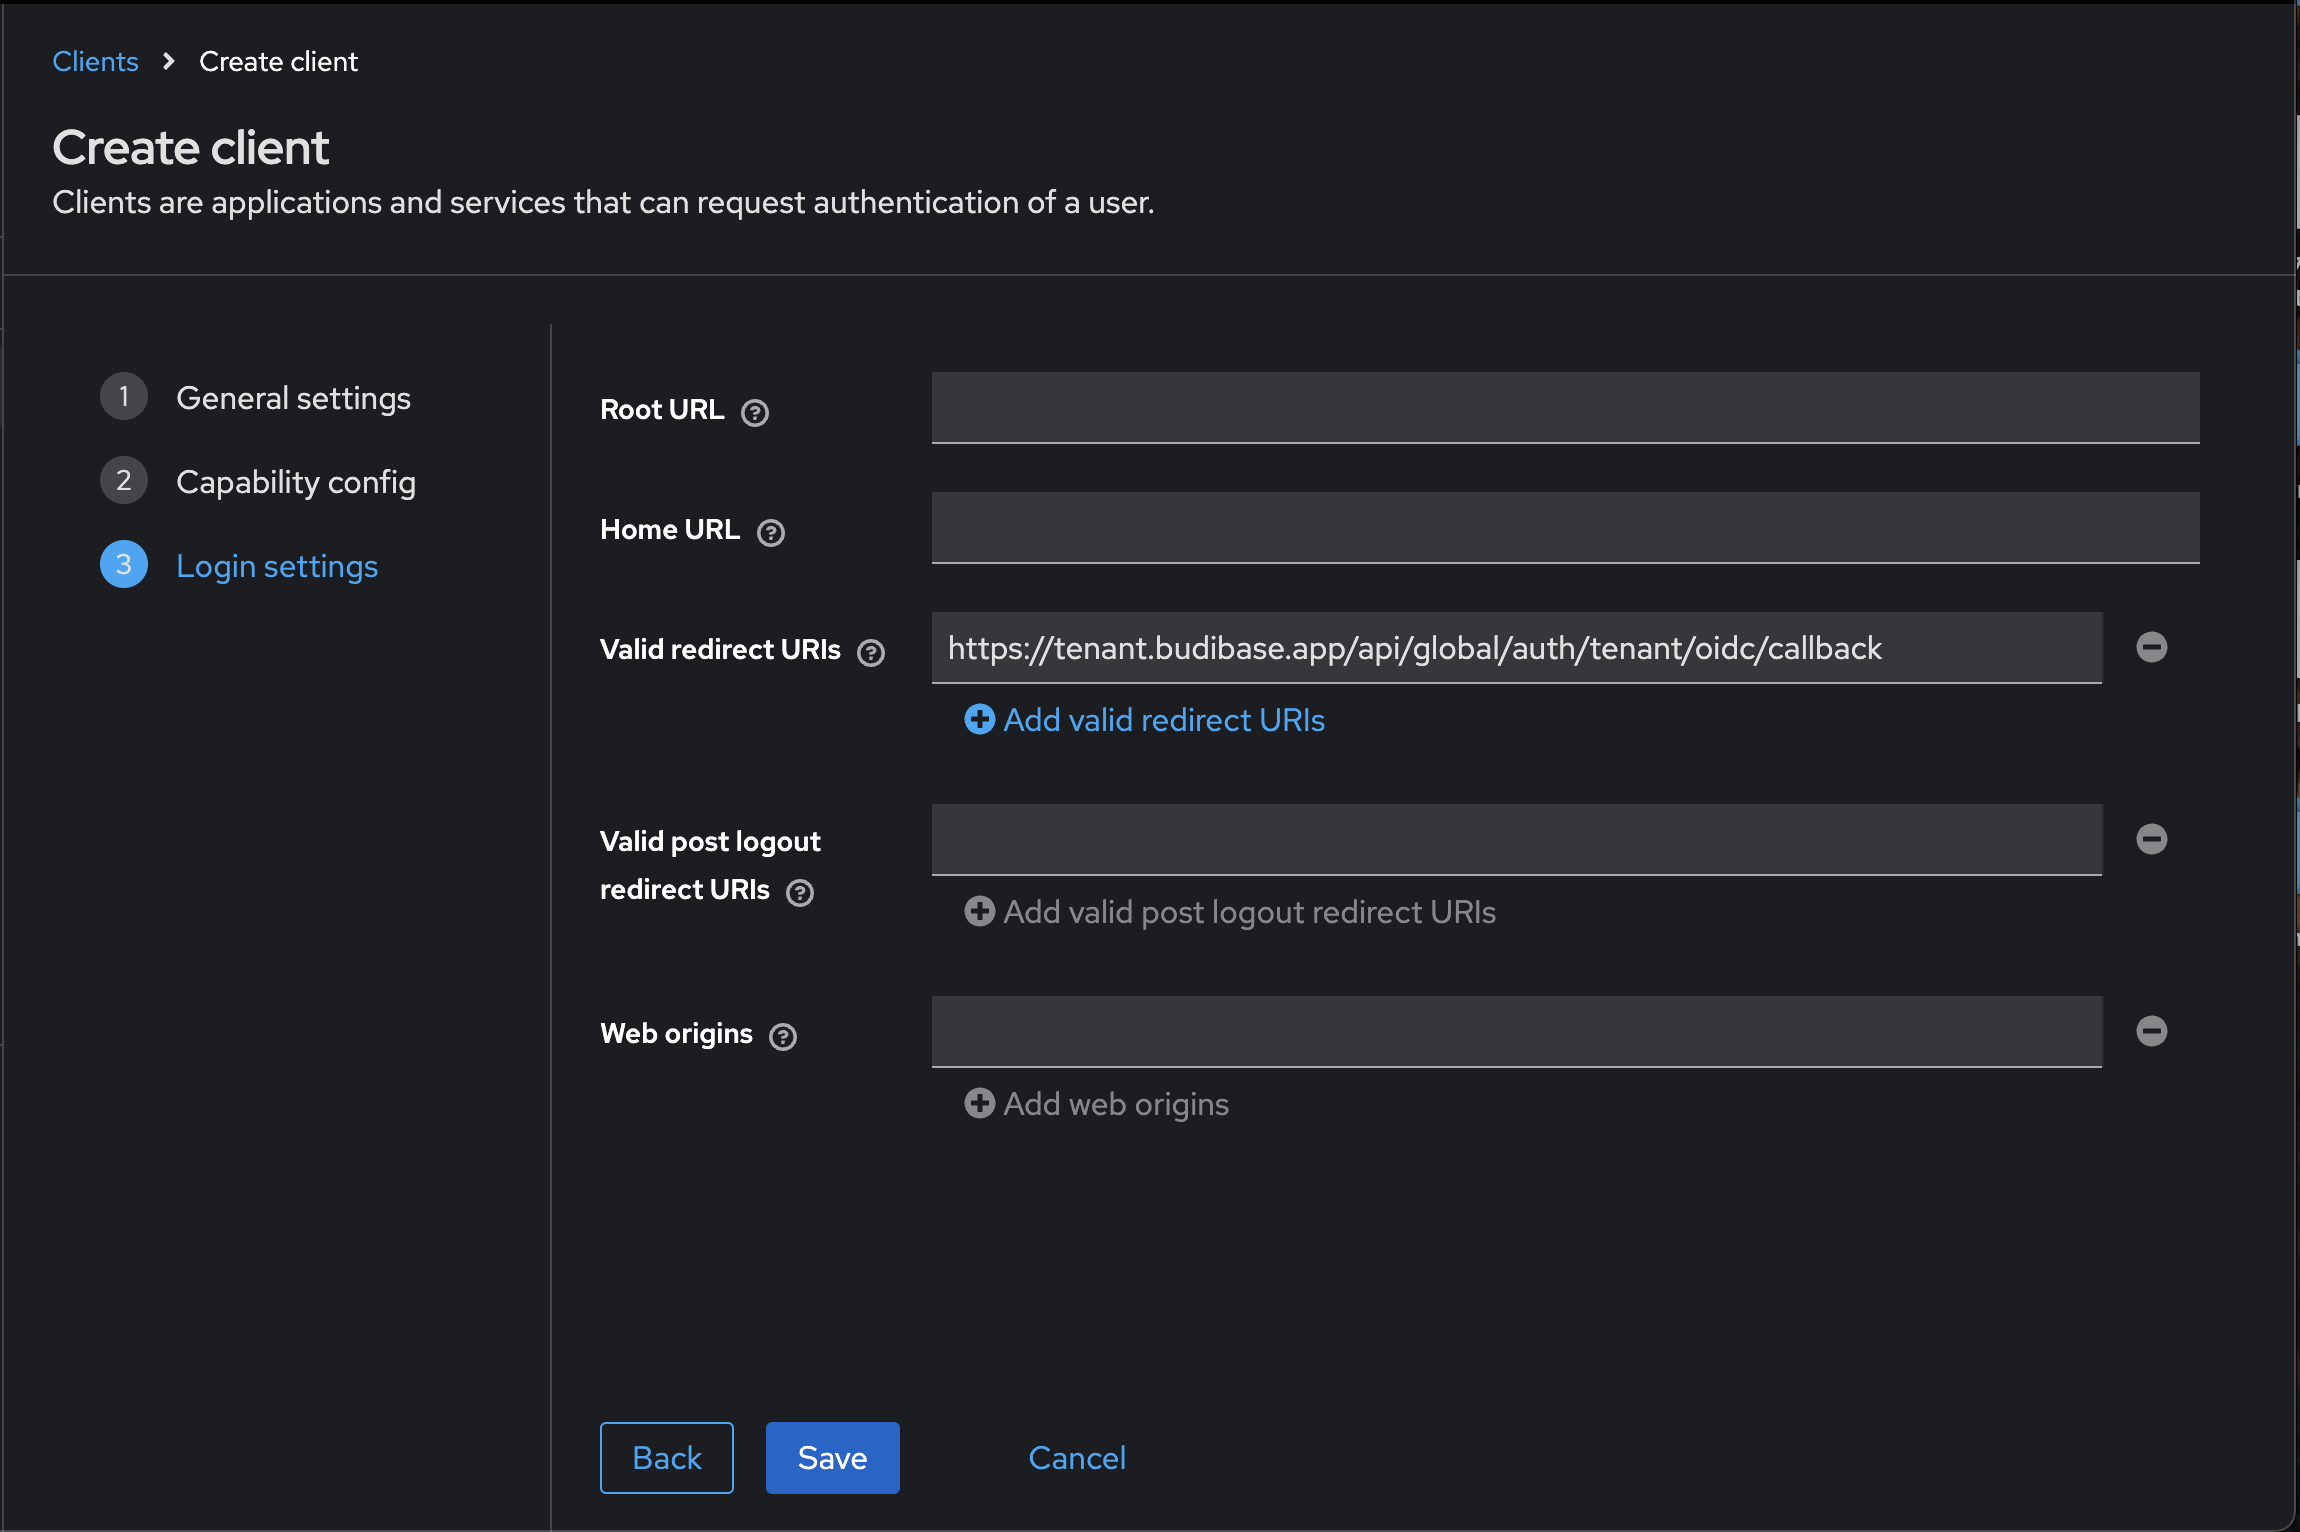
Next, we will get the Callback URL that we need to paste into Keycloak. You will find this in your Budibase portal under Settings > Auth > OpenID Connect.
Copy the callback URL and add it to the 'Valid Redirect URIs' field in Keycloak then click 'Save'.
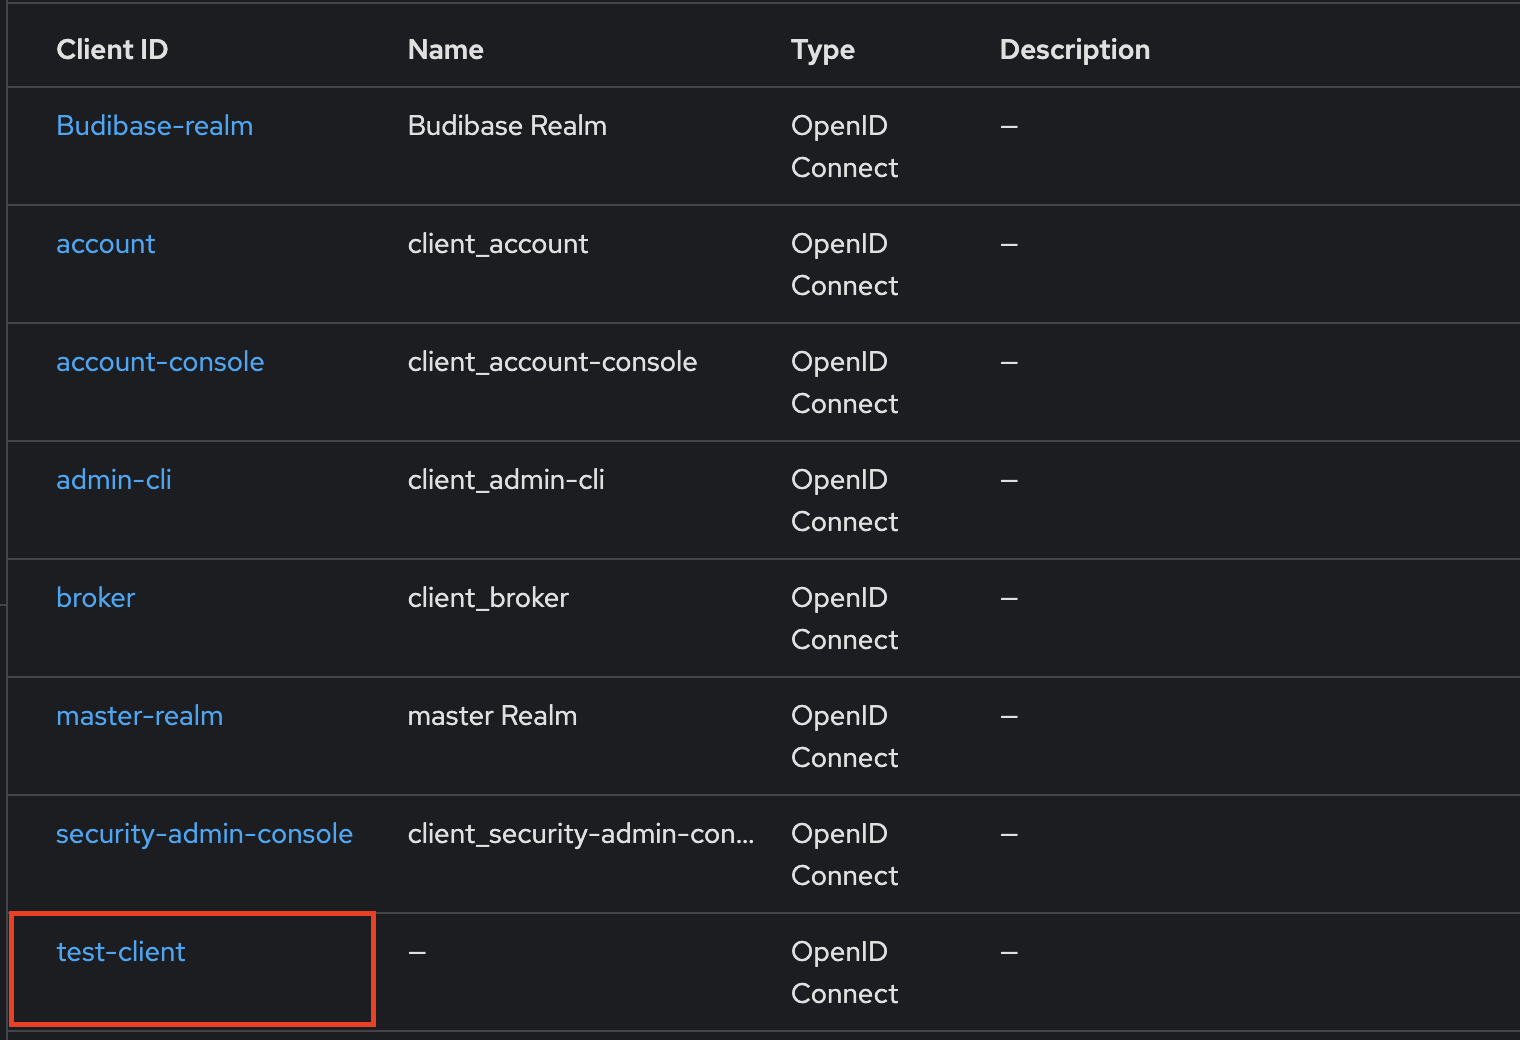
Find your configuration details
Client ID
The Client ID field in Budibase shuld be the same ID as you gave the Client in Keycloak earlier.
Client Secret
You can find the Client Secret from the Credentials tab in the Client Configuration screen
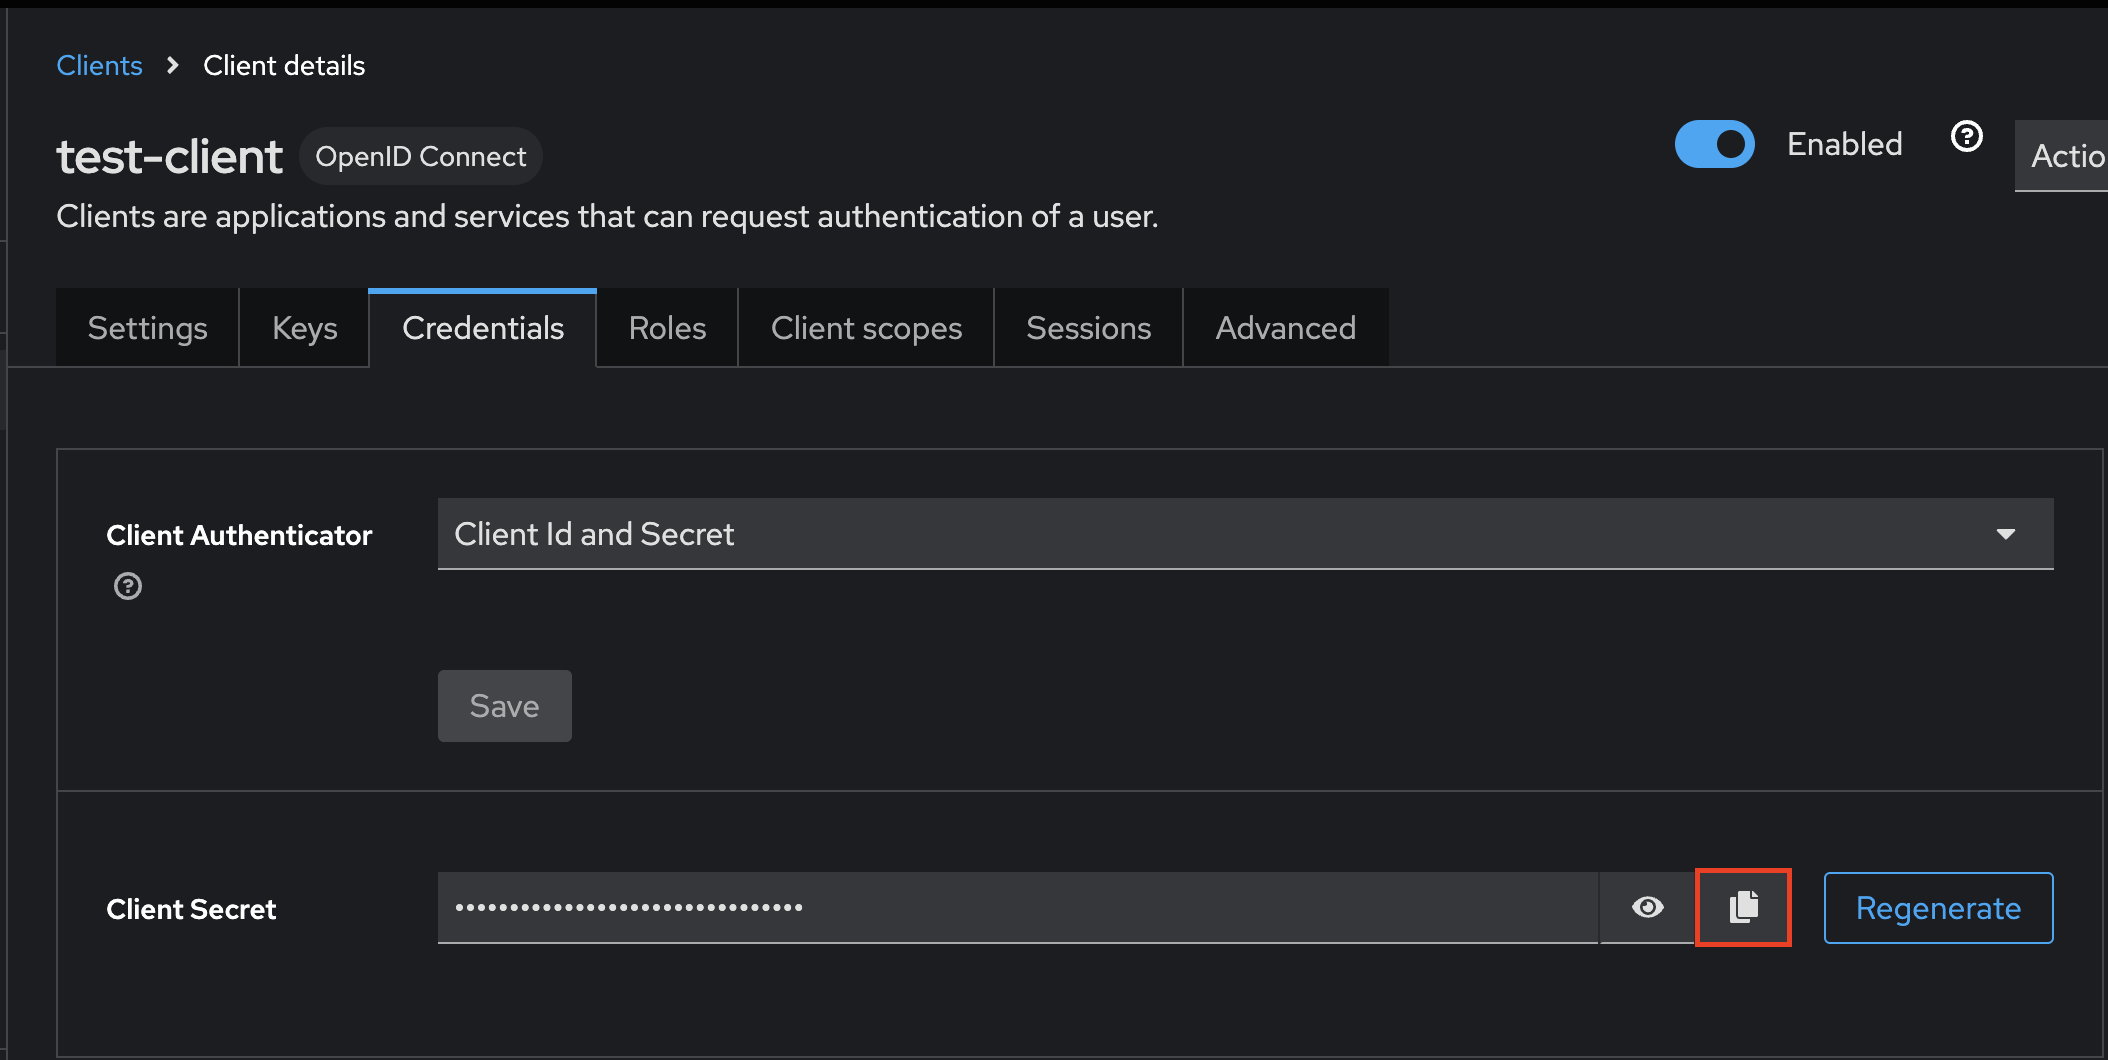
Add this to the "Client secret" field in your Budibase OIDC panel.
Configuration URL
Visit the 'Realms settings' pane on the left hand side of your Keycloak admin console. Click into the general tab at the top of this page. Scroll down to the bottom and then click on the OpenID Endpoint Configuration link and copy the URL.
You can then paste this URL into your Budibase OIDC Config as the Configuration URL, and Budibase will be integrated with Keycloak for OIDC.
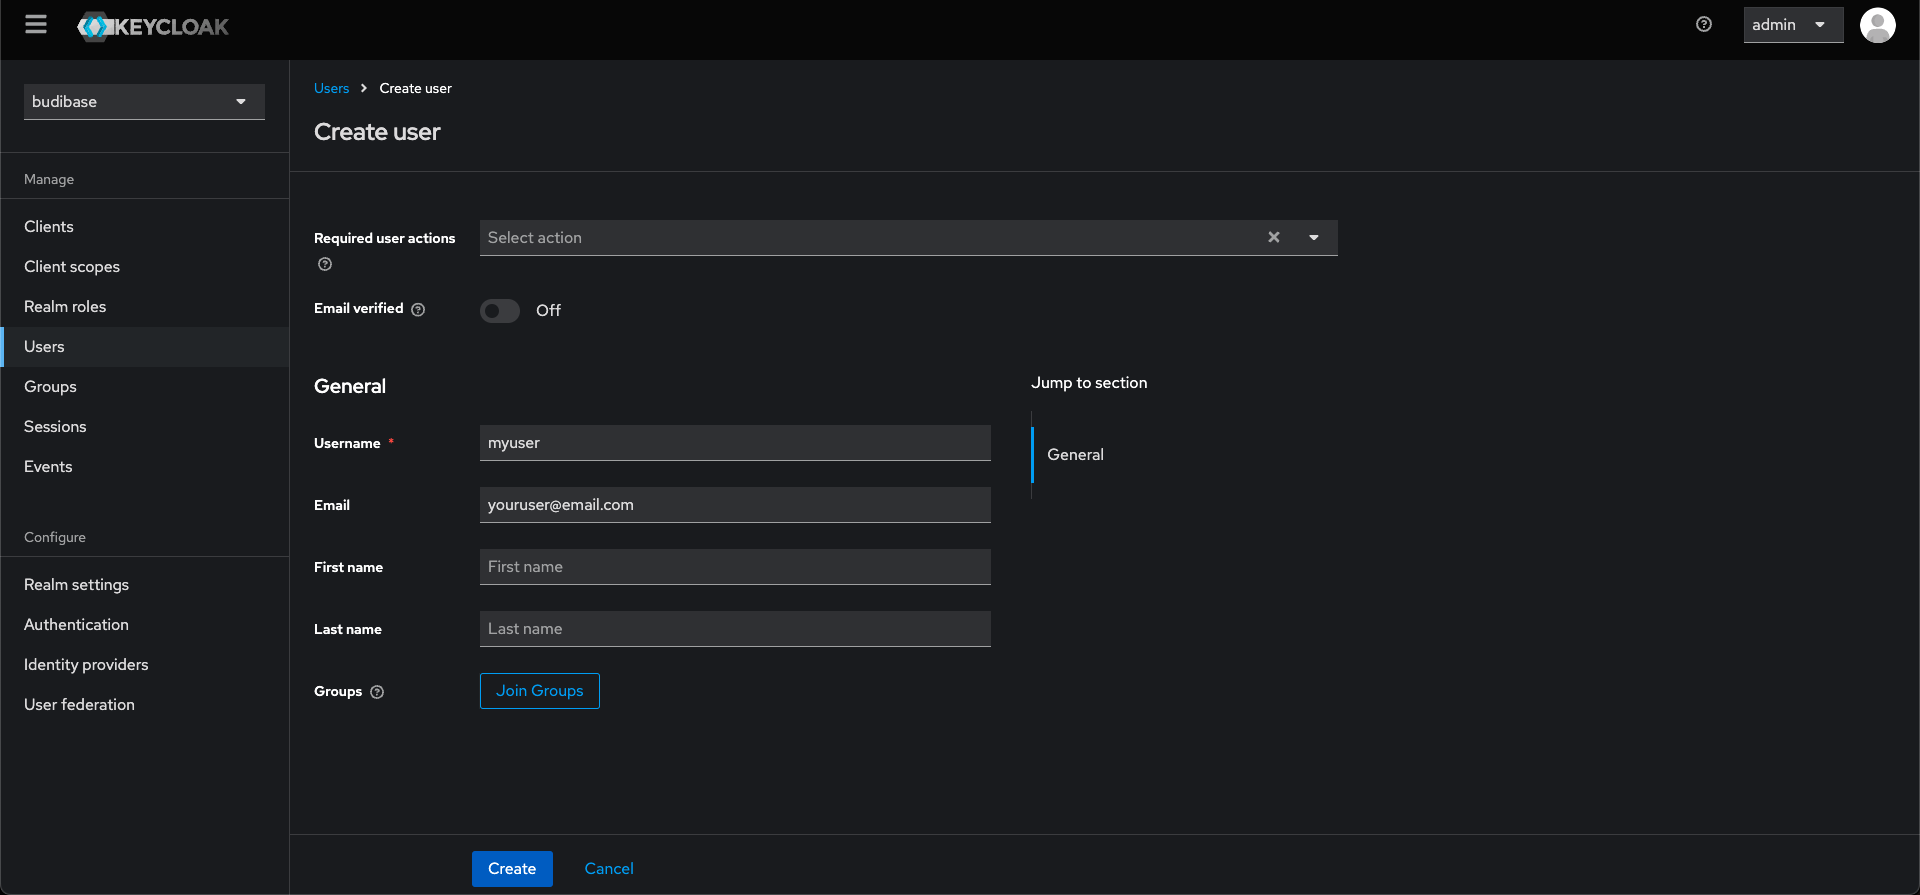
Managing Users
Now that Budibase is set up to authenticate using OIDC through Keycloak, we need to make sure we have users set up in our realm. To create a new user, you need to go to the Users tab in the Keycloak admin panel under your realm, and click "Create user"
Make sure you enter a username and email address for your user.
To add a password for the user, click the "Credentials" tab of the new user, and add a password by clicking the "Set Password" button. If you don't want the user to have to change the password on first log in, make sure to toggle the "Temporary" toggle off.
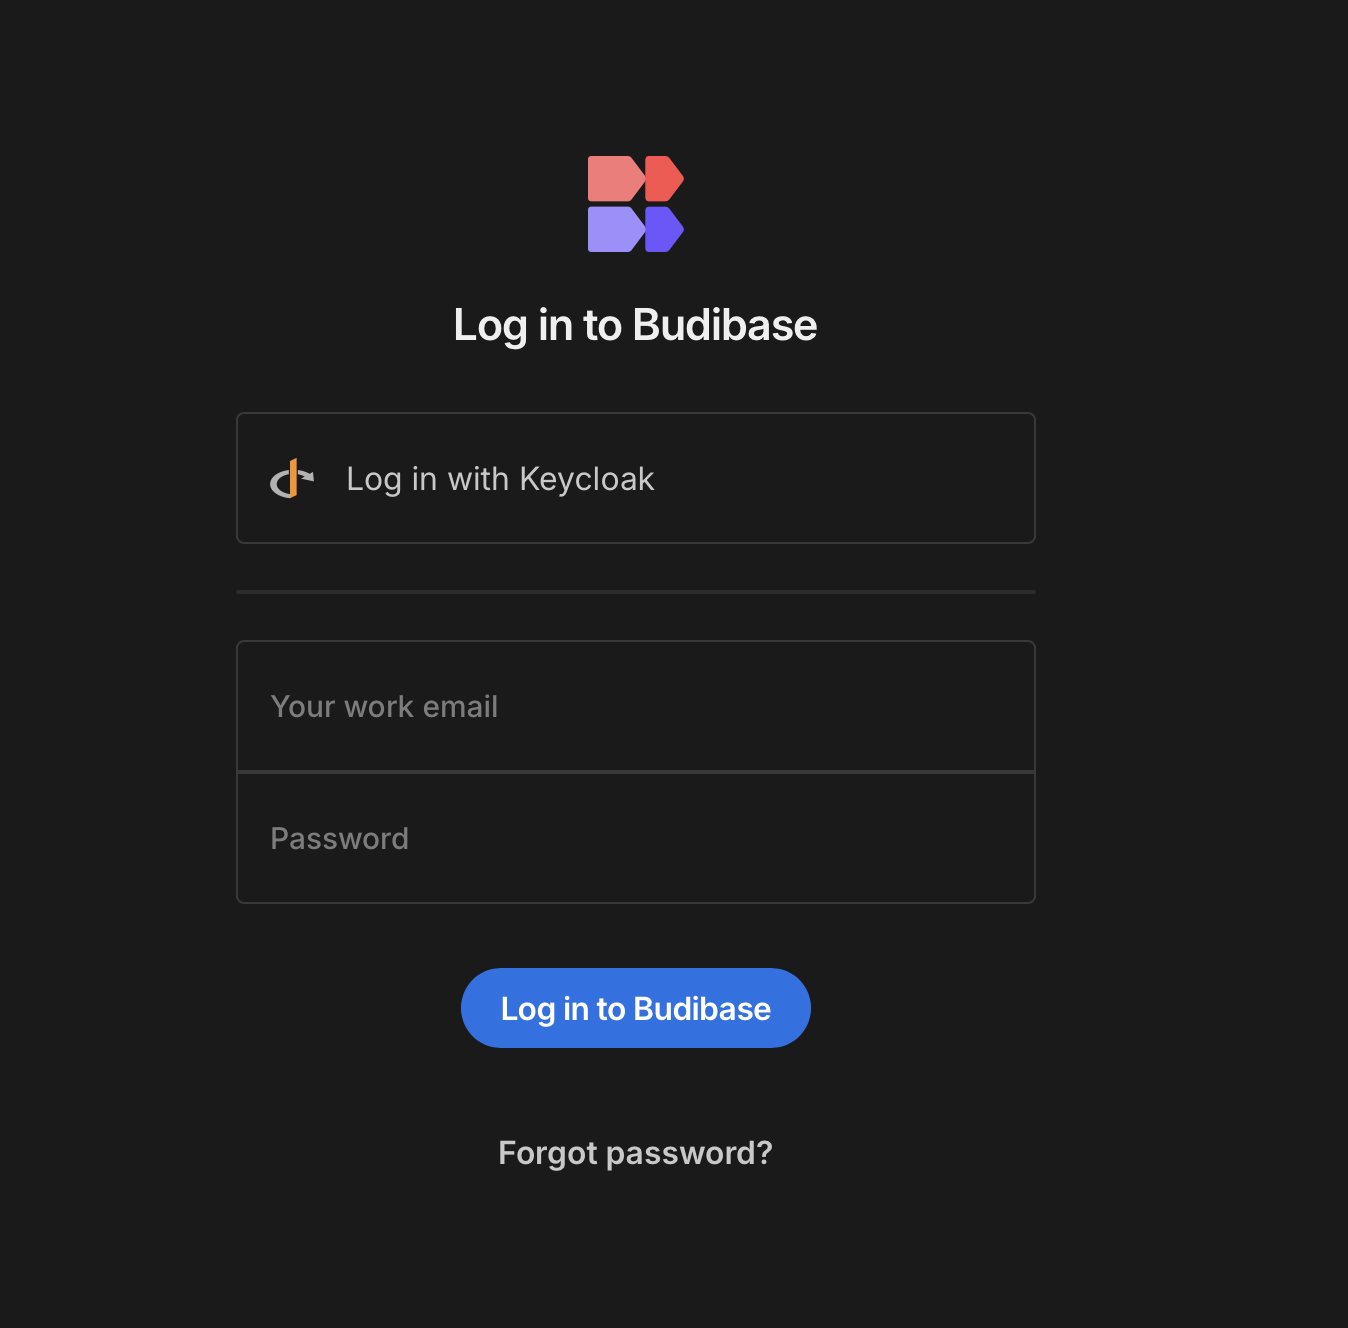
Now the user is created, you can sign in as that user through Budibase OIDC using Keycloak!
Updated 10 months ago