JS Scripting
Adding a JavaScript code block step to your automations
While Bindings in automations support JavaScript, you can also add a step to execute a JavaScript code block.
Commonly this action is used to compare and aggregate data from multiple Datasources.
Adding a JavaScript code block
-
After adding an automation Trigger, click the
+icon and selectJS Scripting.
-
Click on the automation step to see it's details in on the right of the builder. You can click on the lightning bolt to open the bindings drawer.
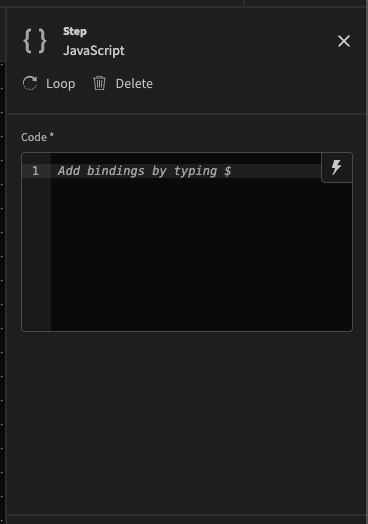
Make sure to return a value at the end of your script!
- Available bindings can be seen on the far right of your modal. These can be clicked to references within your JS scripting area.
Be sure to check the debugging tools on offer when building your automations.
Tutorial: Using Cron Triggers and JS Steps
This tutorial assumes that you have a table called People in the internal database, populated with first_name, last_name, date_of_birth.
-
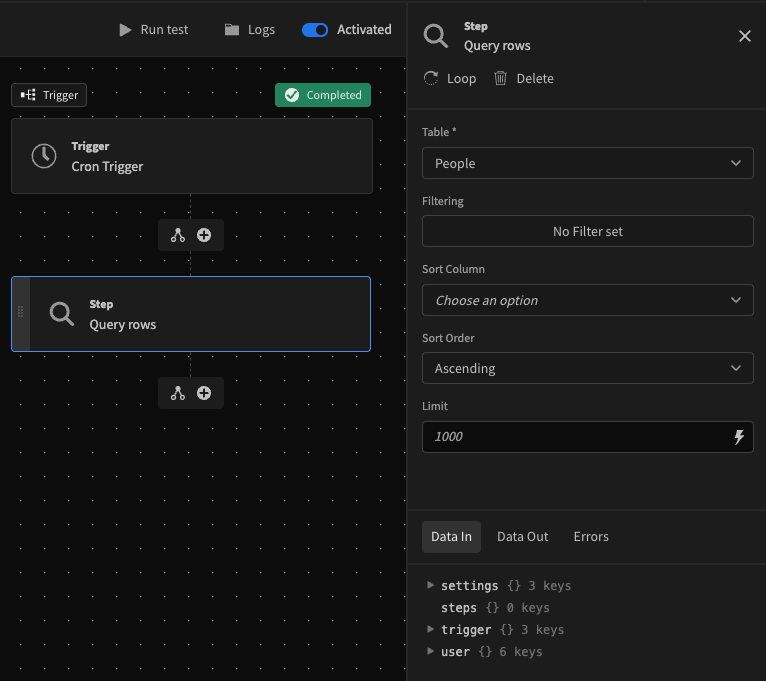
Create an automation that uses a Cron Trigger, and set it to run at 8AM each morning

-
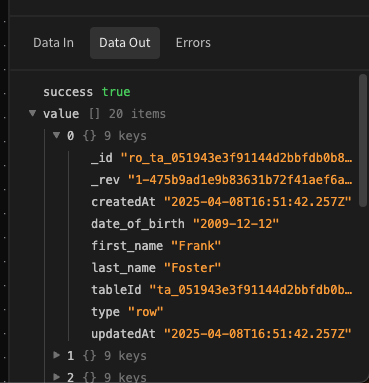
Add a Query Rows step set to fetch everything from your People table with no filters
-
Next, add a JS Scripting Block. In it, you can copy & paste the below code. This code takes the result of the Query Rows step, and makes use of JavaScript's
Datein order to check if any values fordate_of_birthare today. With it, we then return an array of people who's birthday is today.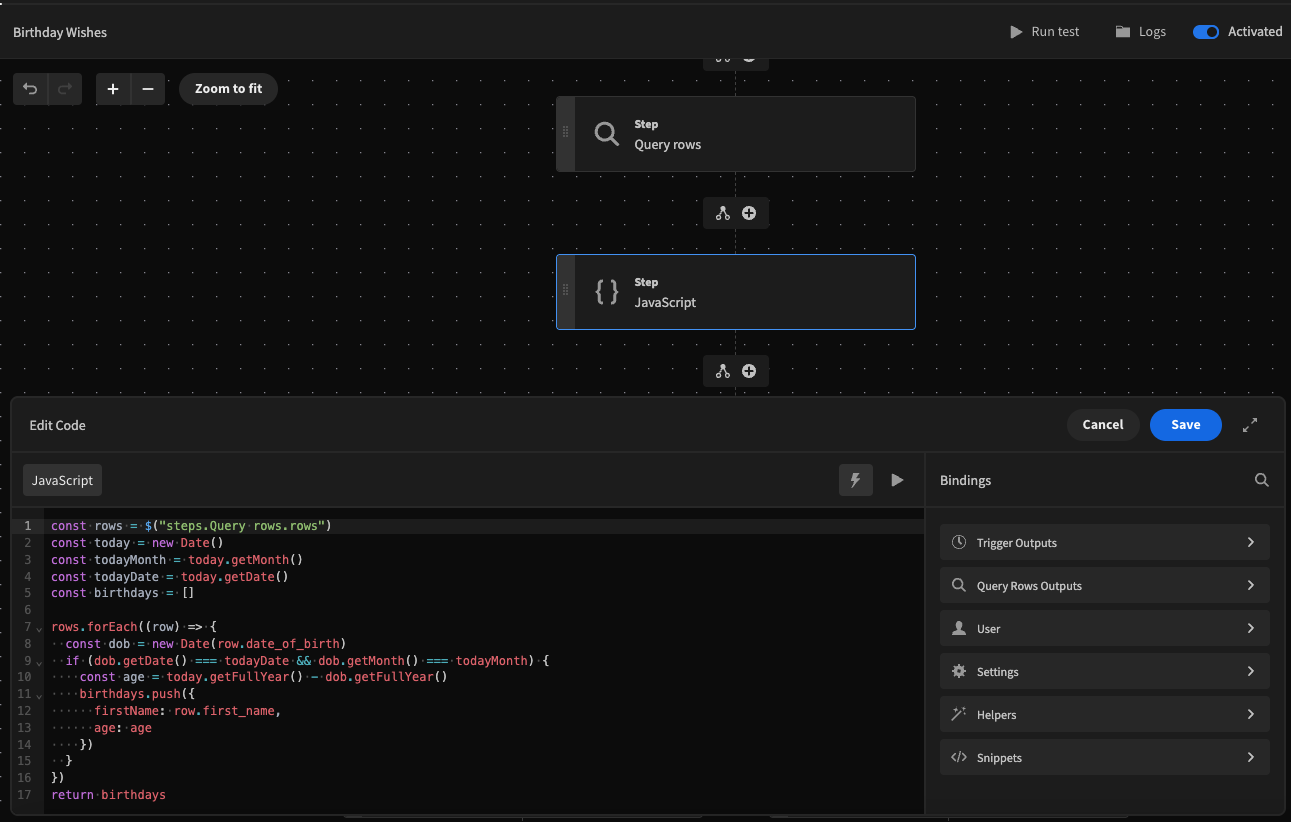
const rows = $("steps.Query rows.rows")
const today = new Date()
const todayMonth = today.getMonth()
const todayDate = today.getDate()

const birthdays = []

rows.forEach((row) => {
  const dob = new Date(row.date_of_birth)
  if (dob.getDate() === todayDate && dob.getMonth() === todayMonth) {
    const age = today.getFullYear() - dob.getFullYear()
    birthdays.push({
      firstName: row.first_name,
      age: age
    })
  }
})

return birthdays-
After your JS Scripting block, split into two branches. The run-conditions are equated from left-to-right, meaning the first truthy-comparison will run.
The first branch checks if the length of the Birthdays array (The output from the JS Scripting Block) is not 0, meaning there are birthdays today. The following Slack Message step loops over the Birthdays Array to send a new message for each object in the Birthdays array wishing them a happy birthday
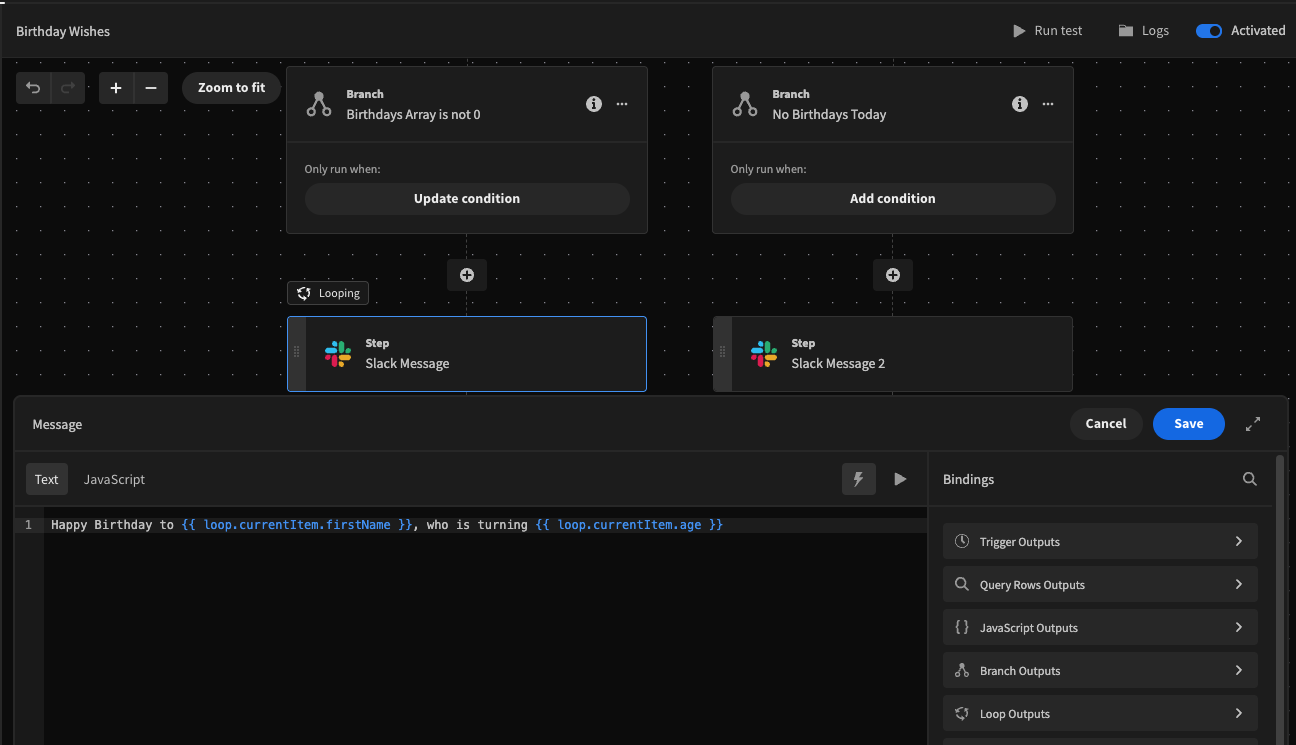
-
The other branch has no condition set (see "Add Condition"), which means it will always run if no branches to its left have run. It's Slack Message step simply wishes everyone a good morning.
Updated 10 months ago