Cron job
Trigger your Budibase automations using a cron job
The cron job trigger is ideal for periodically running queries, fetching data, or even sending emails.
For this guide, we will fetch the Stargazer count of a GitHub repository every night at 3 a.m. every working day and send a Discord notification.
Creating the automation
To create an automation with the cron job trigger, head over to the Automation Section and create a new Automation by clicking the + icon in the left-hand menu. A dialog will pop up, in which you can enter the name of your automation, and you can select the CRON/Schedule
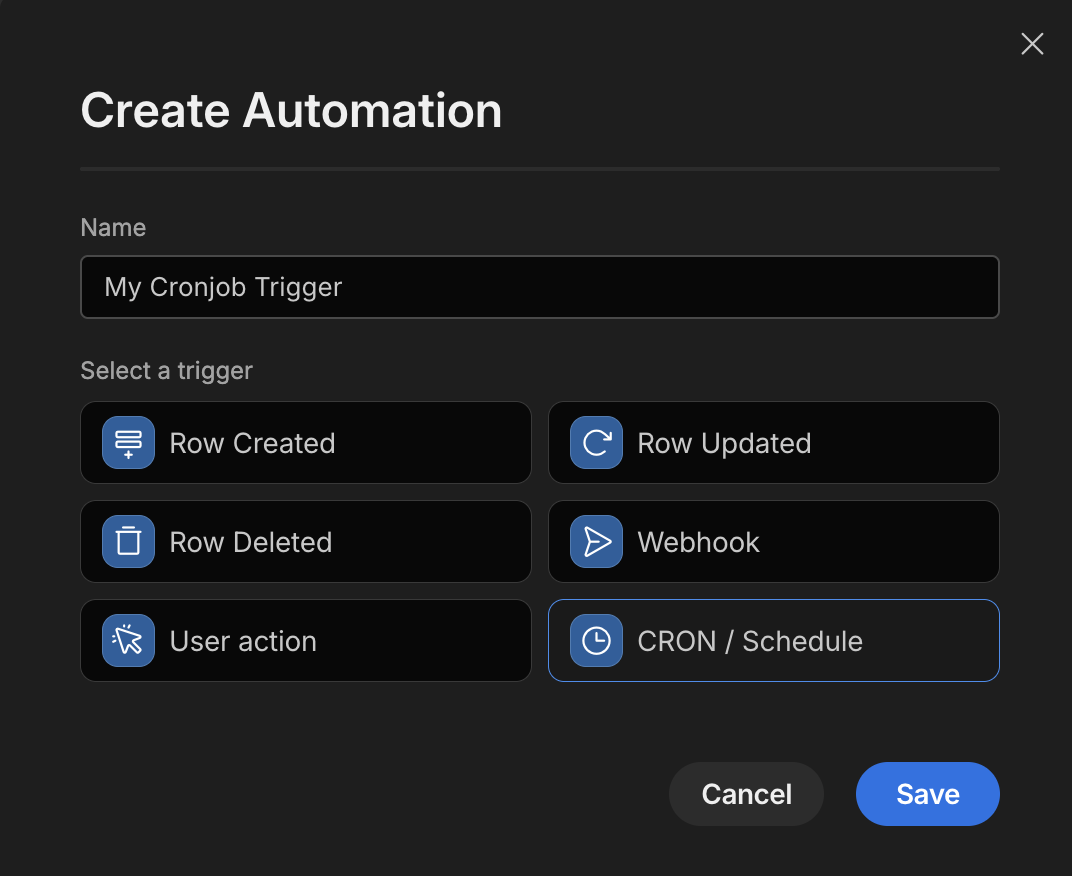
Then, click Save, and a new automation will be created using a CRON/Schedule Trigger.
Configuring the cron expression
The cron job expression is a series of numbers or stars. The order is from small to big:
- Minutes
- Hours
- Day of the Month
- Month
- Day of the Week
We have presets available that can be selected to generate a cron expression for you. Additionally, there is an AI column that you can prompt to generate CRON expressions for you, but this is limited to Premium or Enterprise tenants.
Cron Scheduling can be very powerful, but you'll need to understand syntax. For every field, you can use the following expressions:
- Plain numbers: From 0 to 59 for minutes, 0-23 for hours, and 1-12 for Months.
- Ranges:
5-10in the minutes section would mean every minute from the 5th until the 10th minute - Separations: Multiple numbers or ranges, like
4,8,12in the months column would be the 4th, 8th and 12th month only. Separations can also have ranges, such as5-10,35-40in the minutes column, which would be every minute between the 5th and 10th minute, and every minute between the 35th and 40th minute. - A
*: This meansevery. So if you have only stars everywhere, that means every minute, of every hour, of every day of every month.
Combinations of everything can lead to complicated schedules!
For example, we will run this cron job every working day, at 3 a.m. We end up with this cron expression: 0 3 * * 1-5
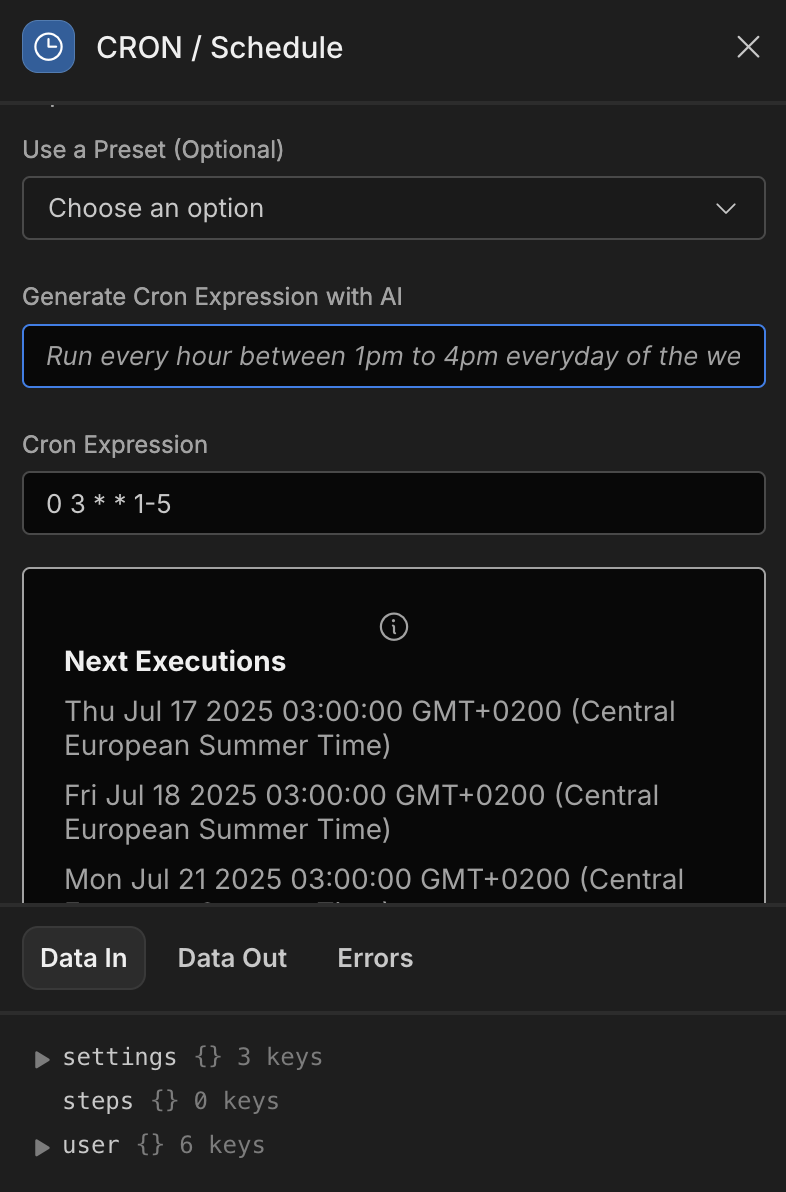
The last section of the CRON automation summarizes when the automation is going to the next trigger. This extra layer helps you understand what your CRON expression is doing after writing it.
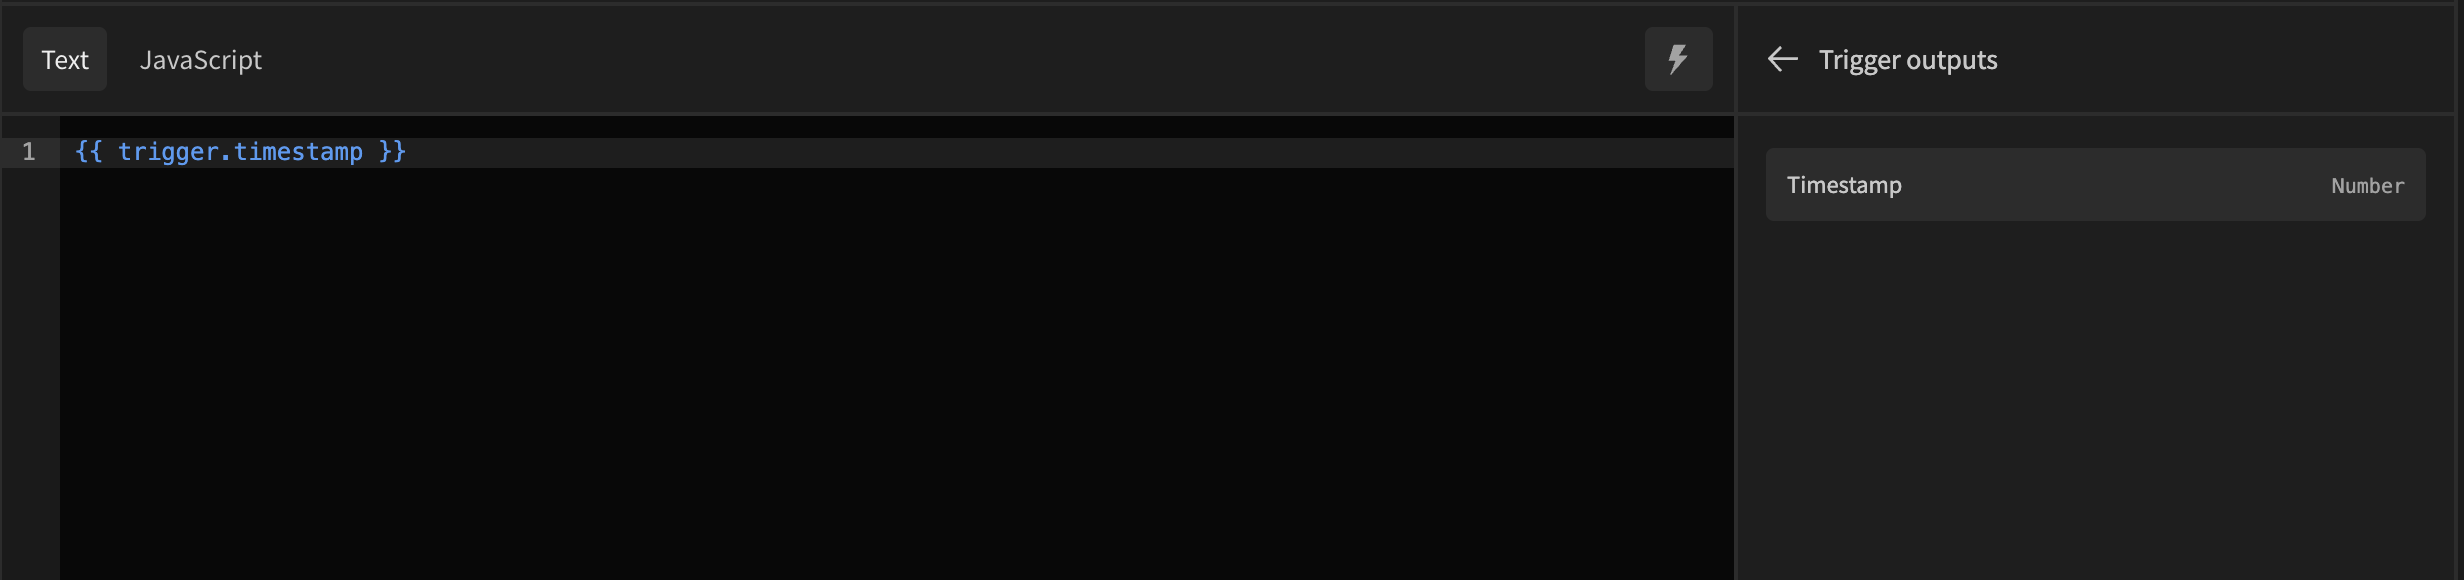
Timestamp binding
A binding is available for the timestamp of when the cron job was triggered.
This returns the number of epoch milliseconds
Performing an API call
Now that we've set up our CRON/Schedule Trigger, it is time to perform a REST call to fetch some information. For this tutorial, we've created a new REST API Data Source, added Bindings to the API call to allow customization, and we've set up a Transformer to turn the data into quick, usable data. But you can set up whatever you want here, even regular queries to Data Sources.
If you want to read more about setting up a REST API, Bindings, and Transformers, we recommend checking out the linked pages.
We end up with something like this:
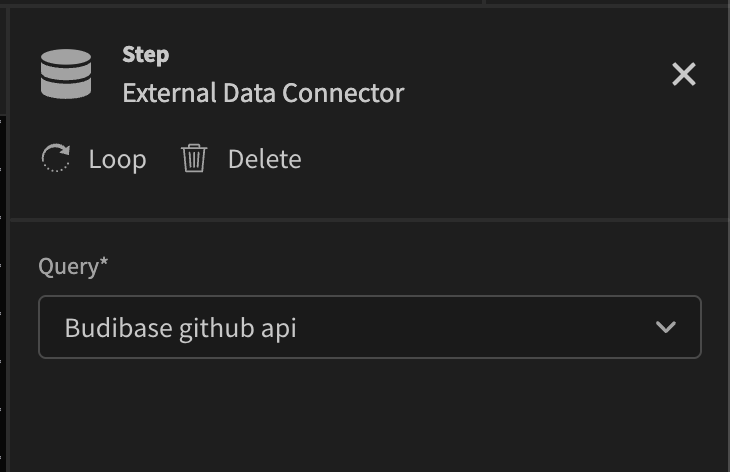
When running a test you can see the API call and the transformer worked as expected, and it returns the stargazer count of the Github repository of choice.
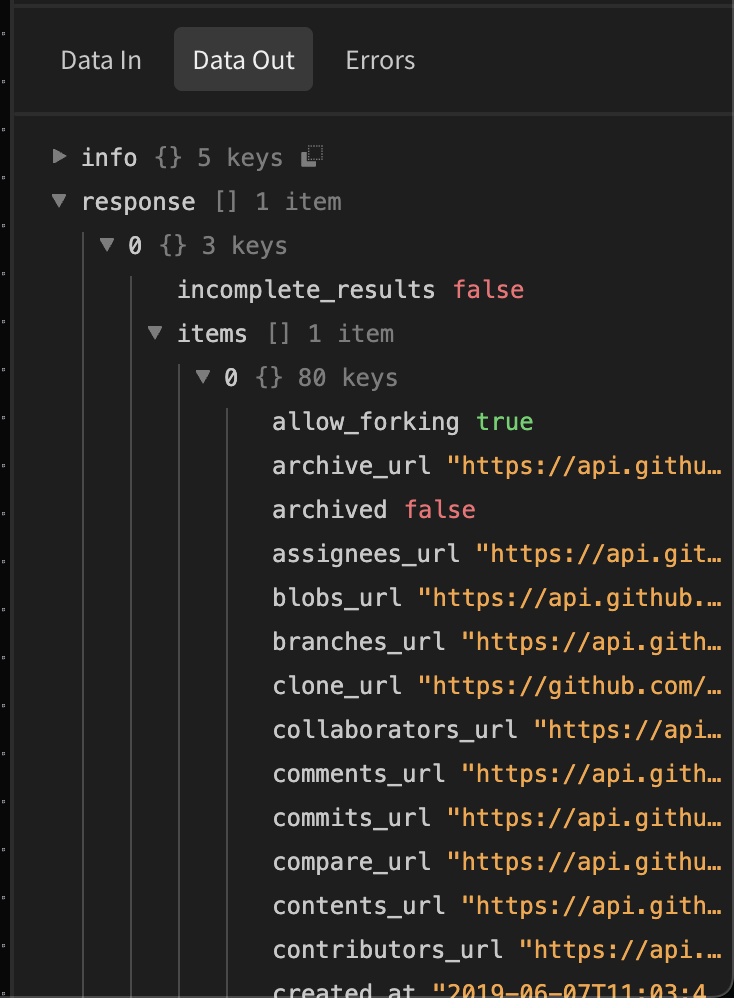
For reference, we've transformed the result from the public Github Search API like this:
return data.items[0].stargazers_countUsing the data
Now we have a scheduled Cron Trigger, and an API call is done at that exact time. The only thing that remains is using the result of the API call. For this purpose, we're going to be firing a Discord notification.
First, we're retrieving a DIscord Webhook URL, setting the botname, optionally add a nice profile picture, and then set the binding to display the number of stars.
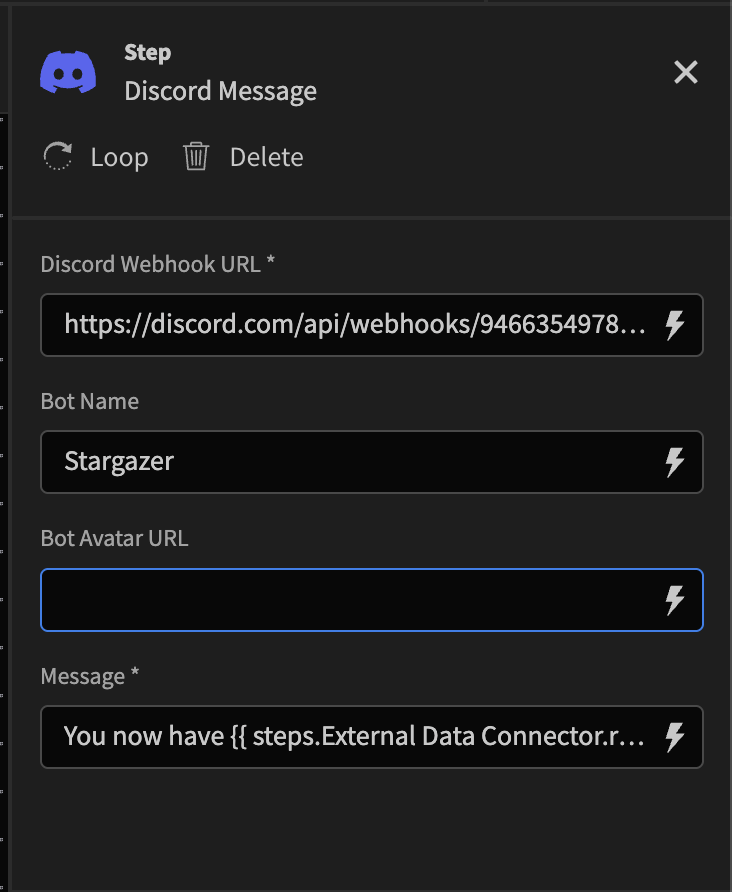
As you can see, we formulated a nice message, and used the value from the API call from step 1. Our binding ends up to look like this:
You now have {{ steps.External Data Connector.response }} stargazersAnd this works, because our Discord bot just sent this message
