Form steps
In Budibase it is straightforward to create navigable multi-step forms.
Multi-step form blockIf you're working with a single data table, the Multi-step form block is the quickest way to get started!
The Form Step component allows us to create complex form structures, by only displaying certain fields at any given time. We can nest components within Form Steps, and control whether or not they appear using the Change Form Step button action.
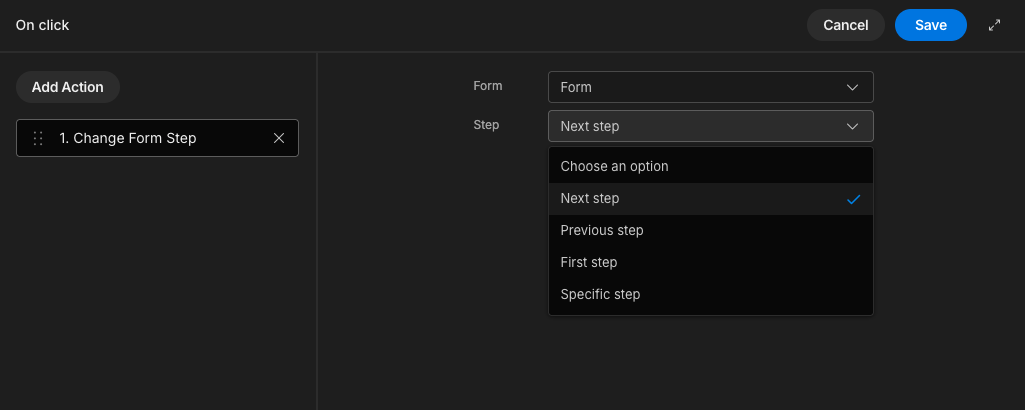
There are a few different options that can be selected within the action Change Form Step.
- Next Step - Allows the user to move to the next form step. (Majority of the time this is attached to a button on click action)
- Previous Step - Allows the user to move to the previous form step.
- First Step - When used change the form step back to 1.
- Specific Step - Allows the user to jump between steps e.g. can go from step 1 to step 5.
An example of where we might use Form Step components manually instead of a Multi-Step Form Block is creating a single form that allows us to save data to multiple tables, using distinct form steps.
Data
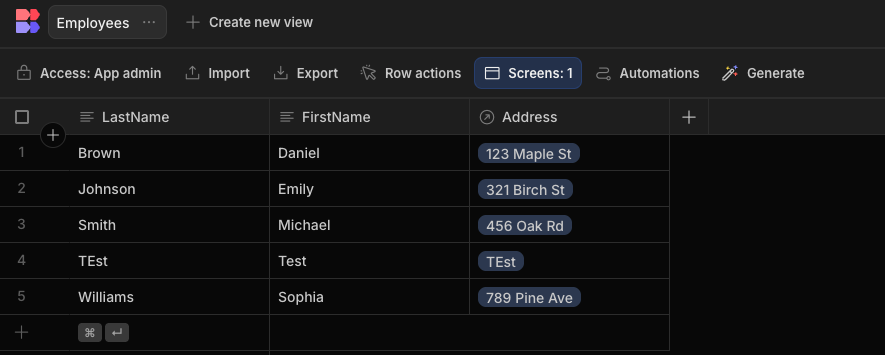
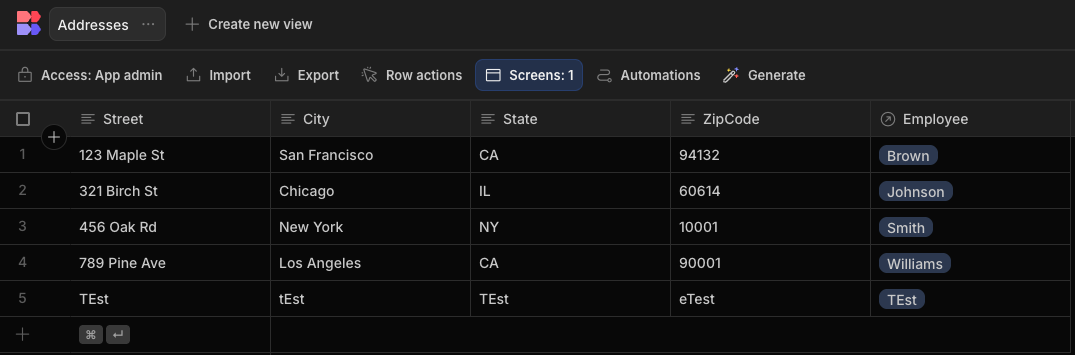
Create two tables with a many-many relationship:
- Employees
- Addresses
Building our form
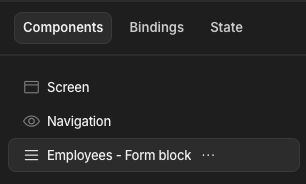
We’ll start by autogenerating a Form screen for our Employees table. By default, this contains a single Form Block component.
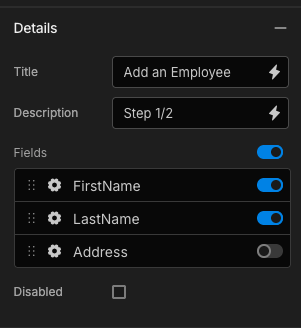
This will form the basis of our first form step. We’ll make the following changes to our default form:
- Update the
TitletoAdd an Employee, - Update the
SubtitletoStep 1/2, - Disable the
Addressesfield, - Set the
Button PositiontoTop.
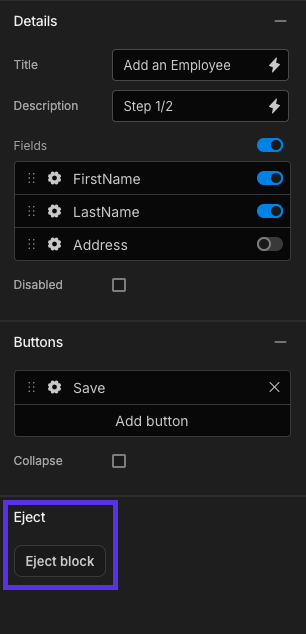
We’ll then hit Eject Block to expose the underlying components that make up our Form Block.
This gives us the following component tree.
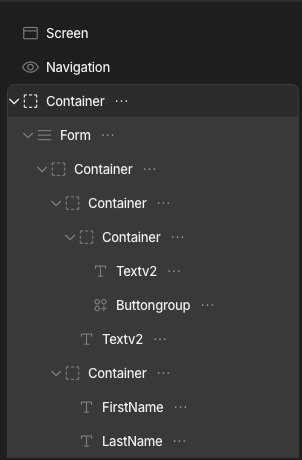
We’re going to add a Form Step component, and nest the outer-most Container within our form inside of this.
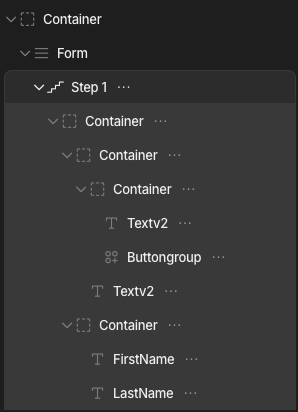
Note that Form Step components accept a single numerical argument, Step. By default, this is set to 1.
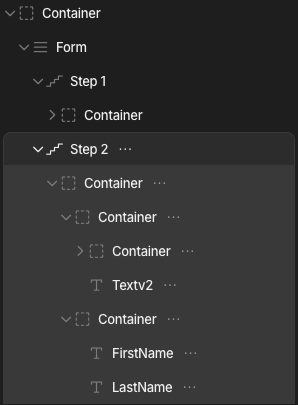
Adding our second step
To create our second form step, we’ll simply duplicate this existing one, making sure to rename it and update its Step value to 2.

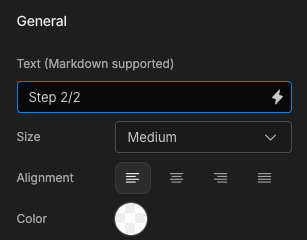
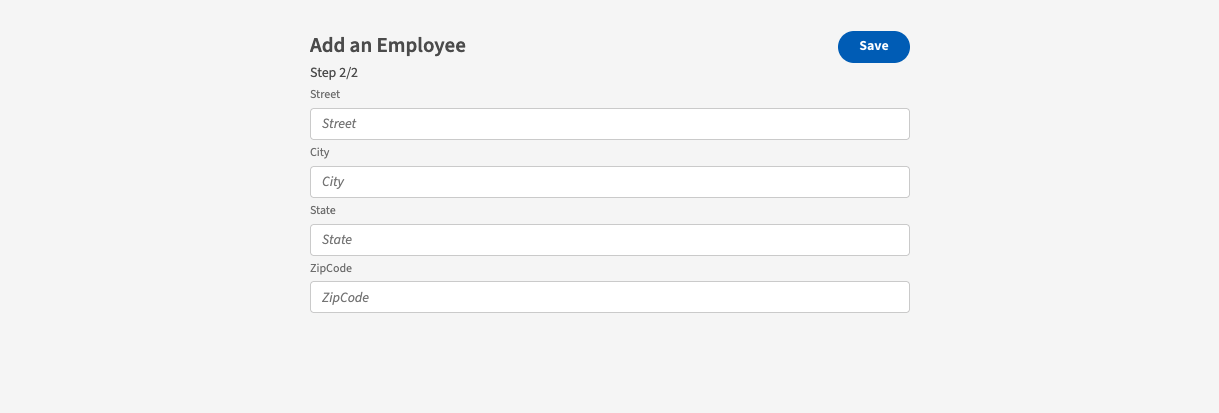
We’ll then update our subheading to read Step 2/2.
Next, we’ll replace the fields in our second step to match the schema of our Addresses table.
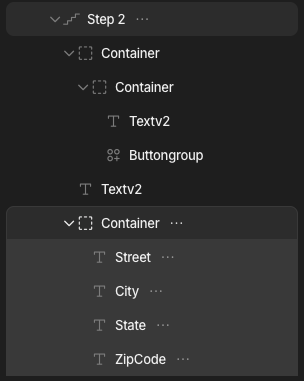
As this is a relatively simple table, we can easily to this by manually adding Text Field components. For more complex schemas, you may wish to generate and eject a new form block before replacing the entire container.
Configuring buttons
Lastly, we need to configure our two Buttons to reflect our desired user experience. Specifically:
- The button in
Step 1should increment the current form step. - The button in
Step 2should save the data from both steps to their respective tables.
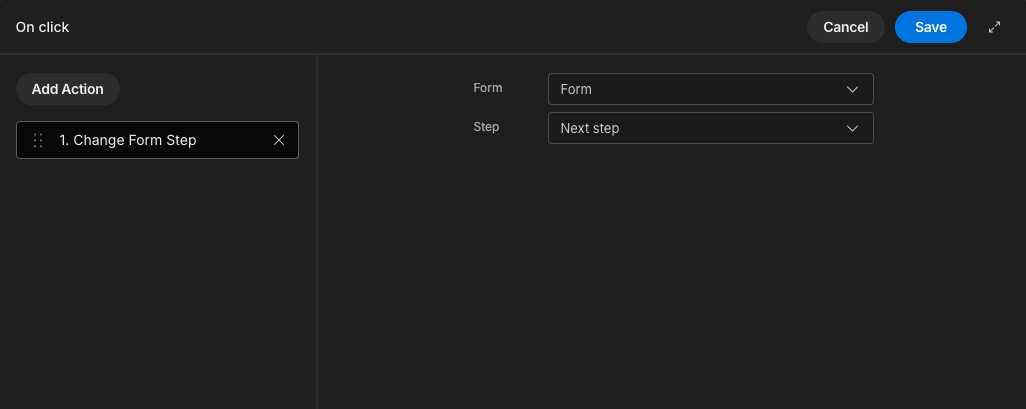
For the Step 1 button, we’ll start by setting the Text to Next and the Variant to Primary.

We’ll then replace all of its existing On Click actions with a single Change Form Step action, incrementing our form step.
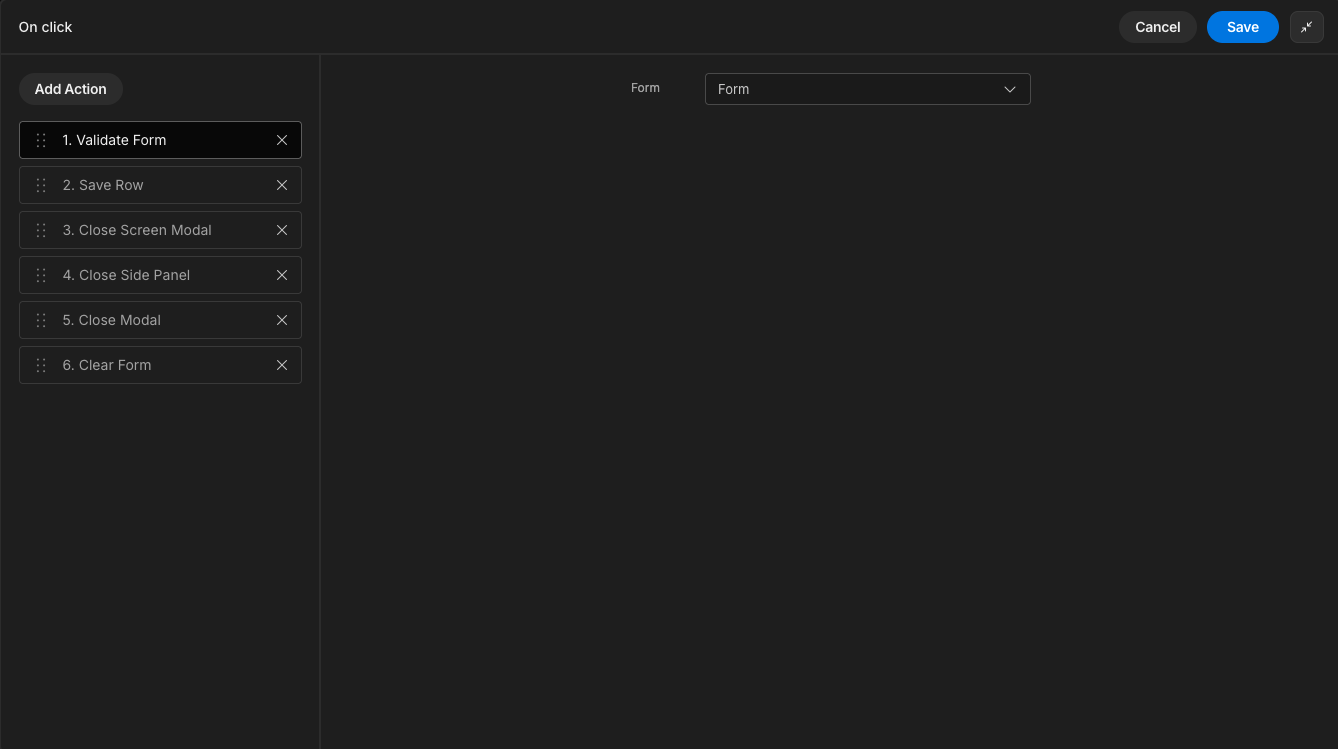
Our second button is closer to its intended functionality.
Currently, this contains a sequence of actions to validate and save our form, before updating various UI elements.
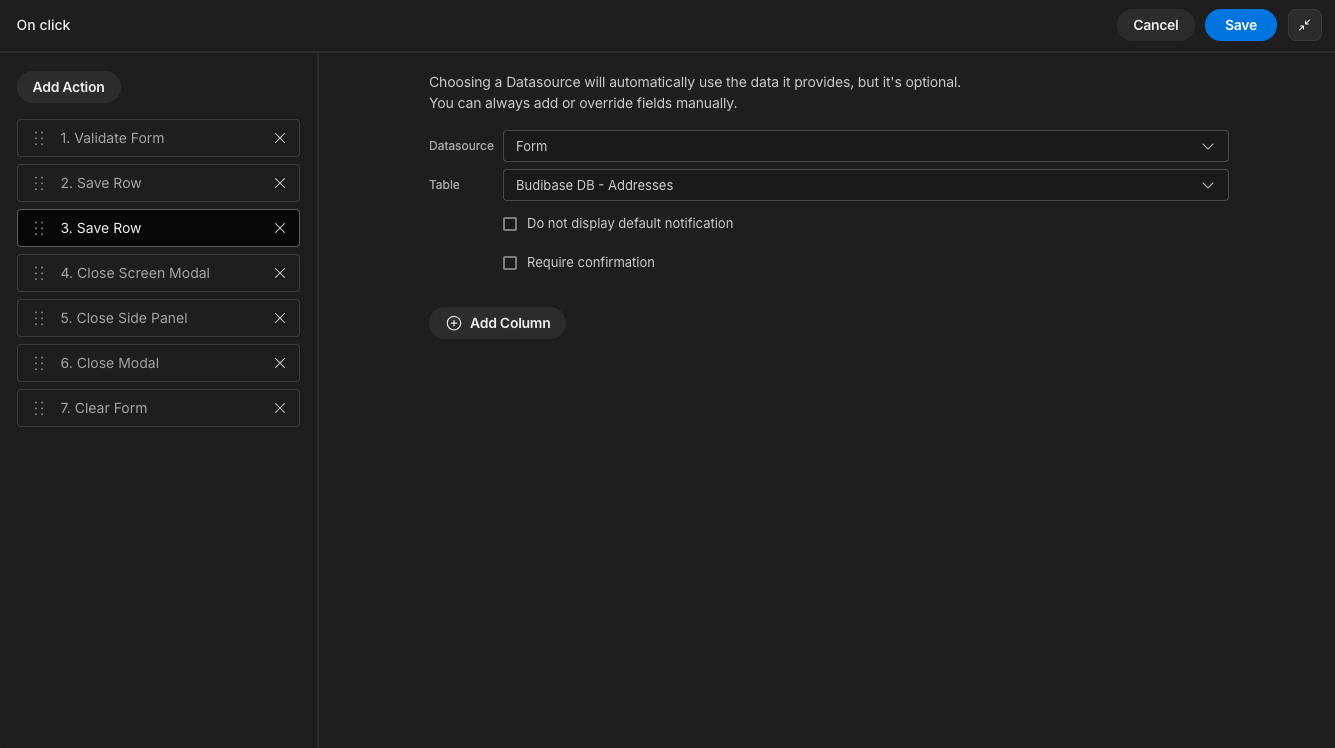
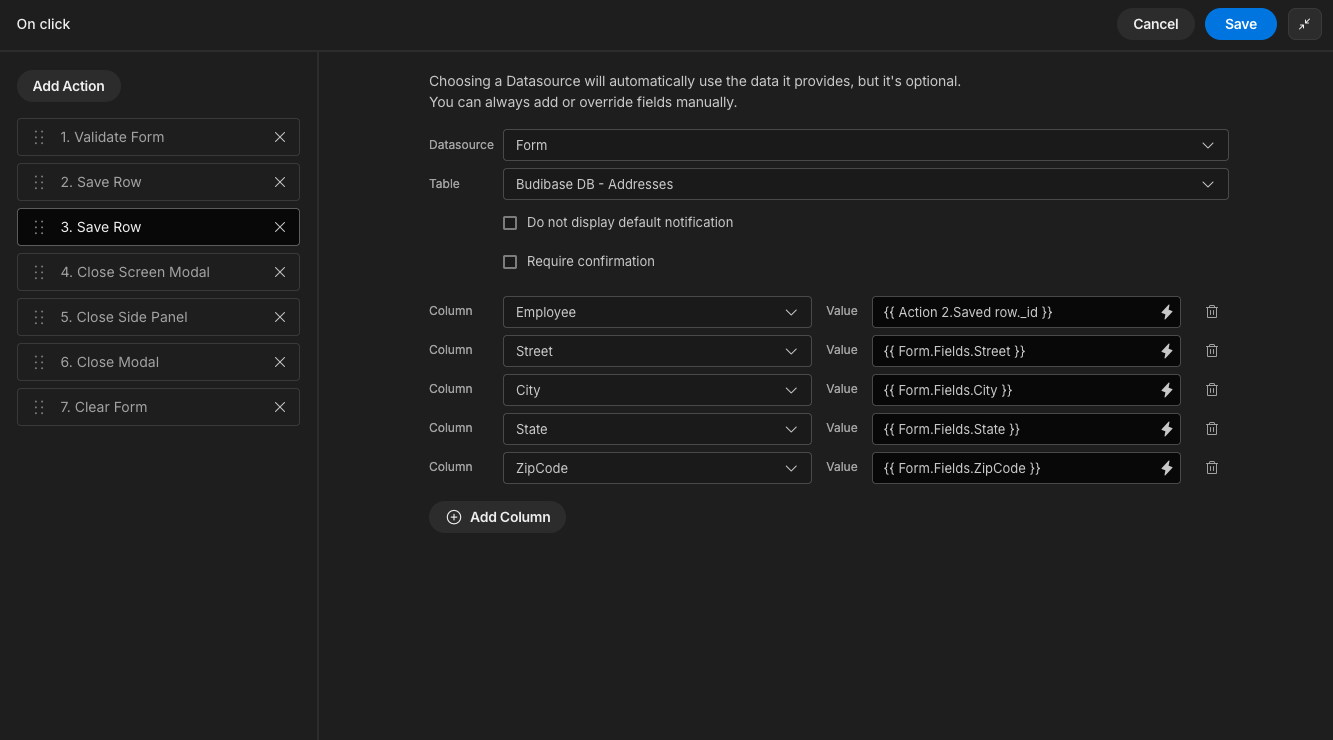
We’ll add a second Save Row action immediately after the existing one, choosing Addresses as our Table.
We then need to manually define the values that we’ll pass to this action for each column. We’re setting our Employees value using {{ Action 2.Saved row._id }}
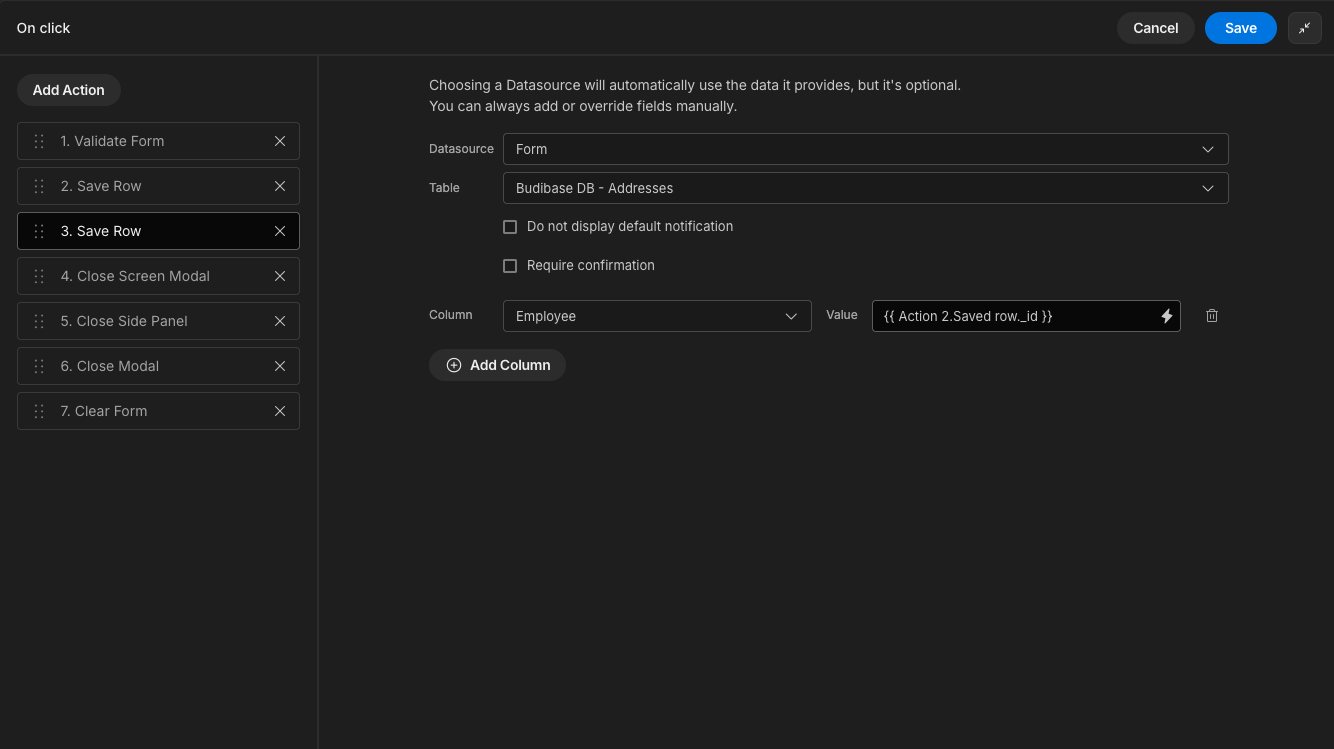
We’ll then bind our remaining columns to the values in our form, in the format {{ Form.Fields.Street }}.
Now, when we preview our app and submit our form, related rows will be created on each of our tables.
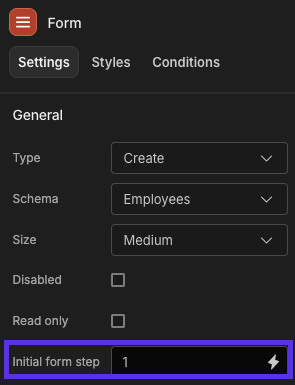
Initial form step
You have the option to set the form step directly on the form component itself. This feature is especially valuable when you want to preserve the current form step using persisted state.