MS SQL Server
Connecting Budibase to an existing Microsoft SQL Server
SQL DatabasesBudibase is designed to integrate with any core SQL database.
Read more about SQL Datasources.
Connecting to SQL Server
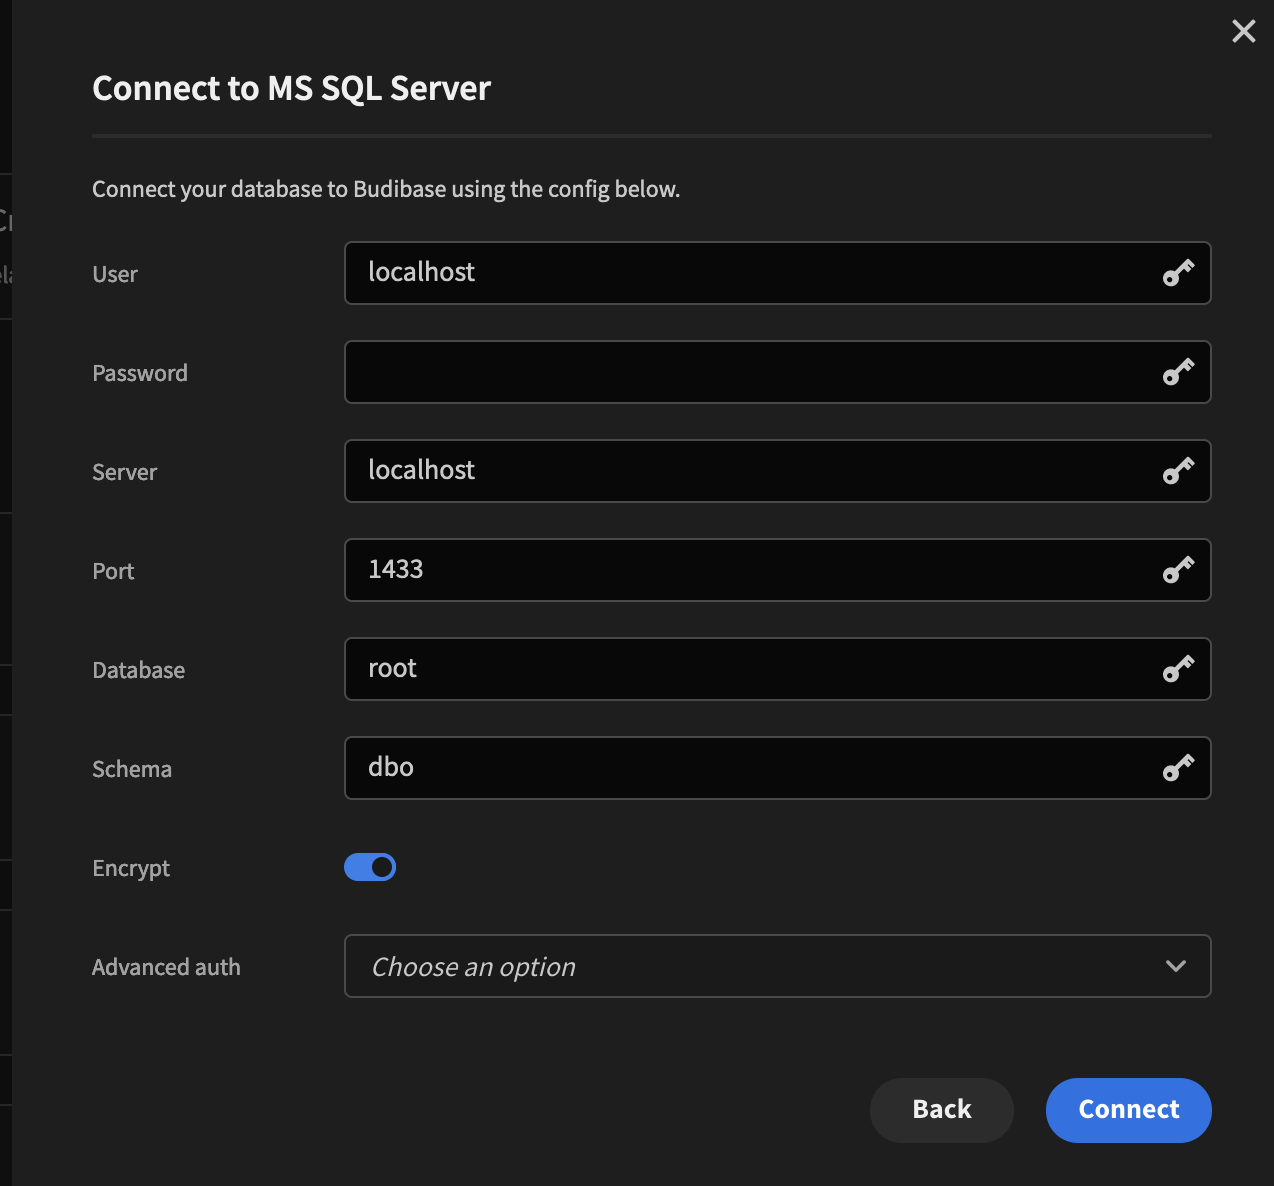
After clicking on the SQL Server datasource you will be prompted to enter connection details:
Advanced authorisation
If you are using an MS SQL Server protected via Azure Active Directory, you can setup the Advance auth field to Active Directory, providing the required secrets.
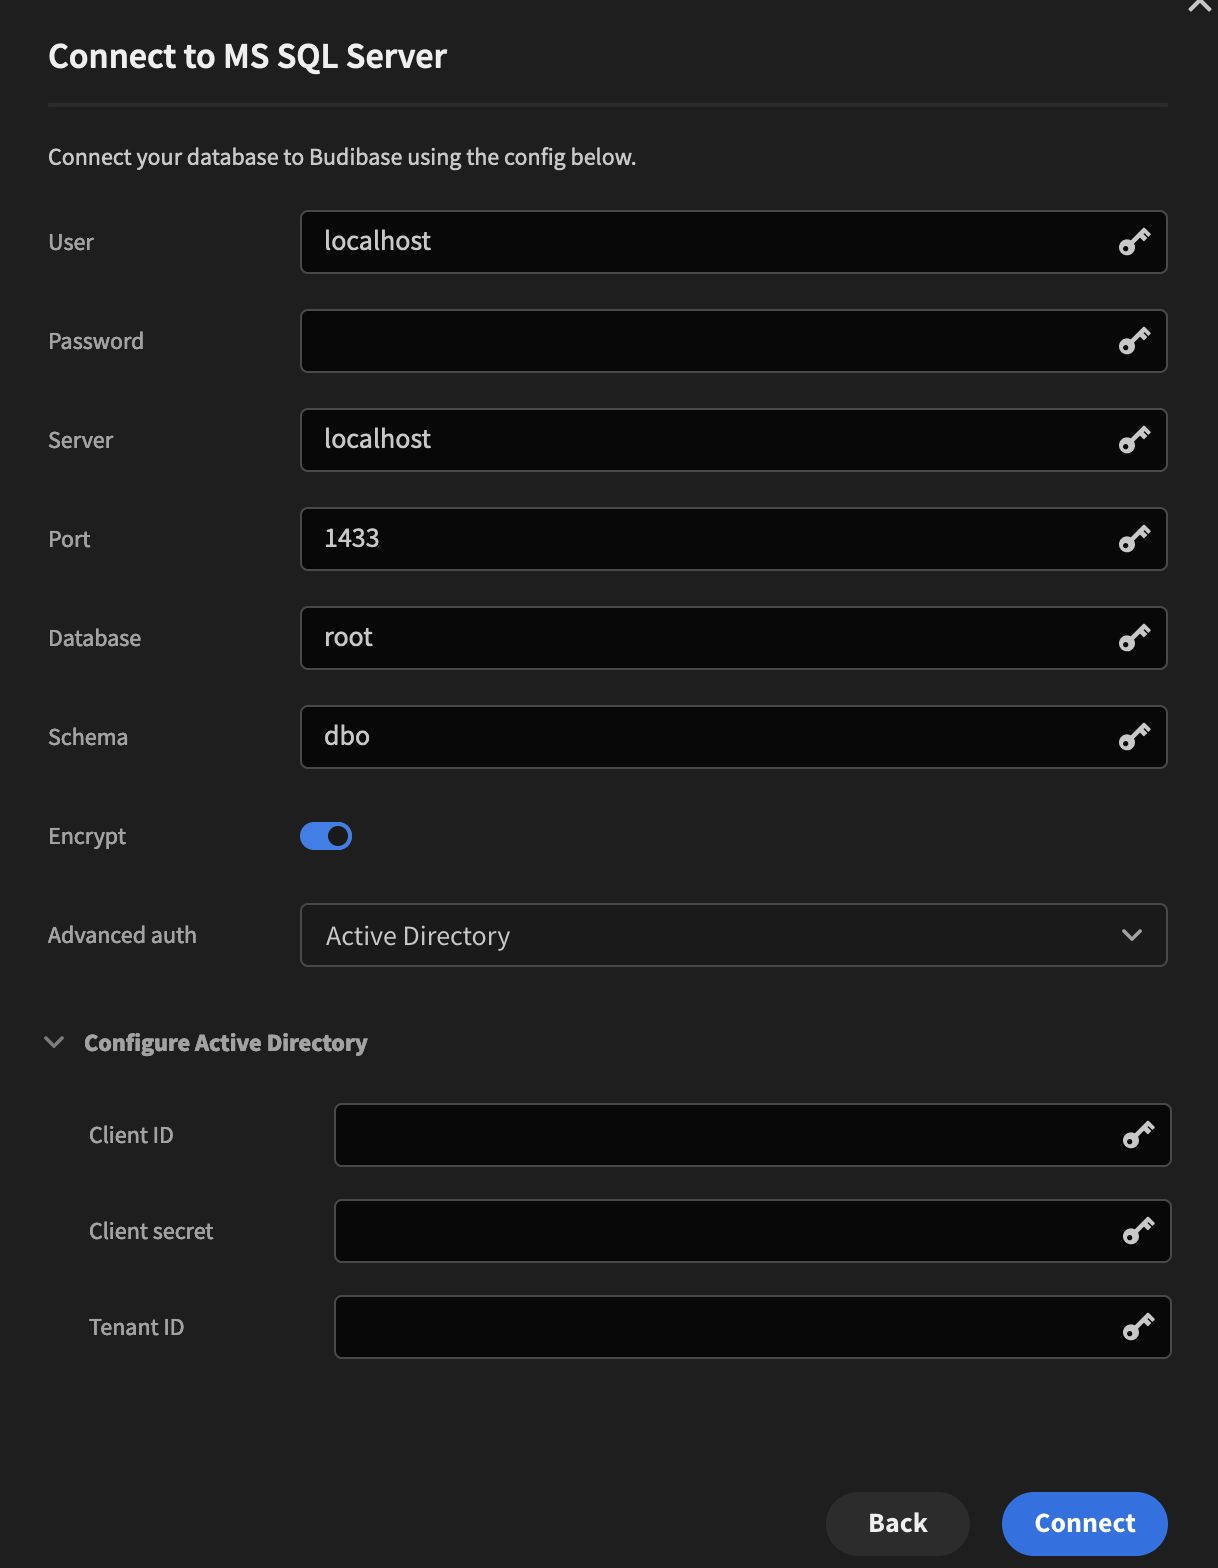
The Azure documentation can be found here.
Tutorial: Building a Bike Store app
In this tutorial we will look at building a Budibase app from scratch using an existing Microsoft SQL Server database as our foundation. Our data is split between two schemas.
One schema is called Production which contains our products, details and stocks. This data will be available to the public for customer use.
The second schema is called Sales which contains internal data to be seen and managed by employees only.
The full dataset can be found on sqlservertutorial.net.
Setting up the datasources
Given you have an MS SQL Server instance running, with the dataset committed, we can begin pulling that data into Budibase.
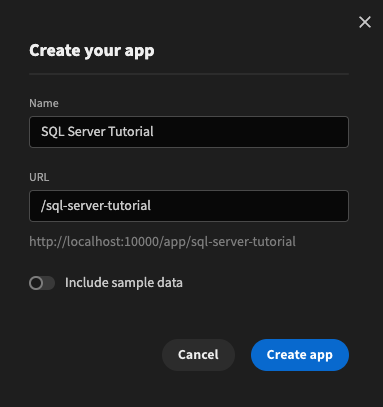
First create an app - no sample data needed.
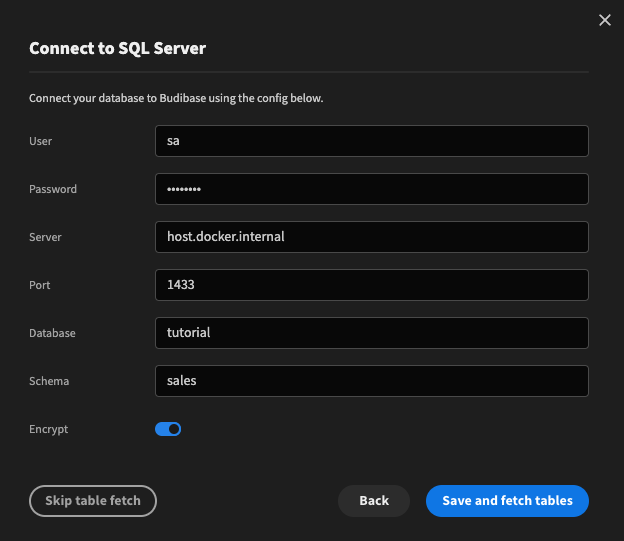
As we have two schemas, we will want to create two Datasources; one for each schema.
Click Add source and select MS SQL Server. Fill out the connection details and press Save and fetch tables.
Repeat the same process, but change the Schema to production.
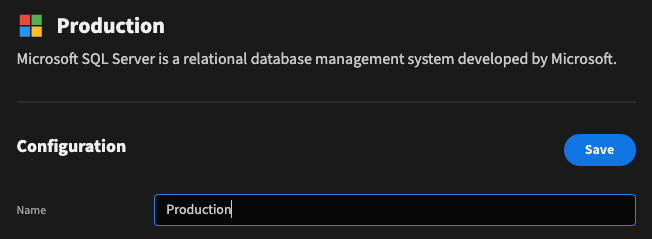
By default the datasource names will be SQL Server and SQL Server-2. It is best to rename these to match the corresponding schemas.
For example, select the datasource for the production tables, change the name under configuration, and click Save. Do the same for sales.
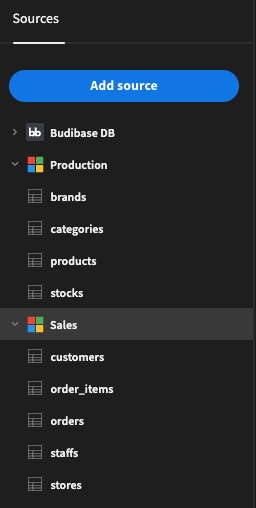
Your final Sources tree should look as follows:
Define existing relationships
Now that we have pulled in our tables, we need to inform Budibase how the tables relate to each other.
- One Brand -> Many Products
- One Category -> Many Products
- One Store -> Many Staff
- One Store -> Many Orders
- One Staff -> Many Orders
- One Customer -> Many Orders
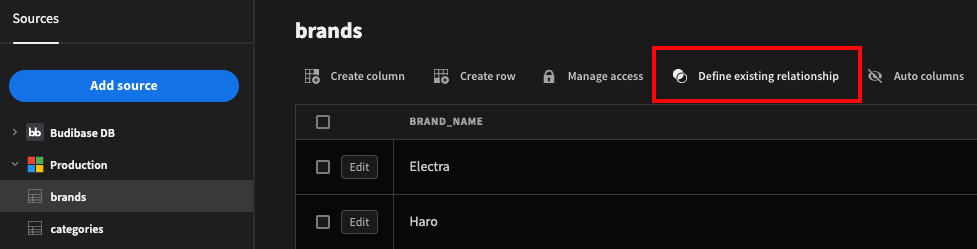
To get started, click on the brands table. Next click on the Define existing relationship button along the top of the table.
This will pop up a dialog for you to select the products table as the to table, and select the brand_id as the foreign key.
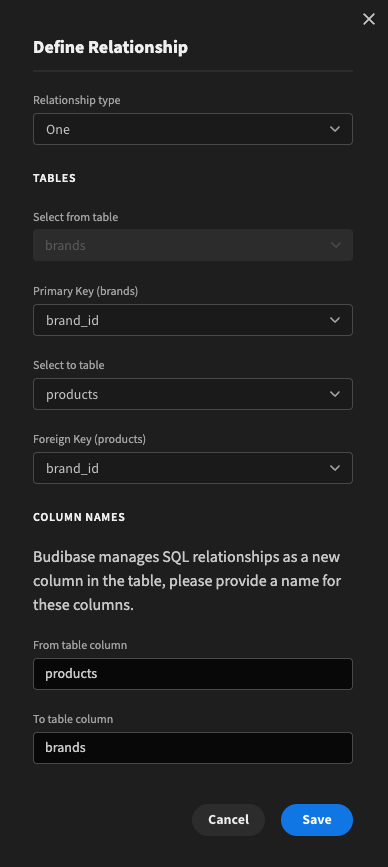
Click Save and you will see the relationship links successfully added in both tables.

Product links in the brands table
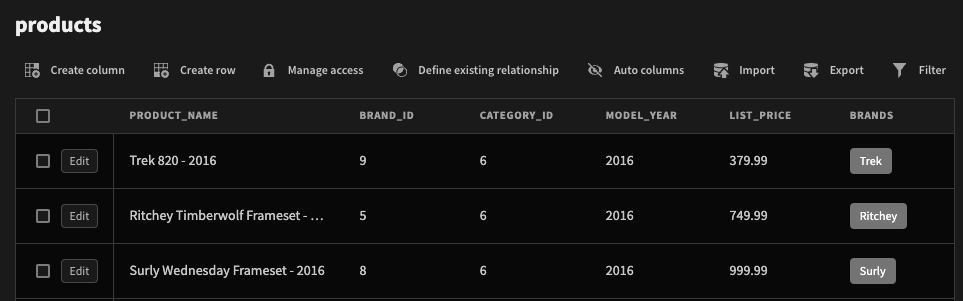
Brand links in the products table
The same process can be followed for the other desired relationships mentioned. Alternatively you can define relationships from the datasource configuration page.
Adding a public products catalogue screen
In this tutorial we want to allow customers to browse the available products of the bike store. First we must give public users permissions to view the data. For each table under the Production datasource, click on Manage access.
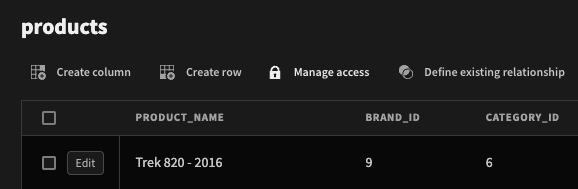
This will display a modal for setting the read and write access levels. As we only want the public to be able to read the data, select the Public role for Read and click Done.
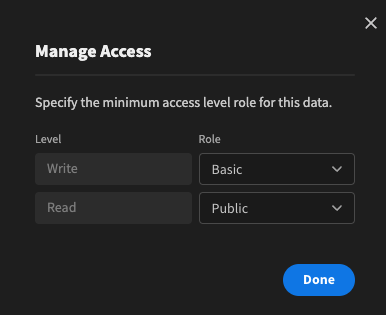
Anyone can read the products, but write require authorization
Manage access for relationshipsWhen making data public, you must also give the related data public access.
In this case,products,brandsandcategoriesmust all have public read access.
With the data permissions now set, we can add our screen into the Design section. Click on the Design tab, and select the /home screen. Under access, select Public so that anyone can view the Screen.
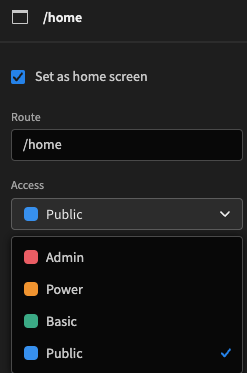
Public screen access
Next click on Add component and add a Cards block. Select products as the datasource, and fill out the cards title, subtitle and description. Use the Binding from the dropdowns to pull data from the SQL datasource.
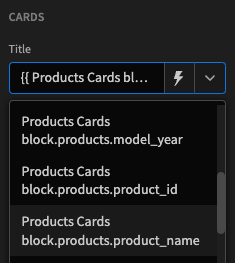
Selecting the product name as the card title
Bindings also allow you to combine static text with dynamic data pulled from your SQL table. For example, we can prefix the price with a dollar sign using the following handlebars expression:
${{ Products Cards block.products.list_price }}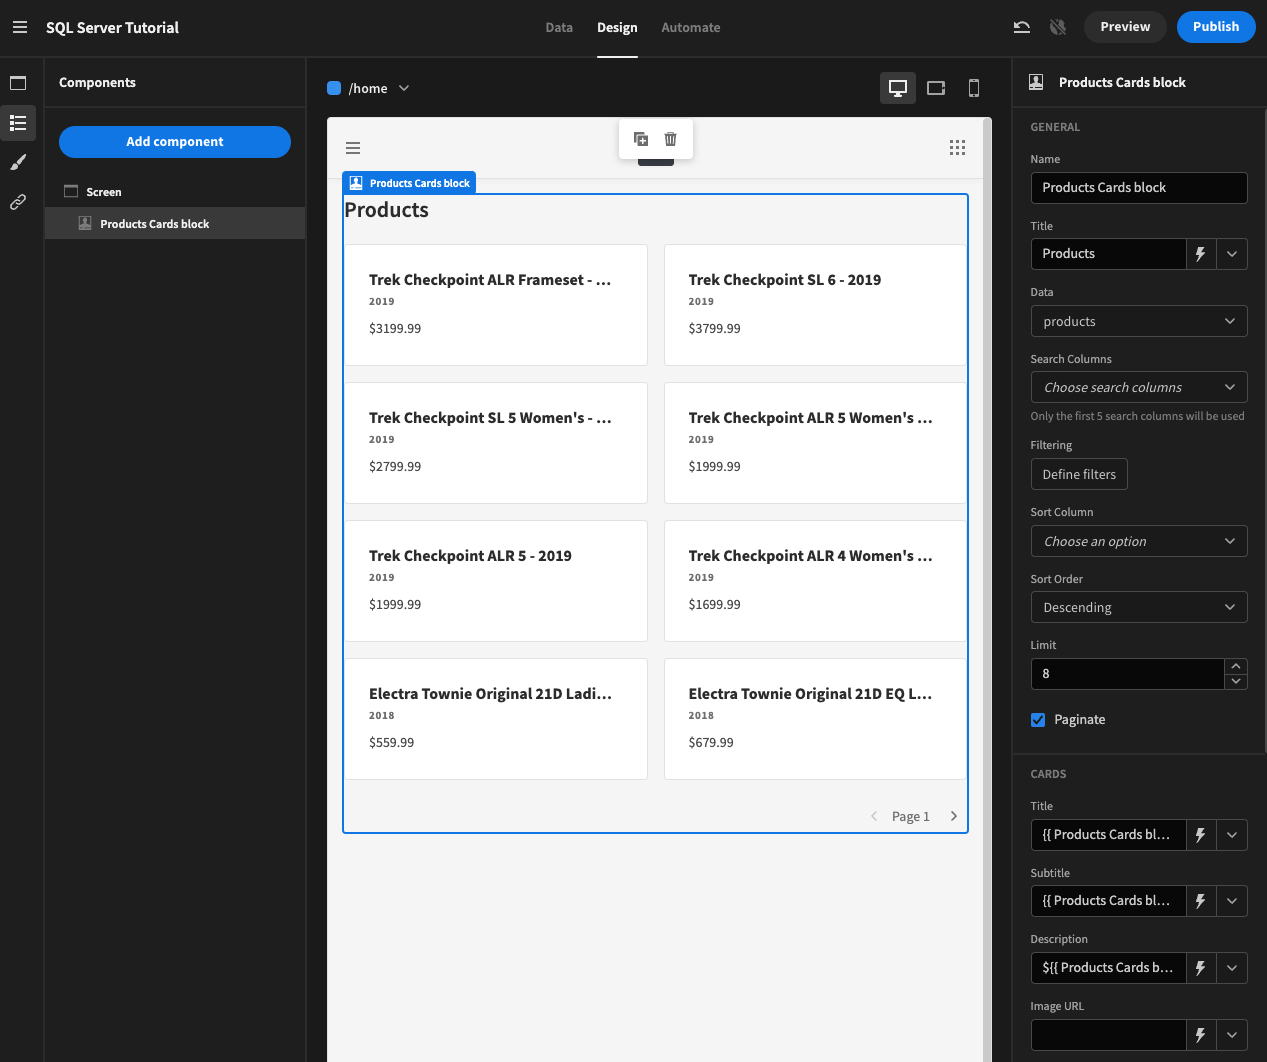
You can tick paginate and adjust the limit setting to determine how many products should be displayed per page.
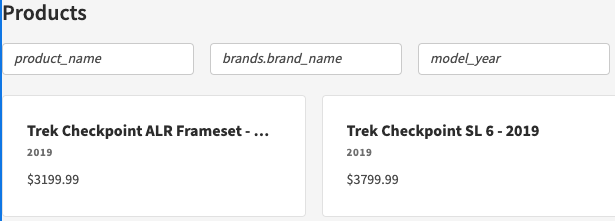
Of course given a catalogue of products, users would like to be able to filter. You can easily add a Search column via the dropdown in the cards block.
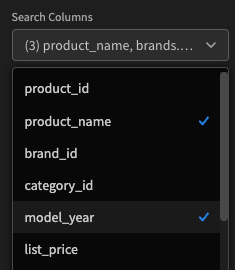
Adding search columns
For example, you may want to allow users to search by product name, brand name, or model year.
It would also be nice to add in some tags for the brand and category of the product. To do this let's eject the block. This will give us a more granular component tree like so:
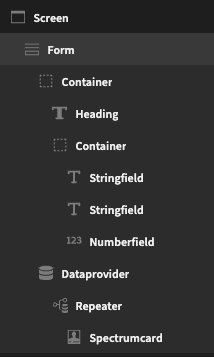
Ejected cards block
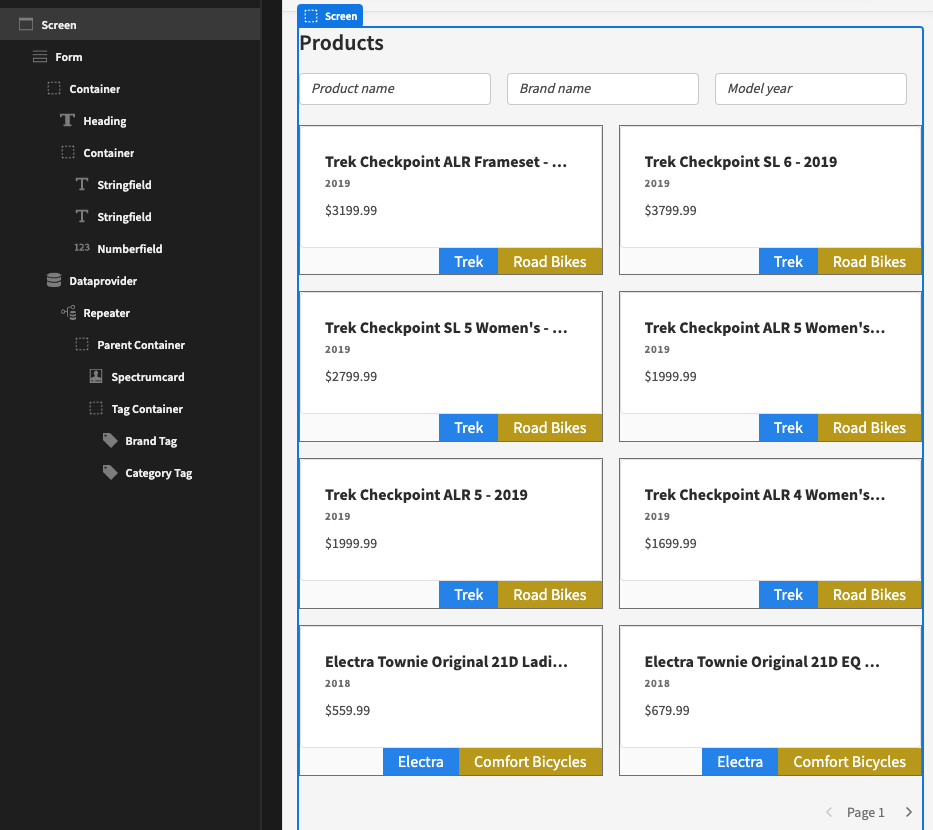
With access to the Repeater, we can now add a couple of Tag components below the Spectrumcard; one each for the brand and category.
Use the following binding for the tag text: {{ Repeater.products.brands.0.primaryDisplay }}
To explain, brands is the name of the relationship field. The .0 is required as relationship fields are always considered to be an array, however in this case we know that it will only ever be one element. Finally the primaryDisplay corresponds to the table display column.
Using Containers and a bit of styling, you can create something like this:
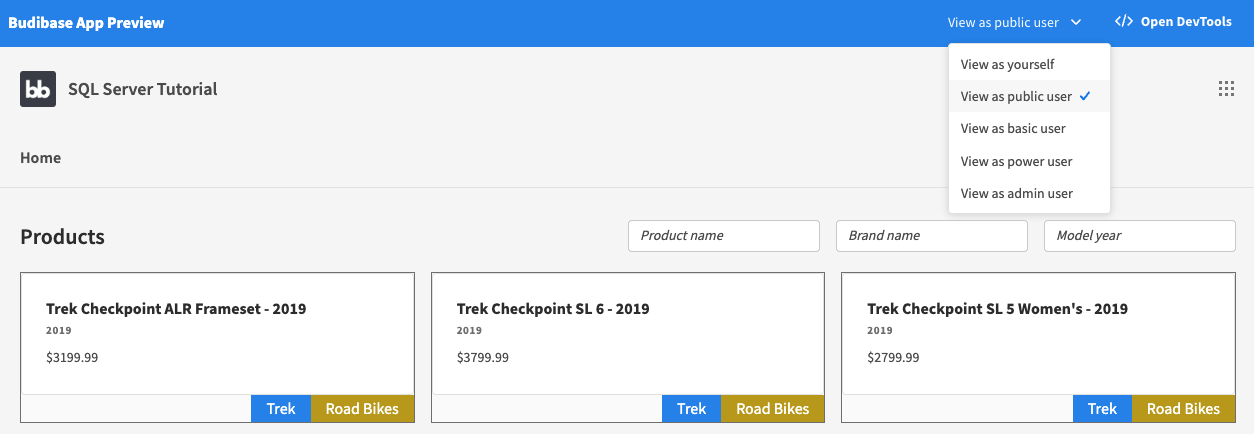
Finally click the Preview button in the top-right corner of the screen to test the app so far.
Select View as public user to make sure unauthenticated users can view the data.
Managing sales data
Whilst we want the public to be able to view the available products, the sales data should be managed by authenticated users.
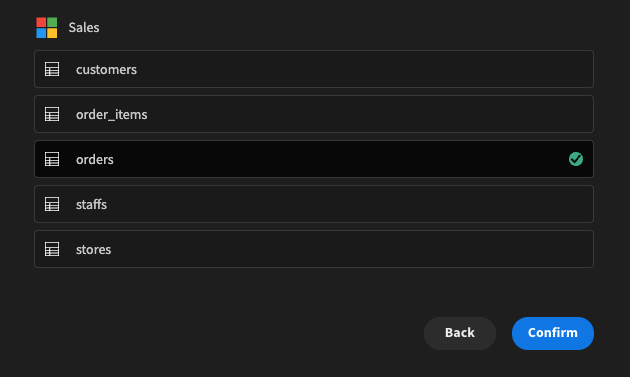
After setting up your relationships, as outlined earlier in the tutorial, go to the Design section and click Add screen. Next click on Autogenerated screens.
This will prompt you to select the table to create the Autogenerated screen for. Select the orders table and Confirm.
Next you will be prompted to select an access level. By default Basic will be selected, which requires an authenticated user of the app. Click Done.
This will add full CRUD functionality for the orders table. If you want to customise this screen, look at the Table block page for more info.
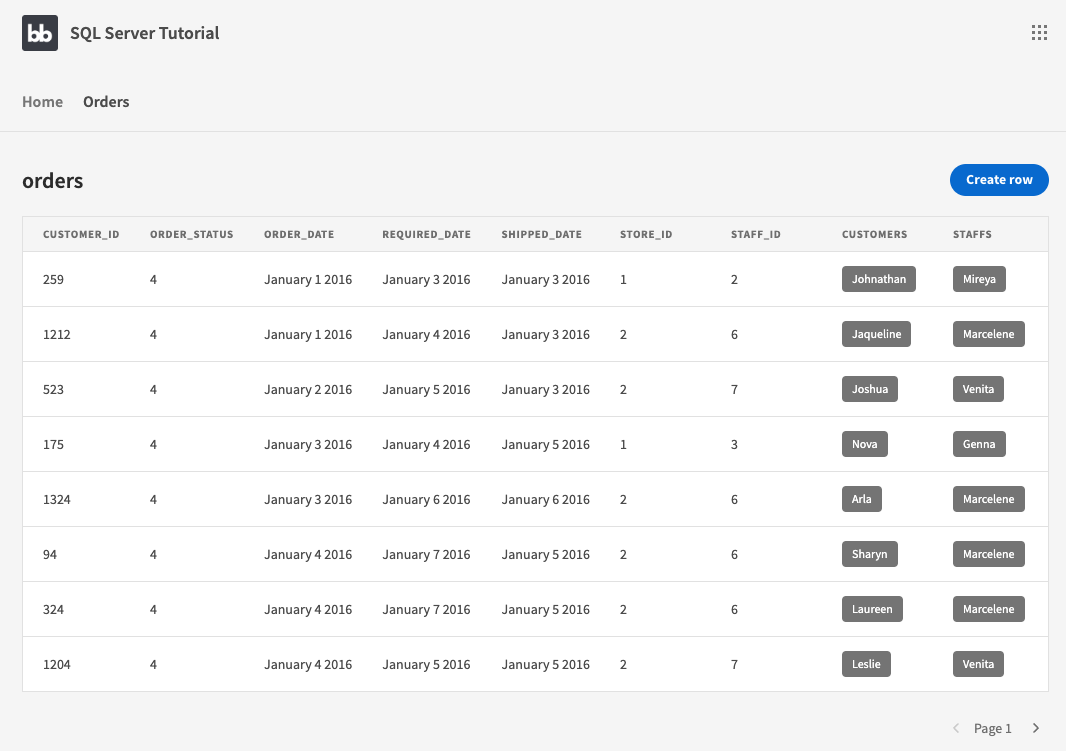
Basic logged in user can view and edit orders
Whilst public users will be denied access to the Orders screen, it would be better to not show them the Navigation link so as to avoid confusion.
Click on the navigation panel, and click Configure links. Next beside /orders select a Minimum role - in this case Basic. Click Save.

This will ensure that public users do not see the Owners link.
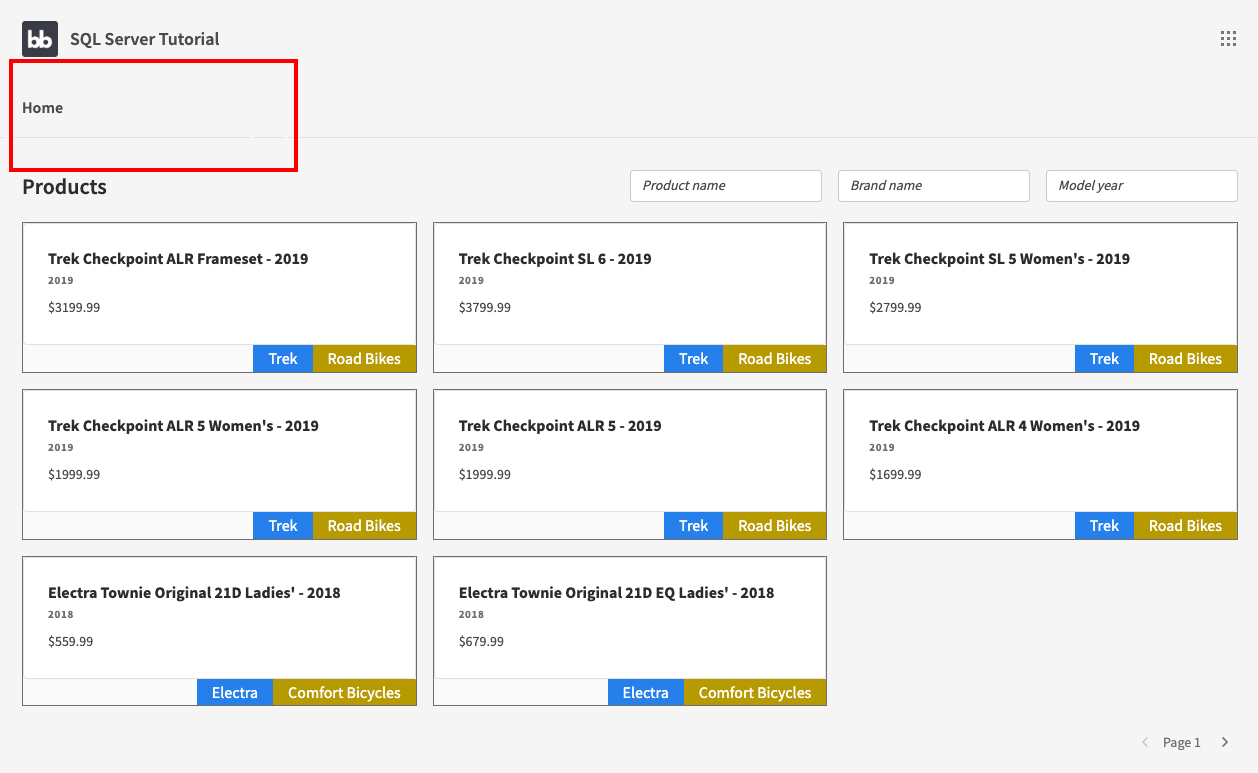
Unauthenticated user only sees the Home link
Auto-generated screens can be created for the other sales tables, but different access levels could be used.