Users table
The App users table is a special Budibase DB table that stores all of the users that have access to the app.
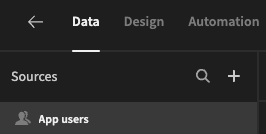
It is anchored to the top of the Datasource list, and has a unique icon to differentiate it from other tables:
Unlike regular tables, you cannot add rows to the users table, this is a read only table. In addition, rows cannot be deleted so that the audit trail remains intact even if a users' access is revoked.
User Management is handled through the Admin Portal, and the Users panel.
The standard columns include:

Updated By columns
It is possible to add auto-columns to your tables, which includes the updated by column.
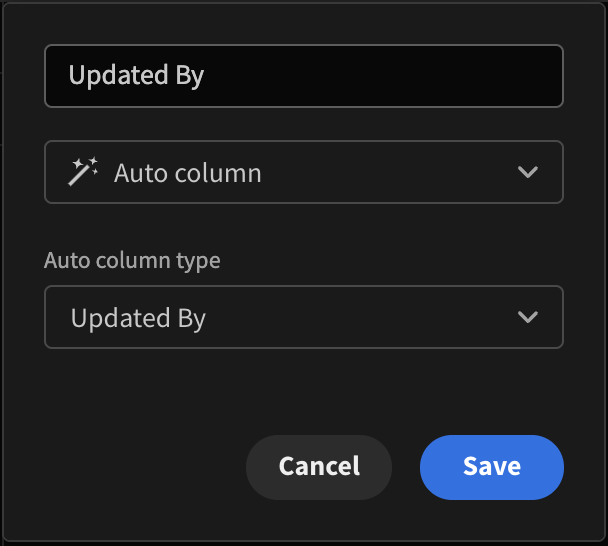
Adding a 'Updated By' auto-column
This will create a linked column in the Users table with the following name format:
- [table name]-updated_by
These can be used to display user specific data for the currently logged-in user.
When a row is created or updated through the UI, the user will appear in the 'Updated By' column.
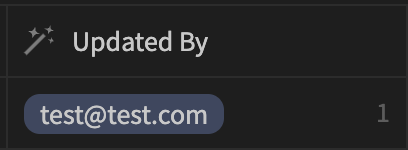
Autogenerated columnThe wand icon indicates that this column is autogenerated and auto-populated.
The values cannot be overwritten or saved manually.
Edit roles
You can also add custom roles to your app. More information here.
Current User bindings
There are globally available Bindings for every column in the Users table, including the custom columns.
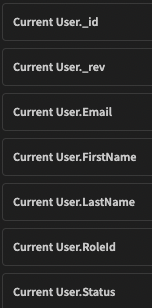
For example, these can be used to display the name of the currently logged-in user, or Add filtering on the _id to get related user data.
OAuthToken
When the user logs in using SSO, an OAuth token will be available for use in API headers.
Tutorial: Create/Edit user details screen
You may want to allow a method for users to add additional details. This tutorial will outline how to create a table for users to add additional details about themselves. This requires creating an additional table called user details.
Step 1 - Create a new table
Add a new internal table data source in the data section and create a new table called user details. You can add as many fields as you like here, such as avatar, number, etc.
Step 2 - Add a single user column
Add a single user column to this table. Later, this will be used to assign a row's ownership to a specific user. As well as do filtering for conditional logic applied to components.
Step 3 - Add the edit user profile button
Navigate to Design, and click Add component and select Sections leaving the Type as Main with sidebar.
Next add a Headline with the following text Binding: Welcome back {{ Current User.firstName }}!.
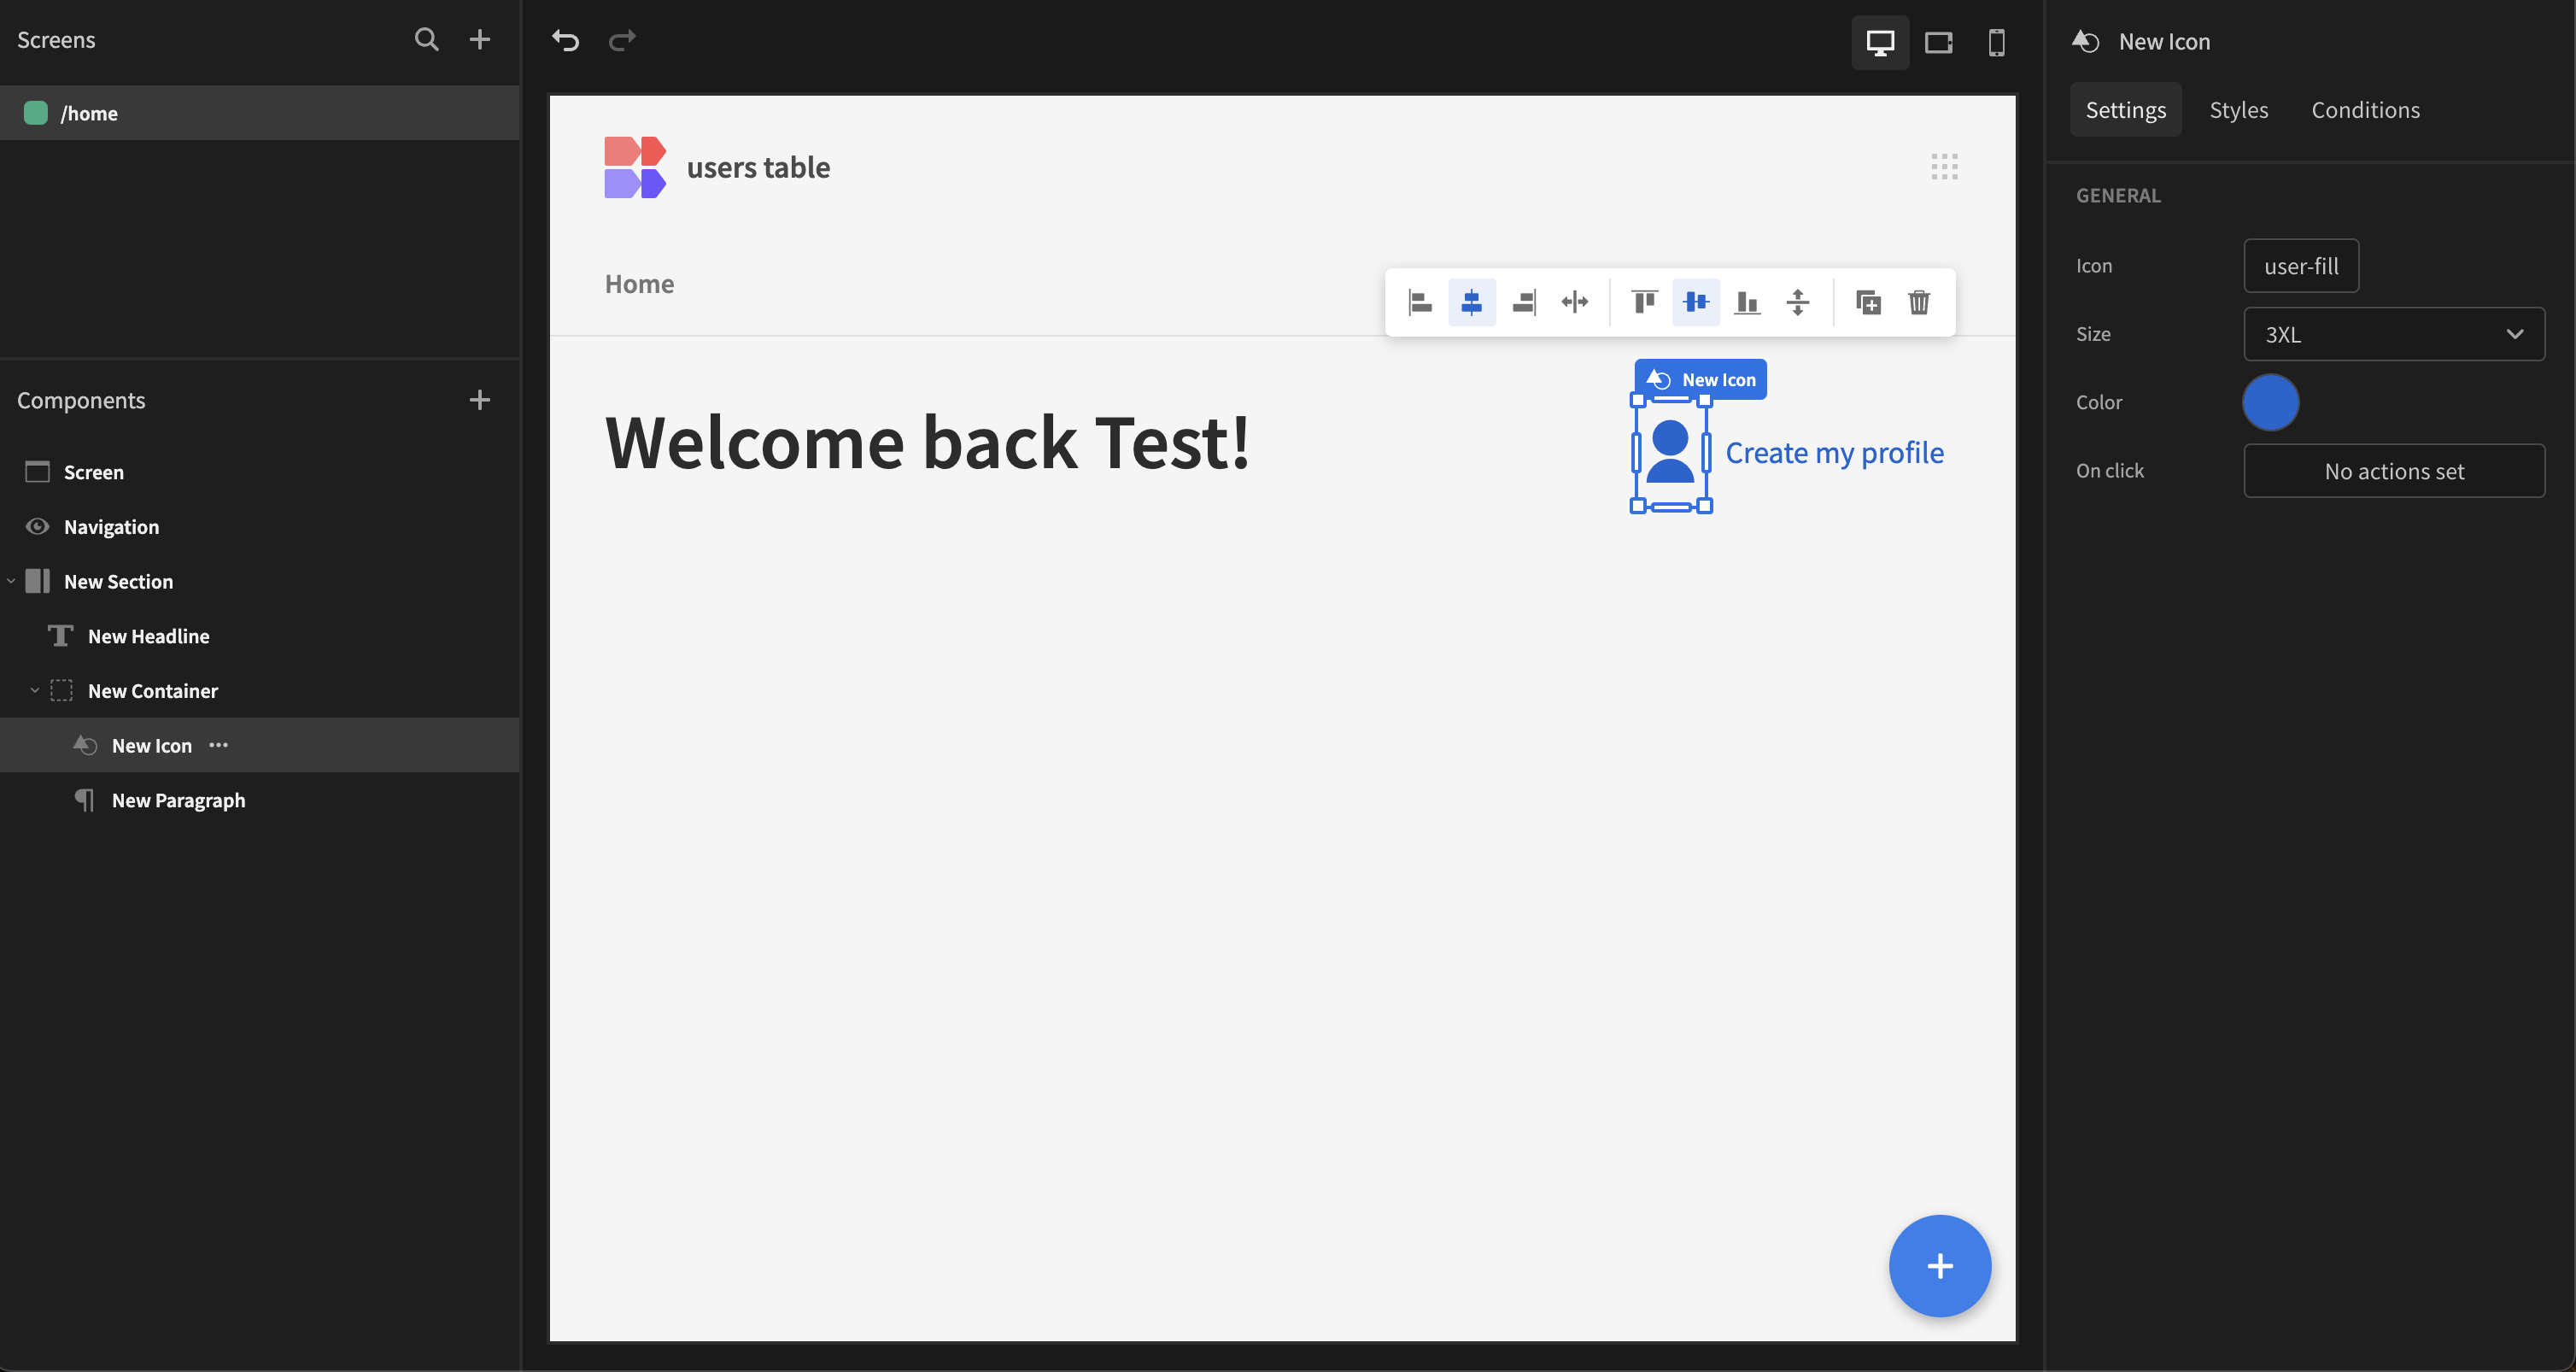
Now you could easily add a Button, but it would be nice to include a user icon for editing profile info, therefore add a Container instead and set a background and border.
Inside the container, add an Icon, selecting user-fill and set the Size and Color. Then add a Paragraph component with the text 'Create my profile'.
Step 4 - Add a Data provider
Add a Data provider, limit this to 1, and select your user details table as the source. Then apply the following filter;
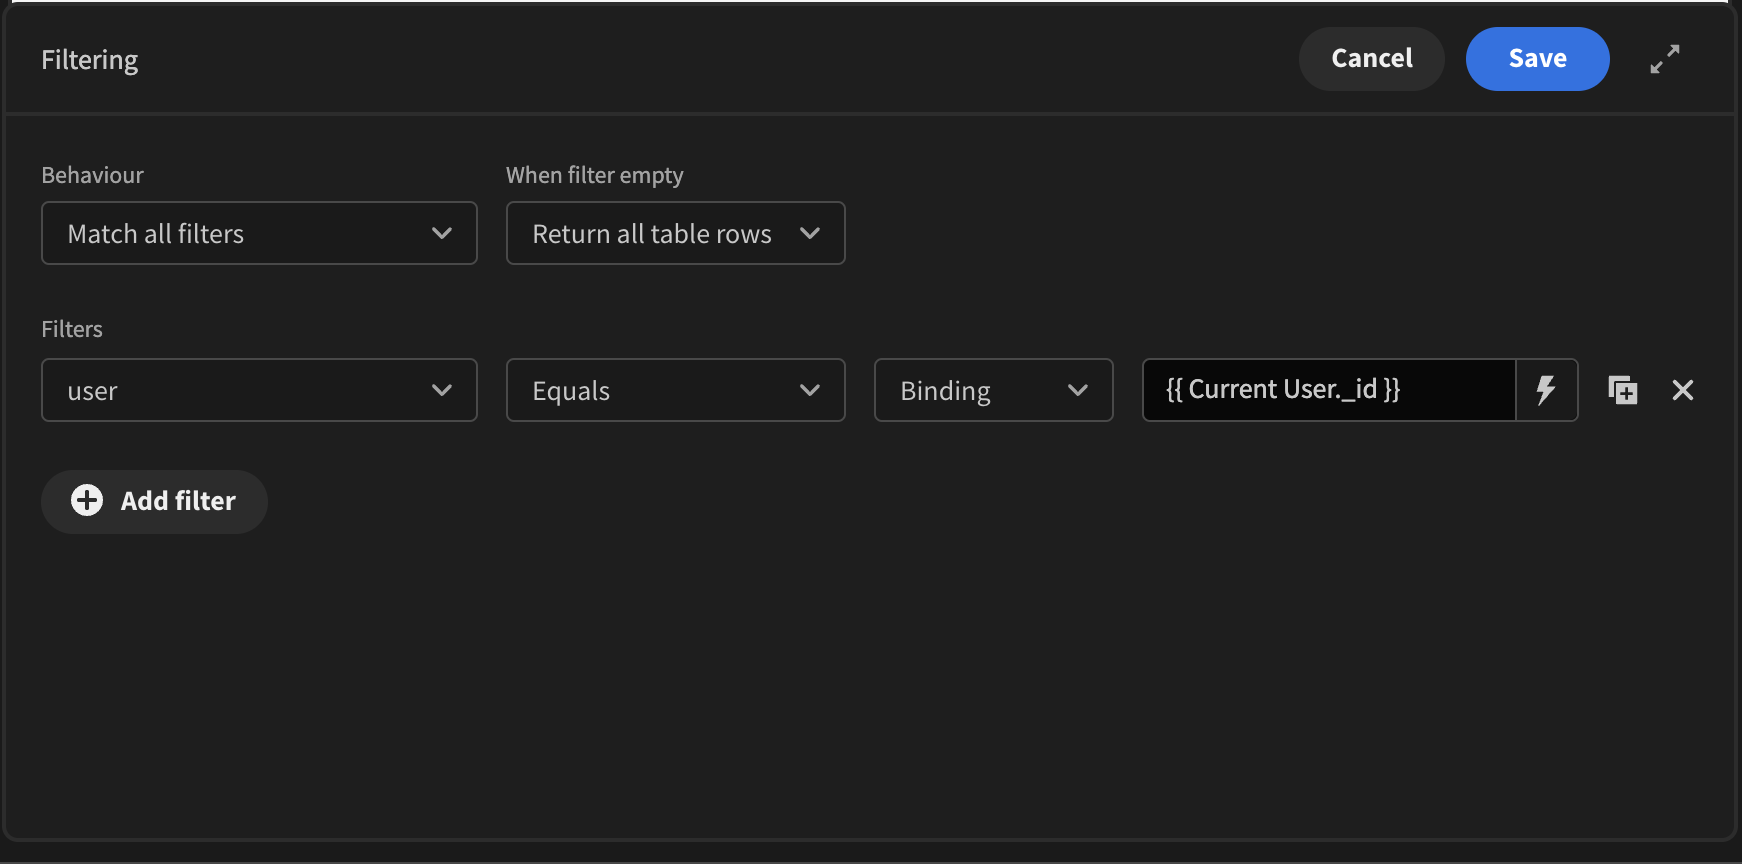
This will only pull rows that are assigned to the user via the user column we made earlier. We will use this later to do some conditional rendering on which form will be used depending on whether the user has already created a record.
Step 5 - Create/Edit my profile side panel
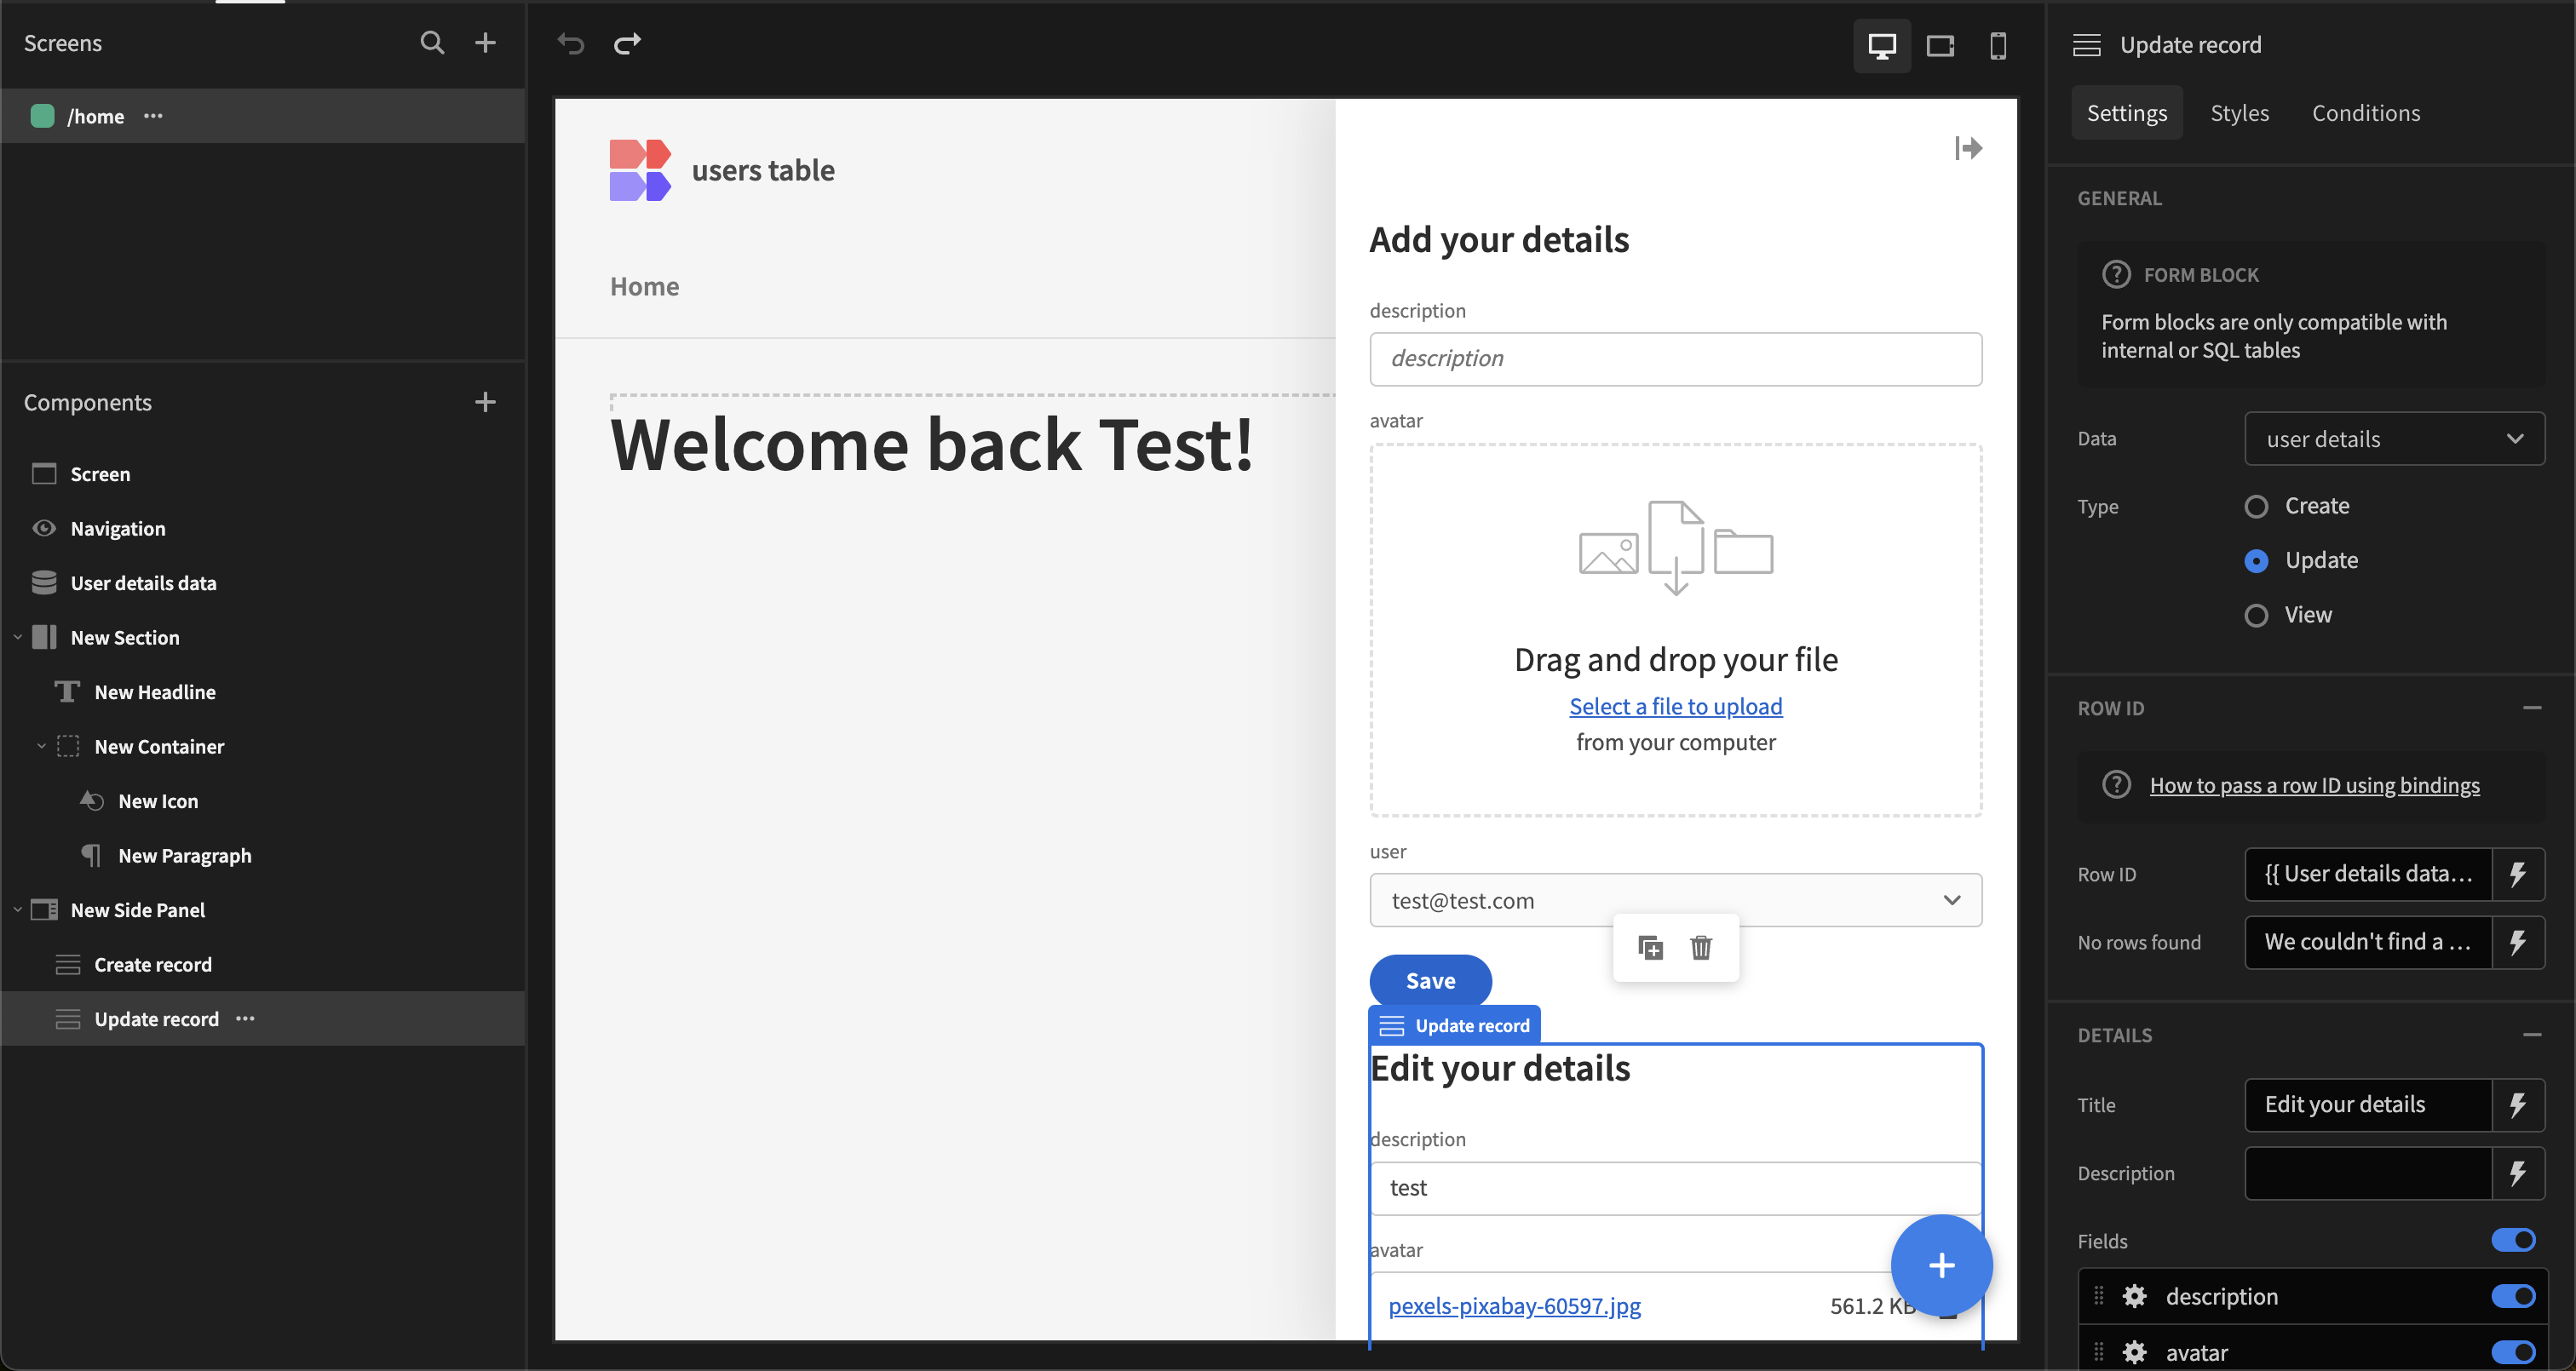
Add a Side panel, and two nested Form blocks. Select the 'user details' Table. Set the second form block Type to 'Update'.
In the second form block, set the Row ID to: {{ User details data.Rows.0._id }} and provide a Title.
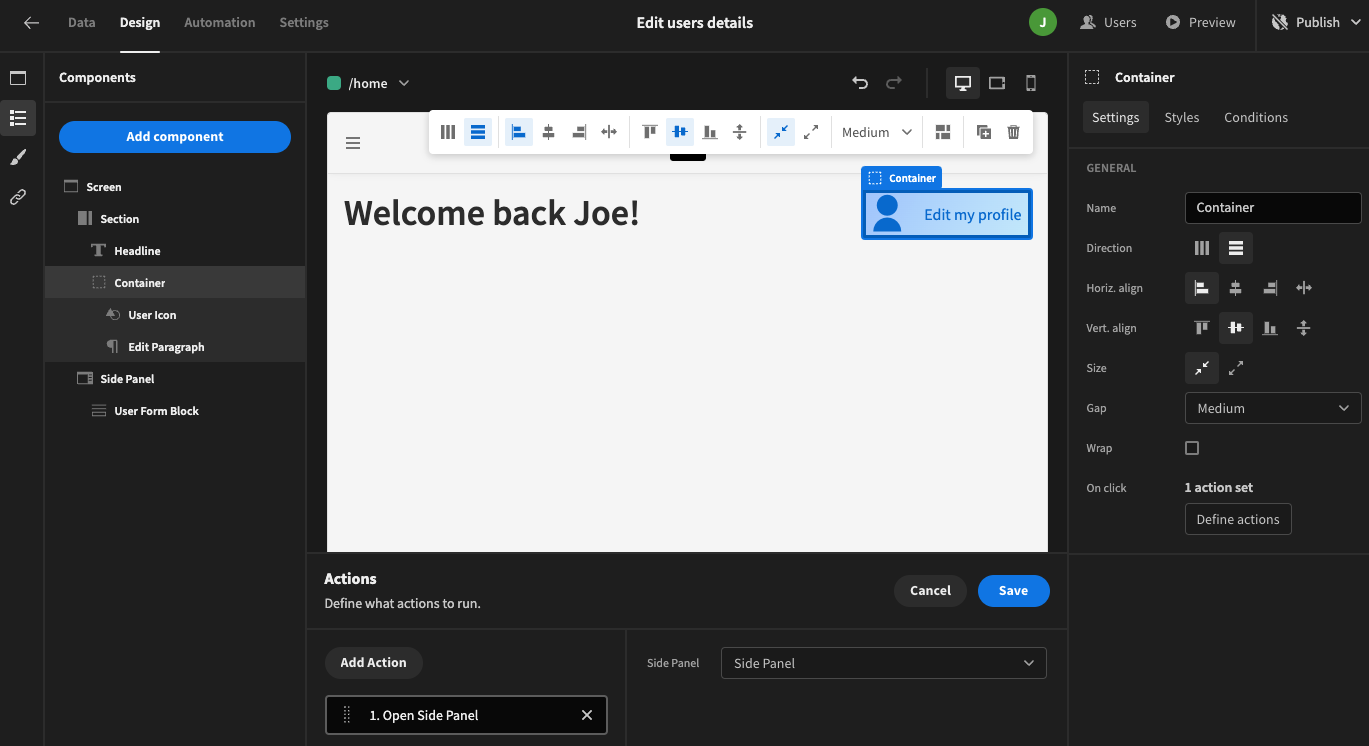
Select the Container and click Define actions beside the On click setting. Add the Open Side Panel and select the side panel in the dropdown.
Add default values to the user field inside each of the form blocks. You can do this by clicking on the cog icon next to the field in the form block's settings. Once the context menu is open, click the lightning bolt next to the "default value" field and then apply this binding to the field {{ Current User._id }}.
Step 6 - Finishing off
Add conditions to the two forms. For this, we will be using the Data provider we discussed previously. For the create form, we will be using the below condition;
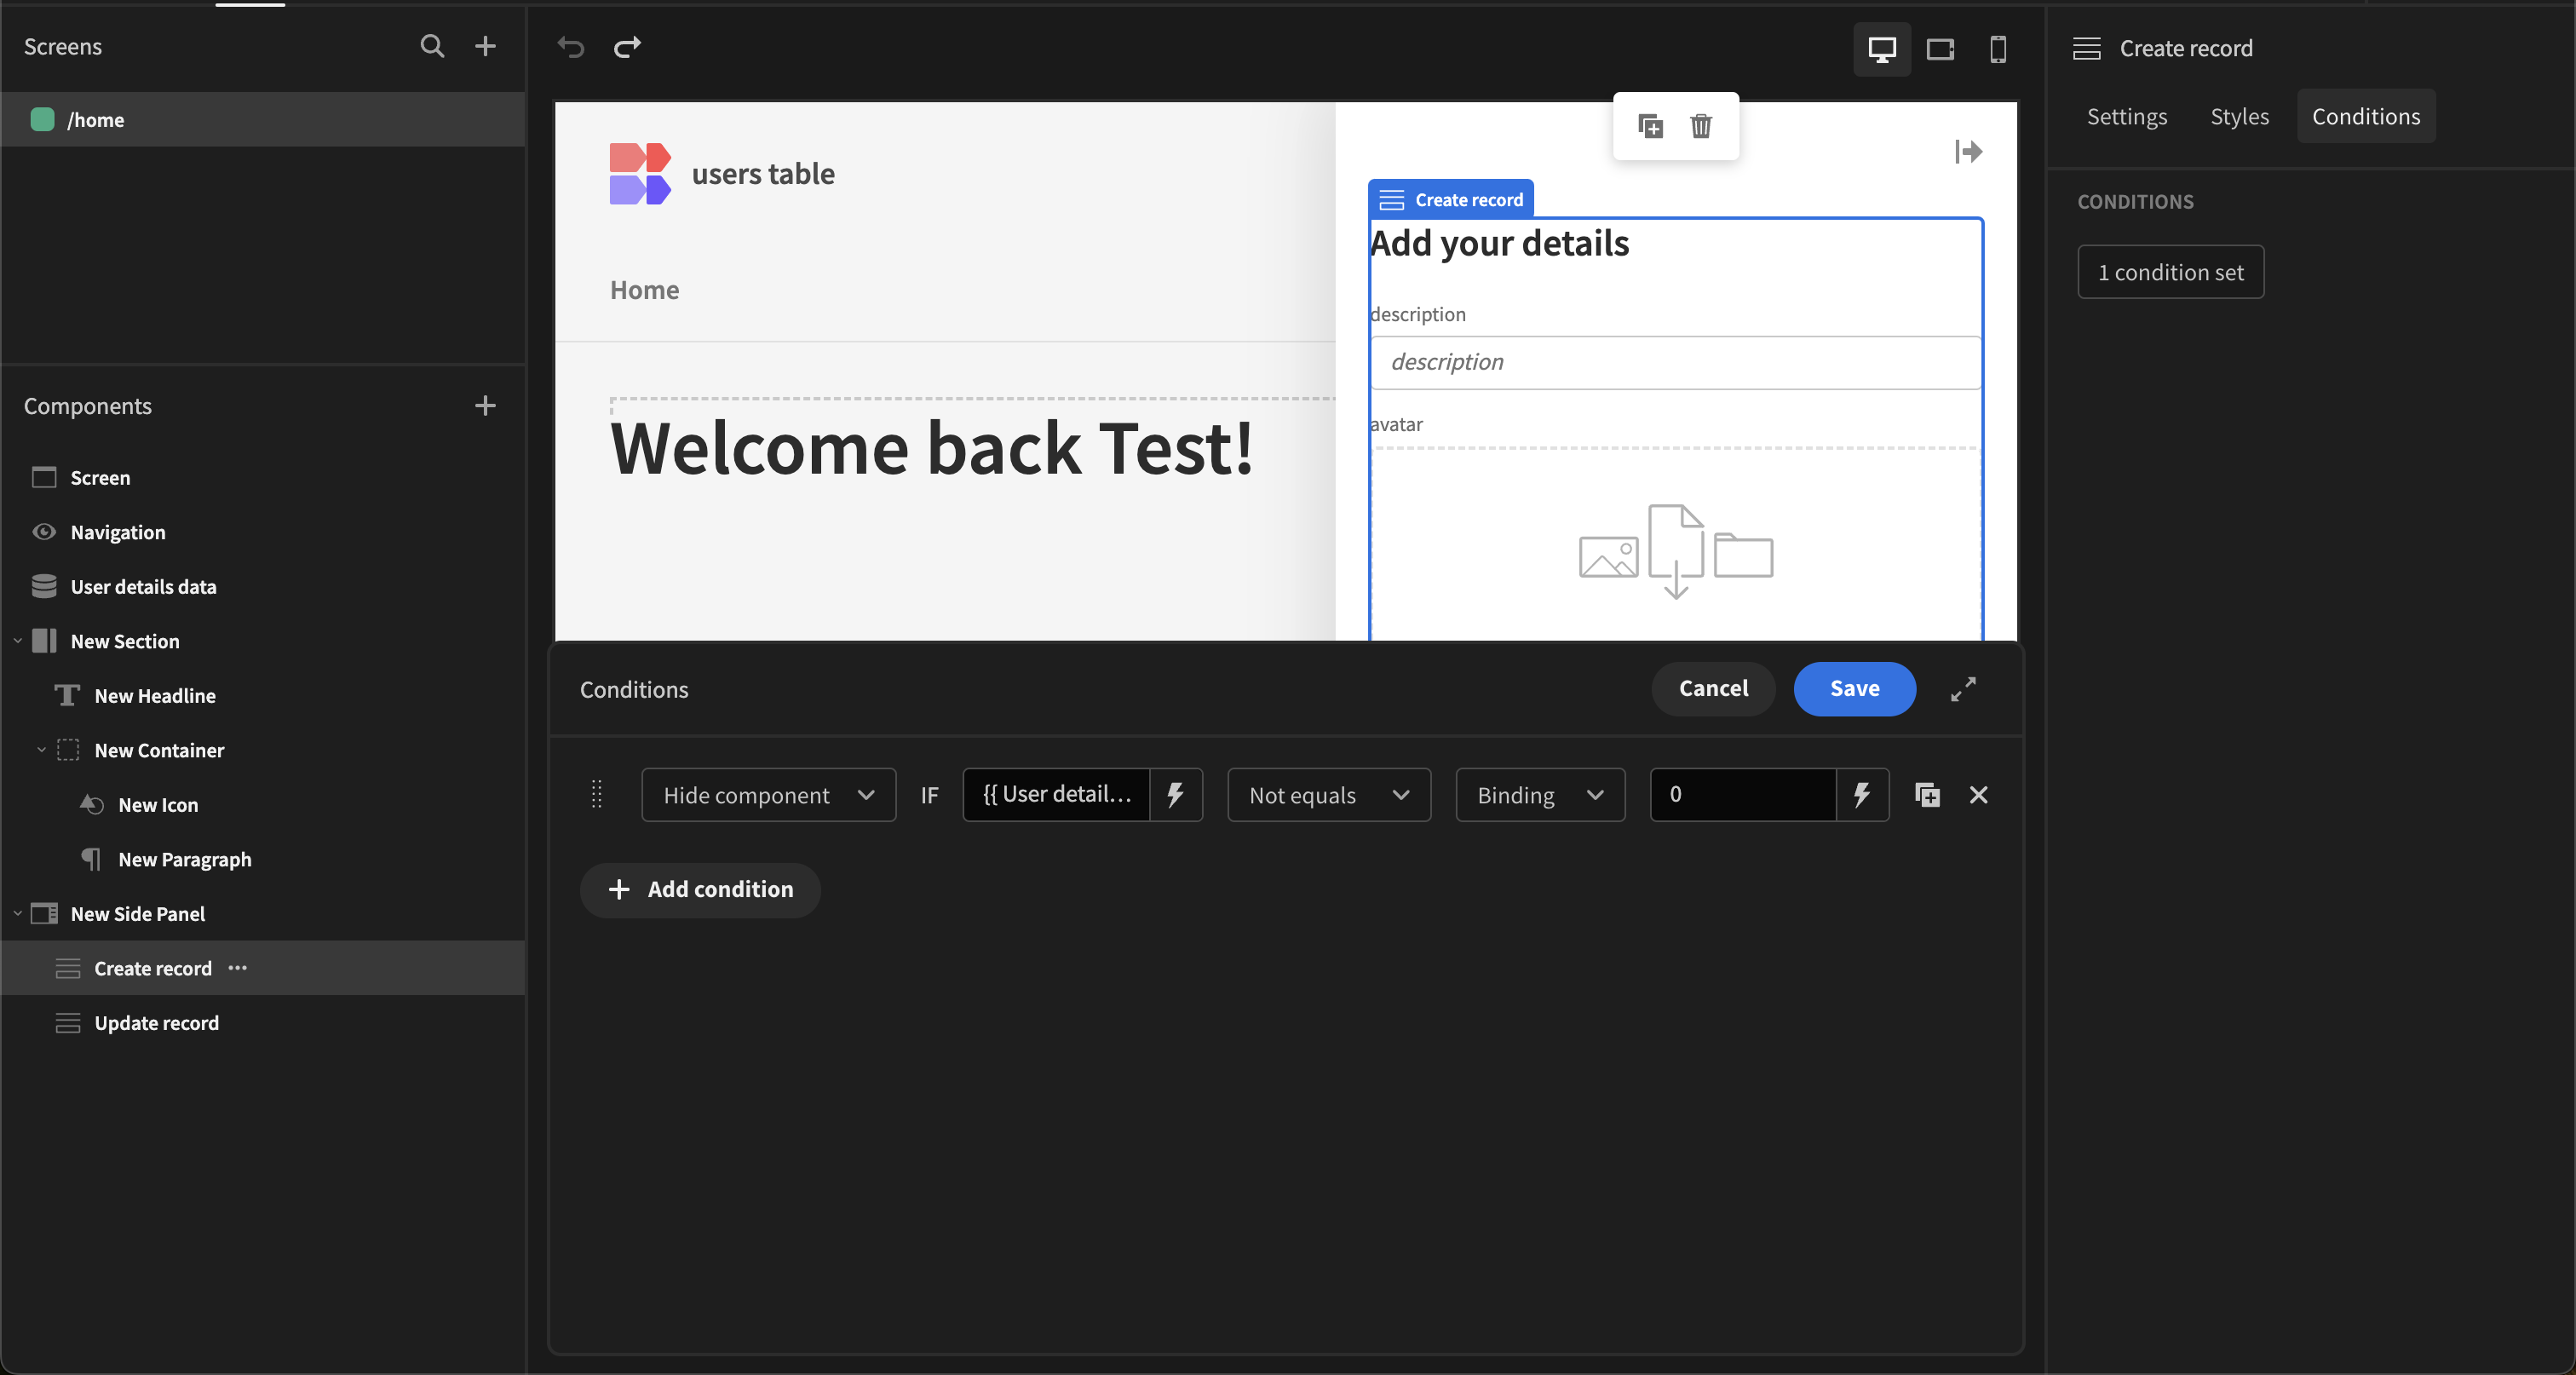
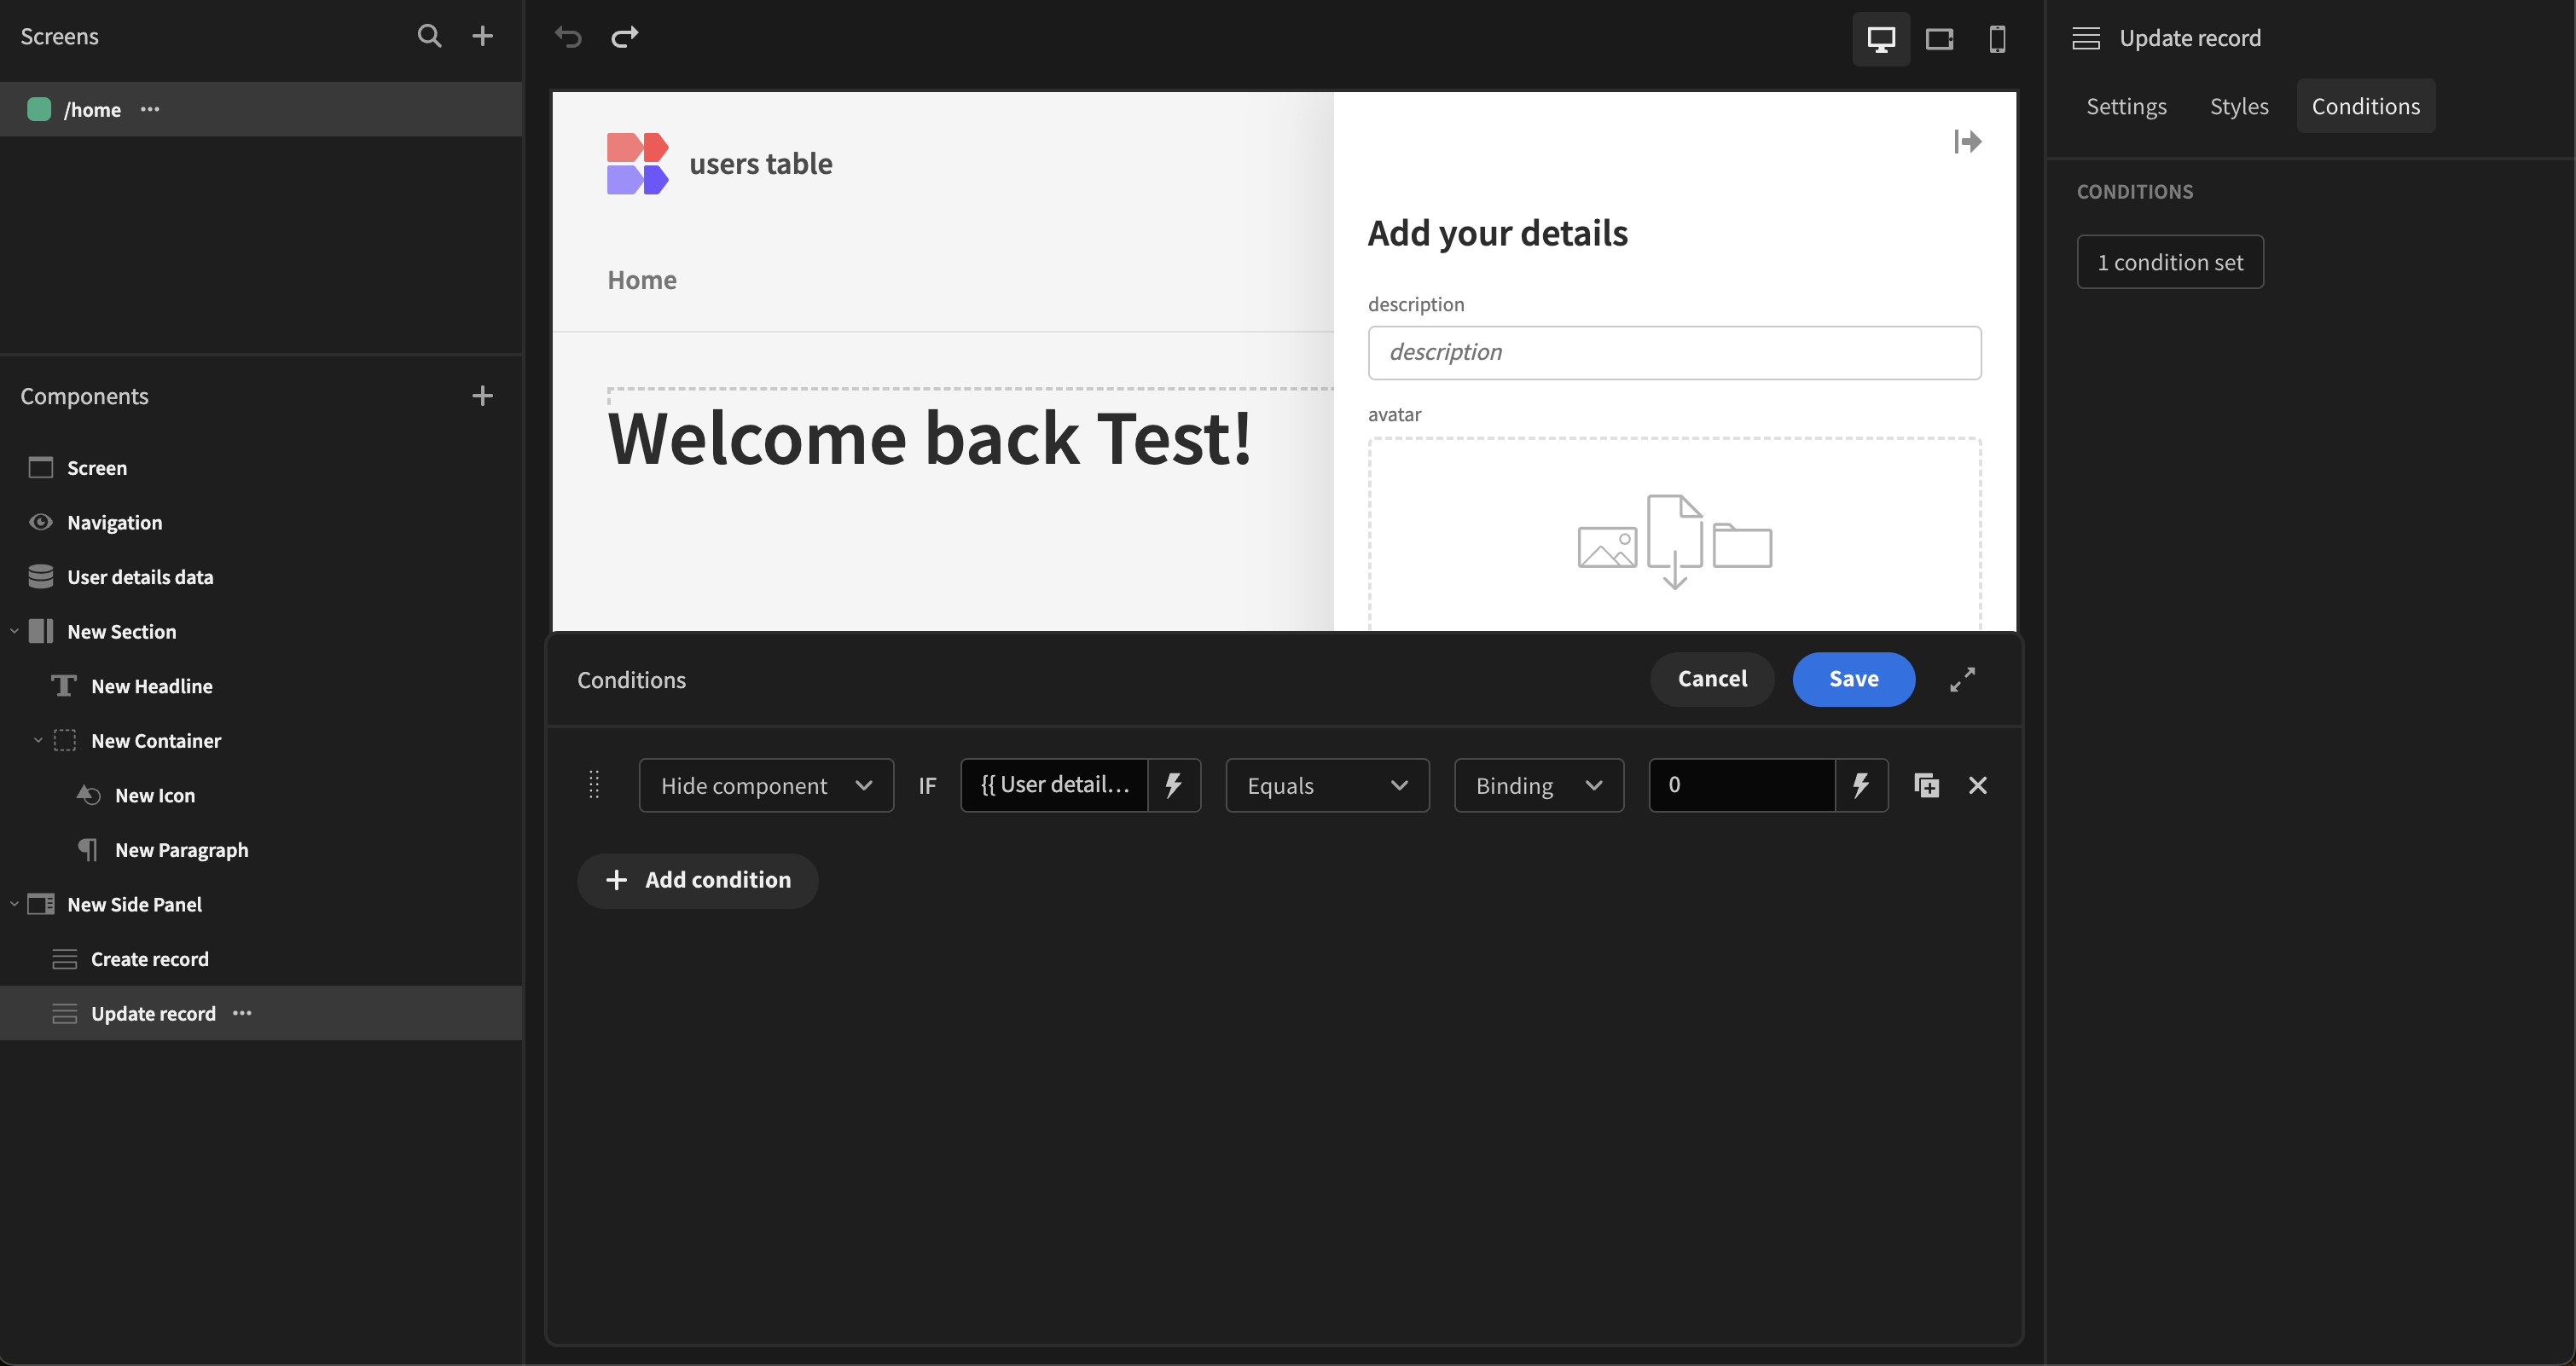
Both forms will use this initial binding {{ User details data.Rows Length }}. For the update form, we will be using the below condition;
Lastly, we will add an if statement to the paragraph to communicate to the user whether they are editing or creating a record. The code below is how we will do this, once again we will be using the Data provider for this logic.
if($("User details data.Rows Length") > 0) {
  return "Edit my profile"
}
return "Create my profile"
User column
With the implementation of the new User column eventually custom fields to the user's table will become depreciated. Meaning that you will no longer be able to add custom fields to the user's table.
The new intended approach will be to create a new table e.g. Users Metadata and include all the additional user related information here. Then link the users to their rows within this newly created table. From here you will then be able to easily access additional fields based on the user link created with the User column.
Updated 2 months ago