Synchronous automations 🔒
Synchronous automations allow users to receive feedback from their automation, in the Design section or via a webhook response.
Automations are usually asynchronous, this means that when an automation runs, it does so in the background and the user is unable to access its result, but with synchronous automations the result is available to the user.
Licensing🔒The following features are available to:
- All installations with a Premium or Enterprise license
Creating a Synchronous Automation
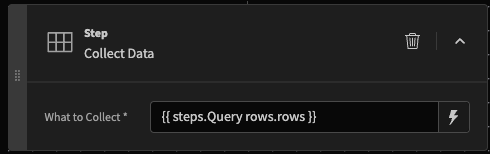
You can make an automation synchronous by adding a Collect Data step.
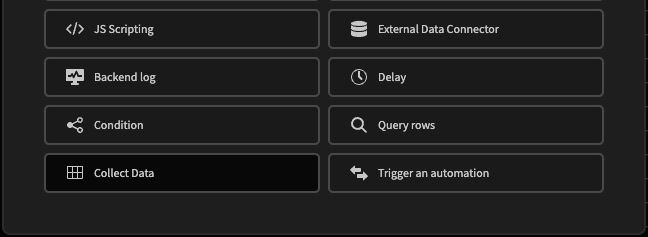
A Collect step will simply return whatever binding or value is passed to it.
Once this step has been added, you can access the result of your automation as a Budibase user, or external user depending on whether your automation trigger is On demand or Webhook.
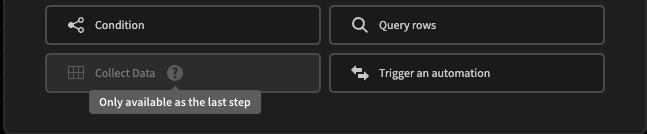
Last stepAs the Collect Data action returns data from your automation, it must be the last step. Otherwise you will see that the action is greyed out:
Webhook
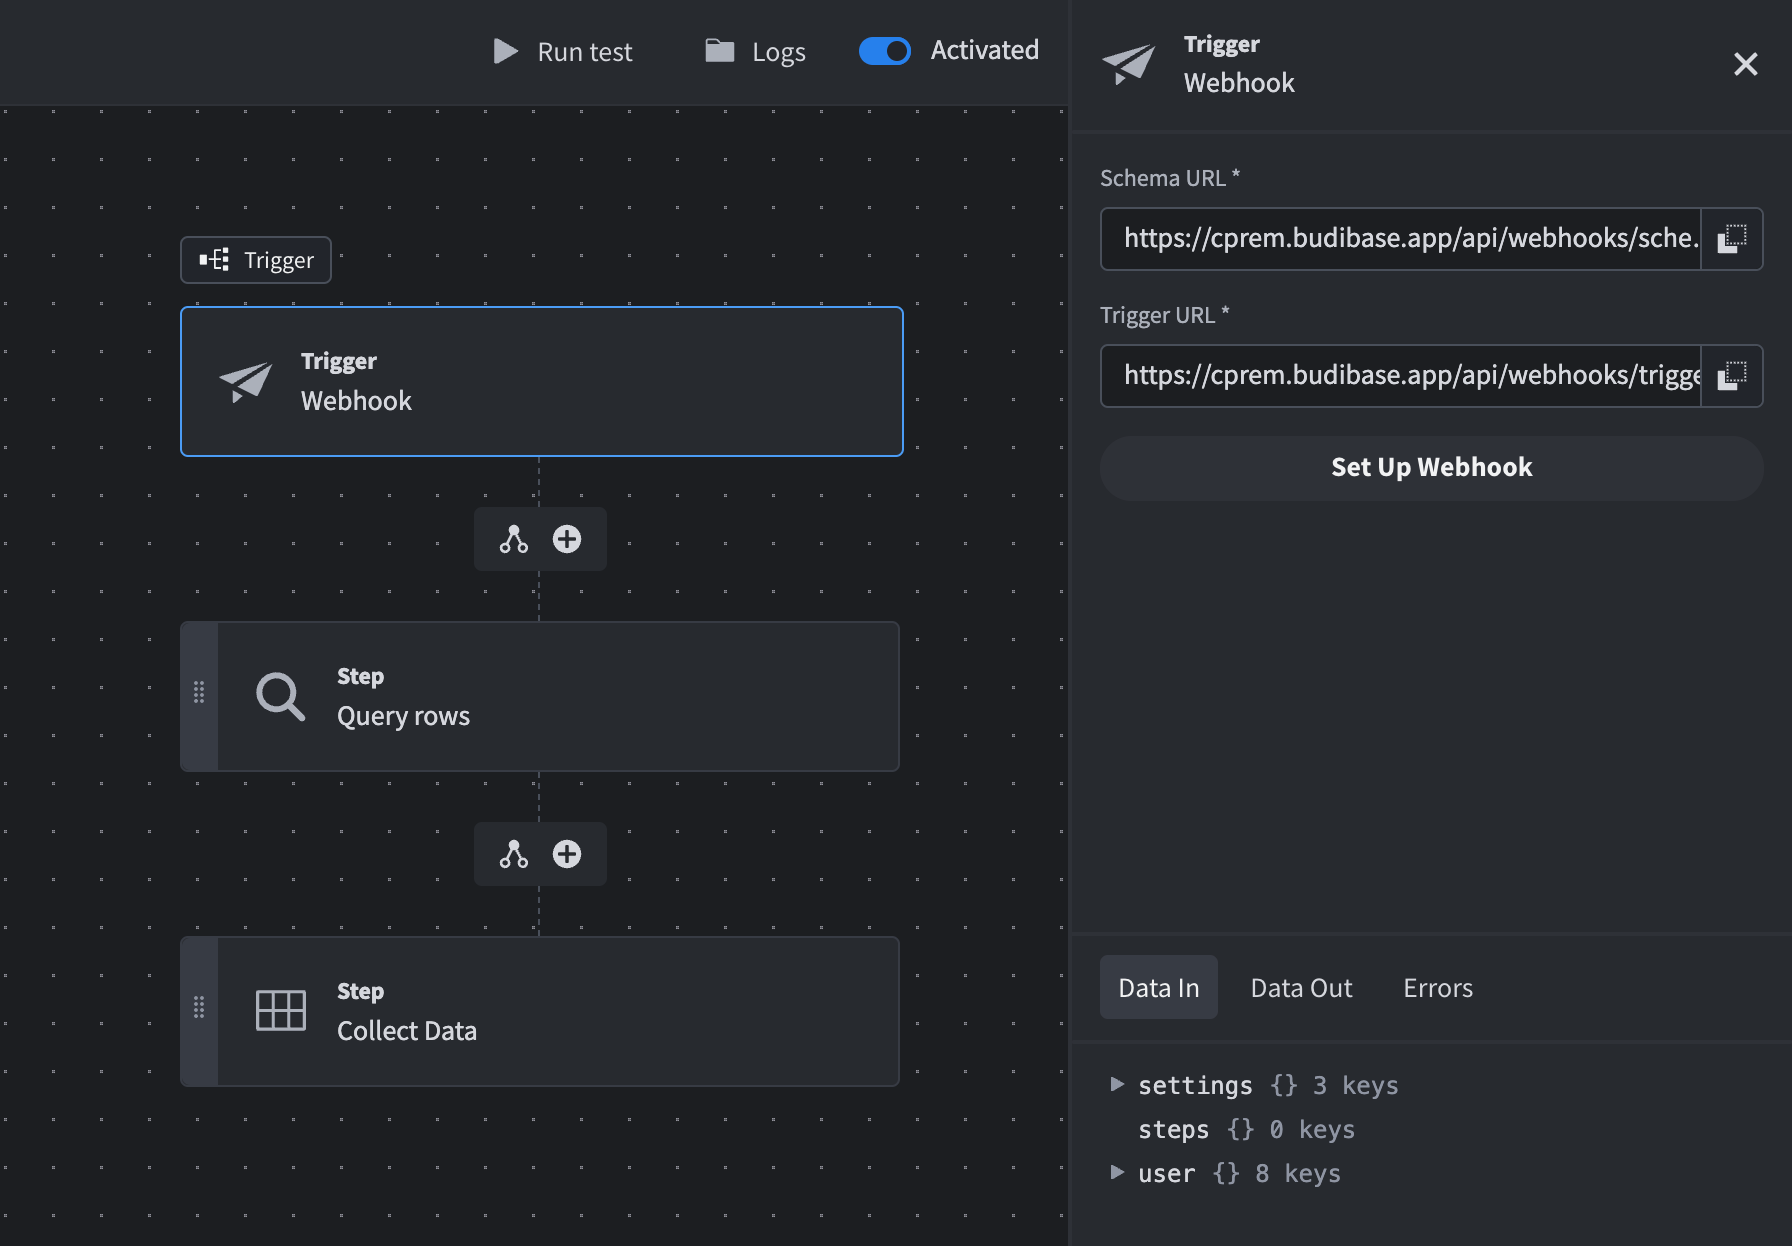
When using the Webhook trigger, you can return data to the caller of the trigger URL.
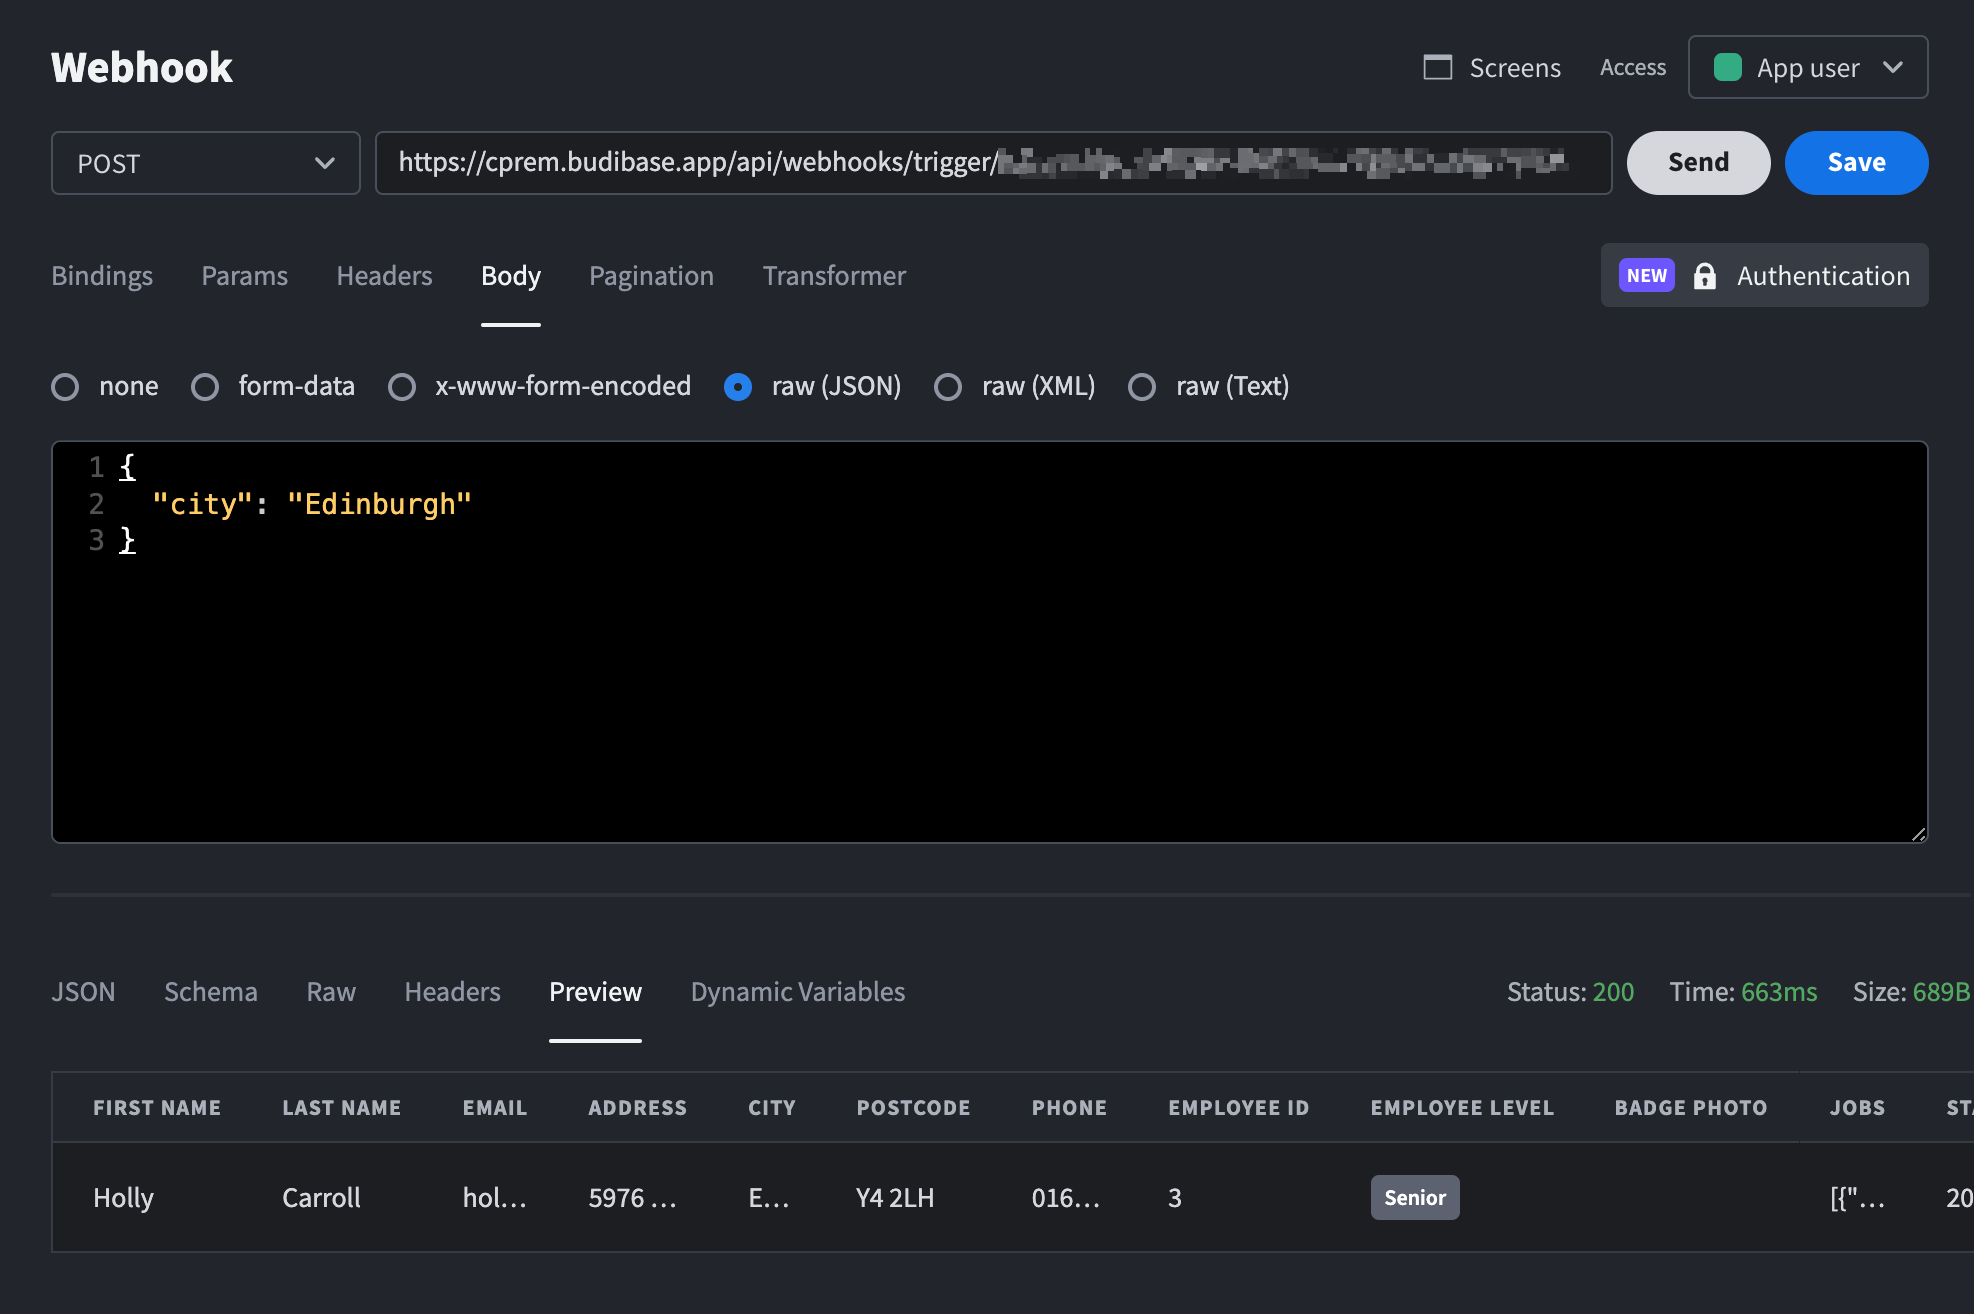
For example, consider this webhook automation that queries an Employees table, filtering on the city value that is passed into the trigger:
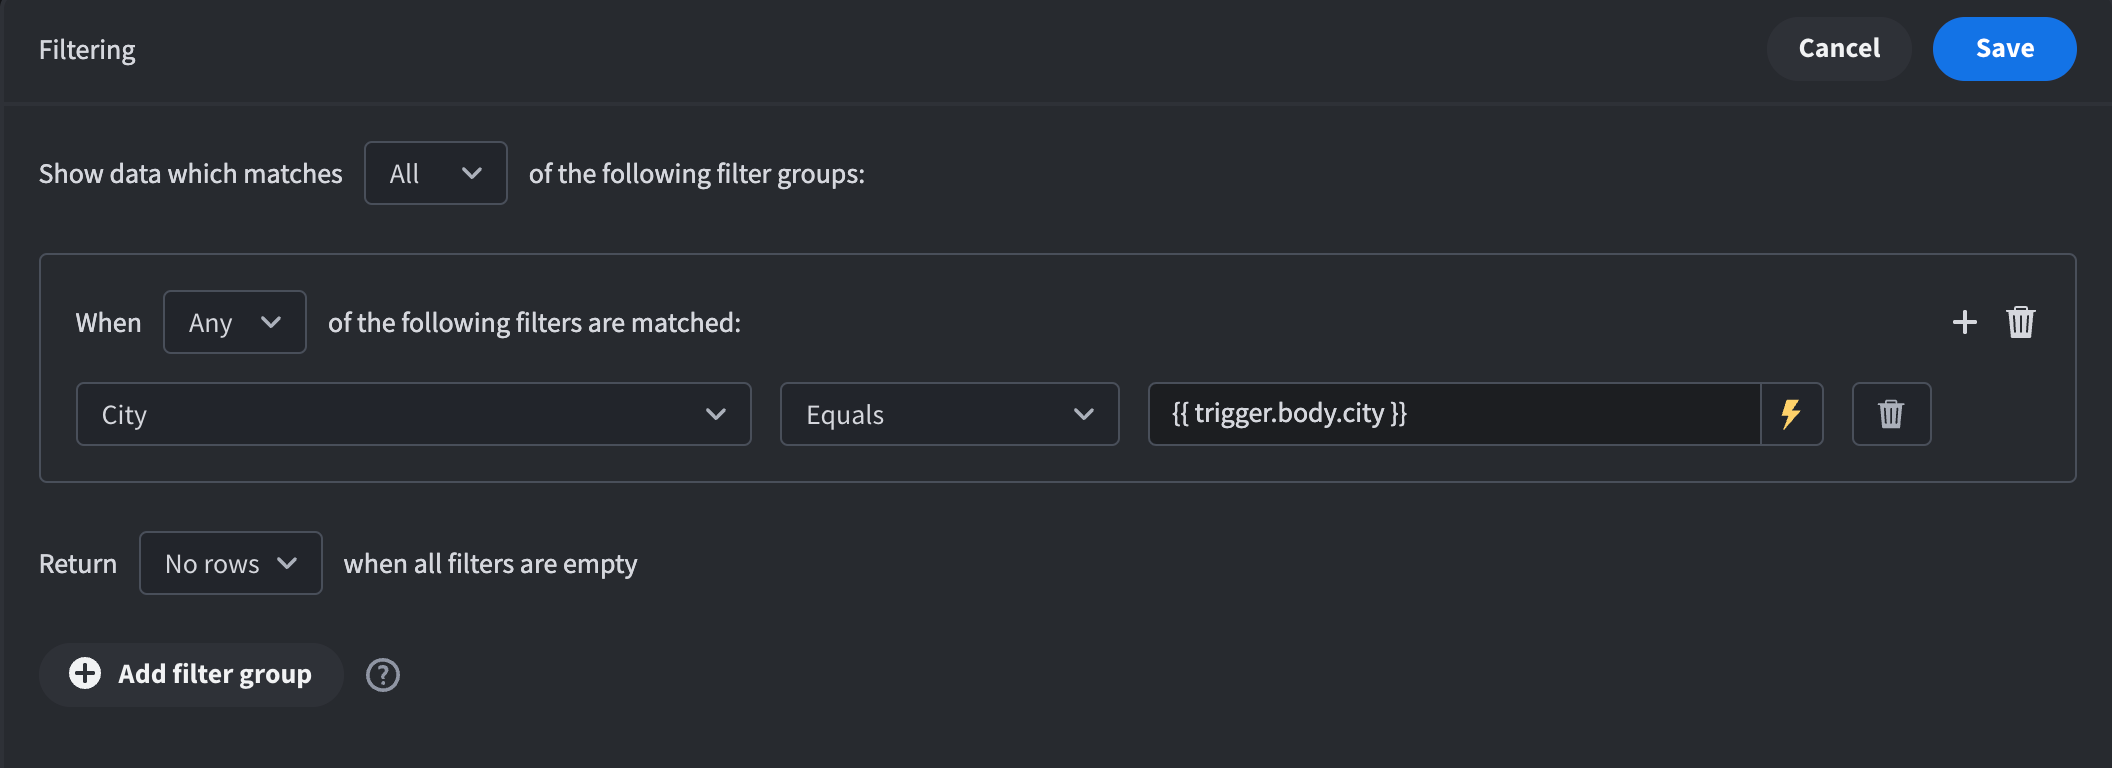
We can then specify data that should be returned to the caller of the trigger, in this case simply all of the rows matching the city provided.
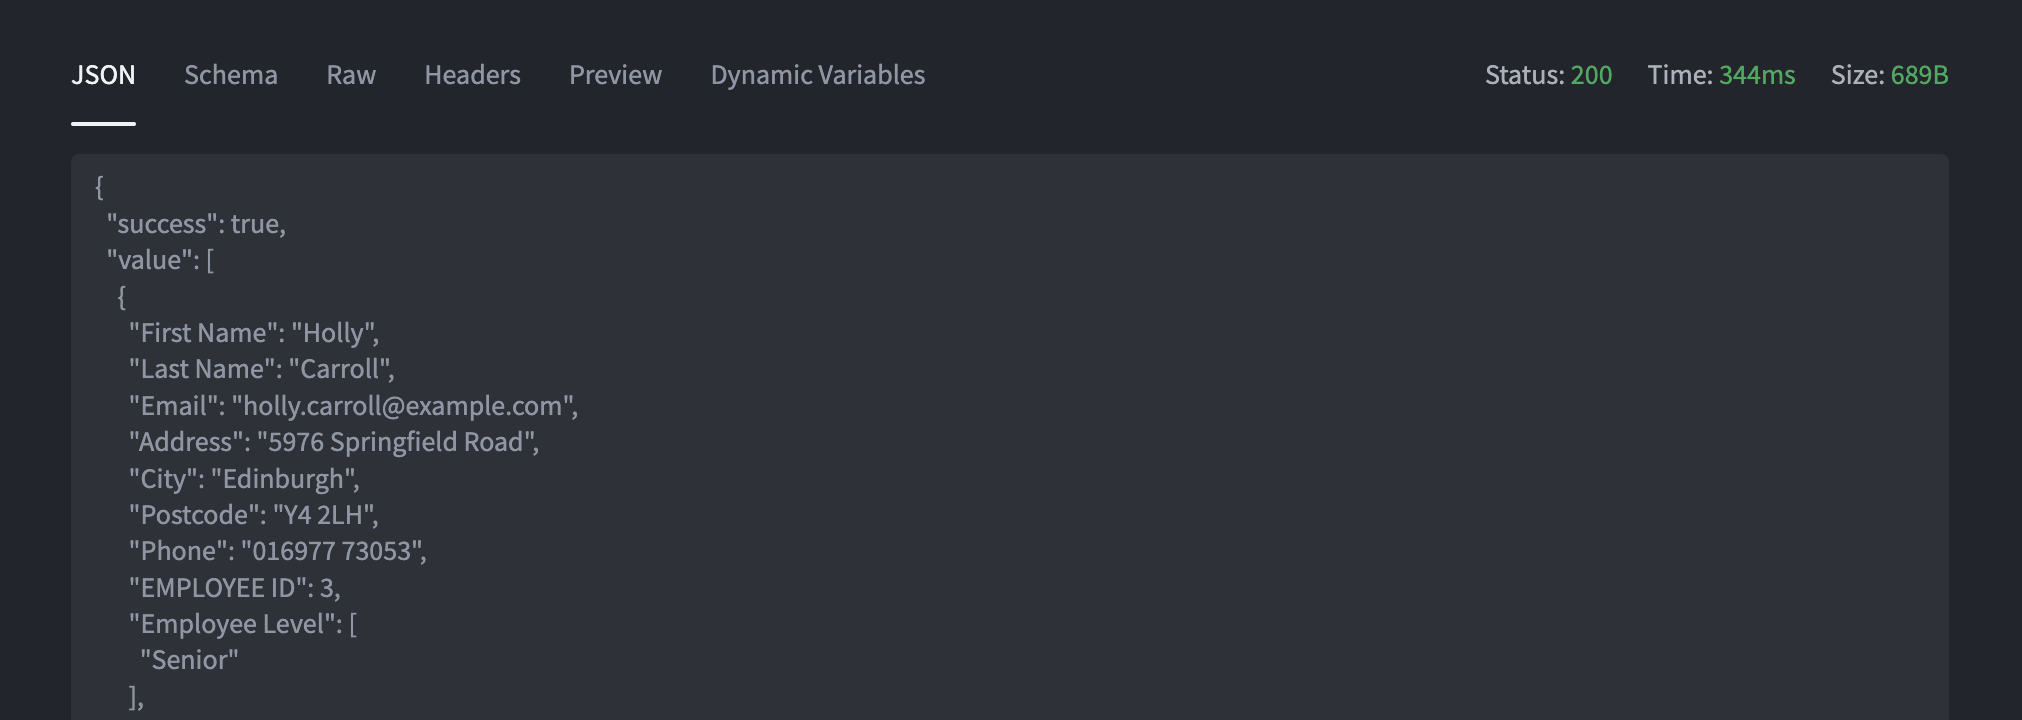
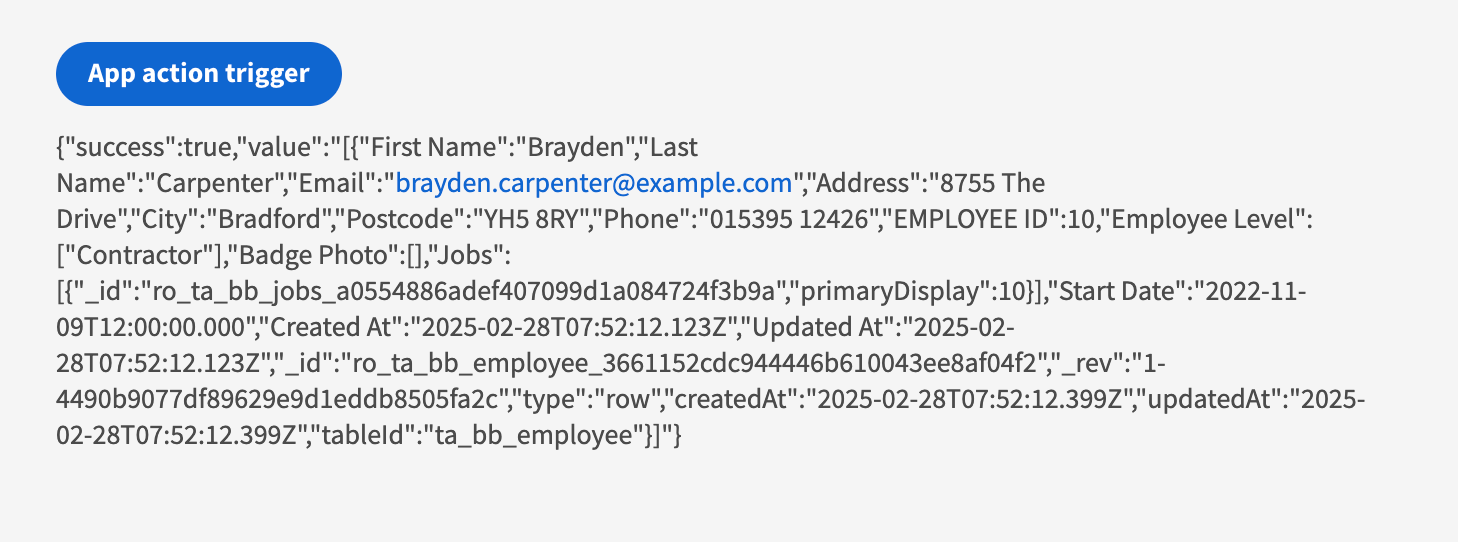
After publishing this automation, we can see the result in our POST request:
You can now see the response from the Collect Data step has been provided in the response of the trigger call. Note that value in this case is a string - this is because Handlebars always return strings.
If you want to ensure that the correct typing is returned, such as for numbers and arrays, then you can use a JavaScript binding instead.

Making sure an array is returned
And now the result:
On demand
For users to access the result of your automations in a published Budibase app, you will need to configure an On demand trigger within the Design section. Let's start off by creating a very simple automation that will get a specific row based on the _id we are passing to it.
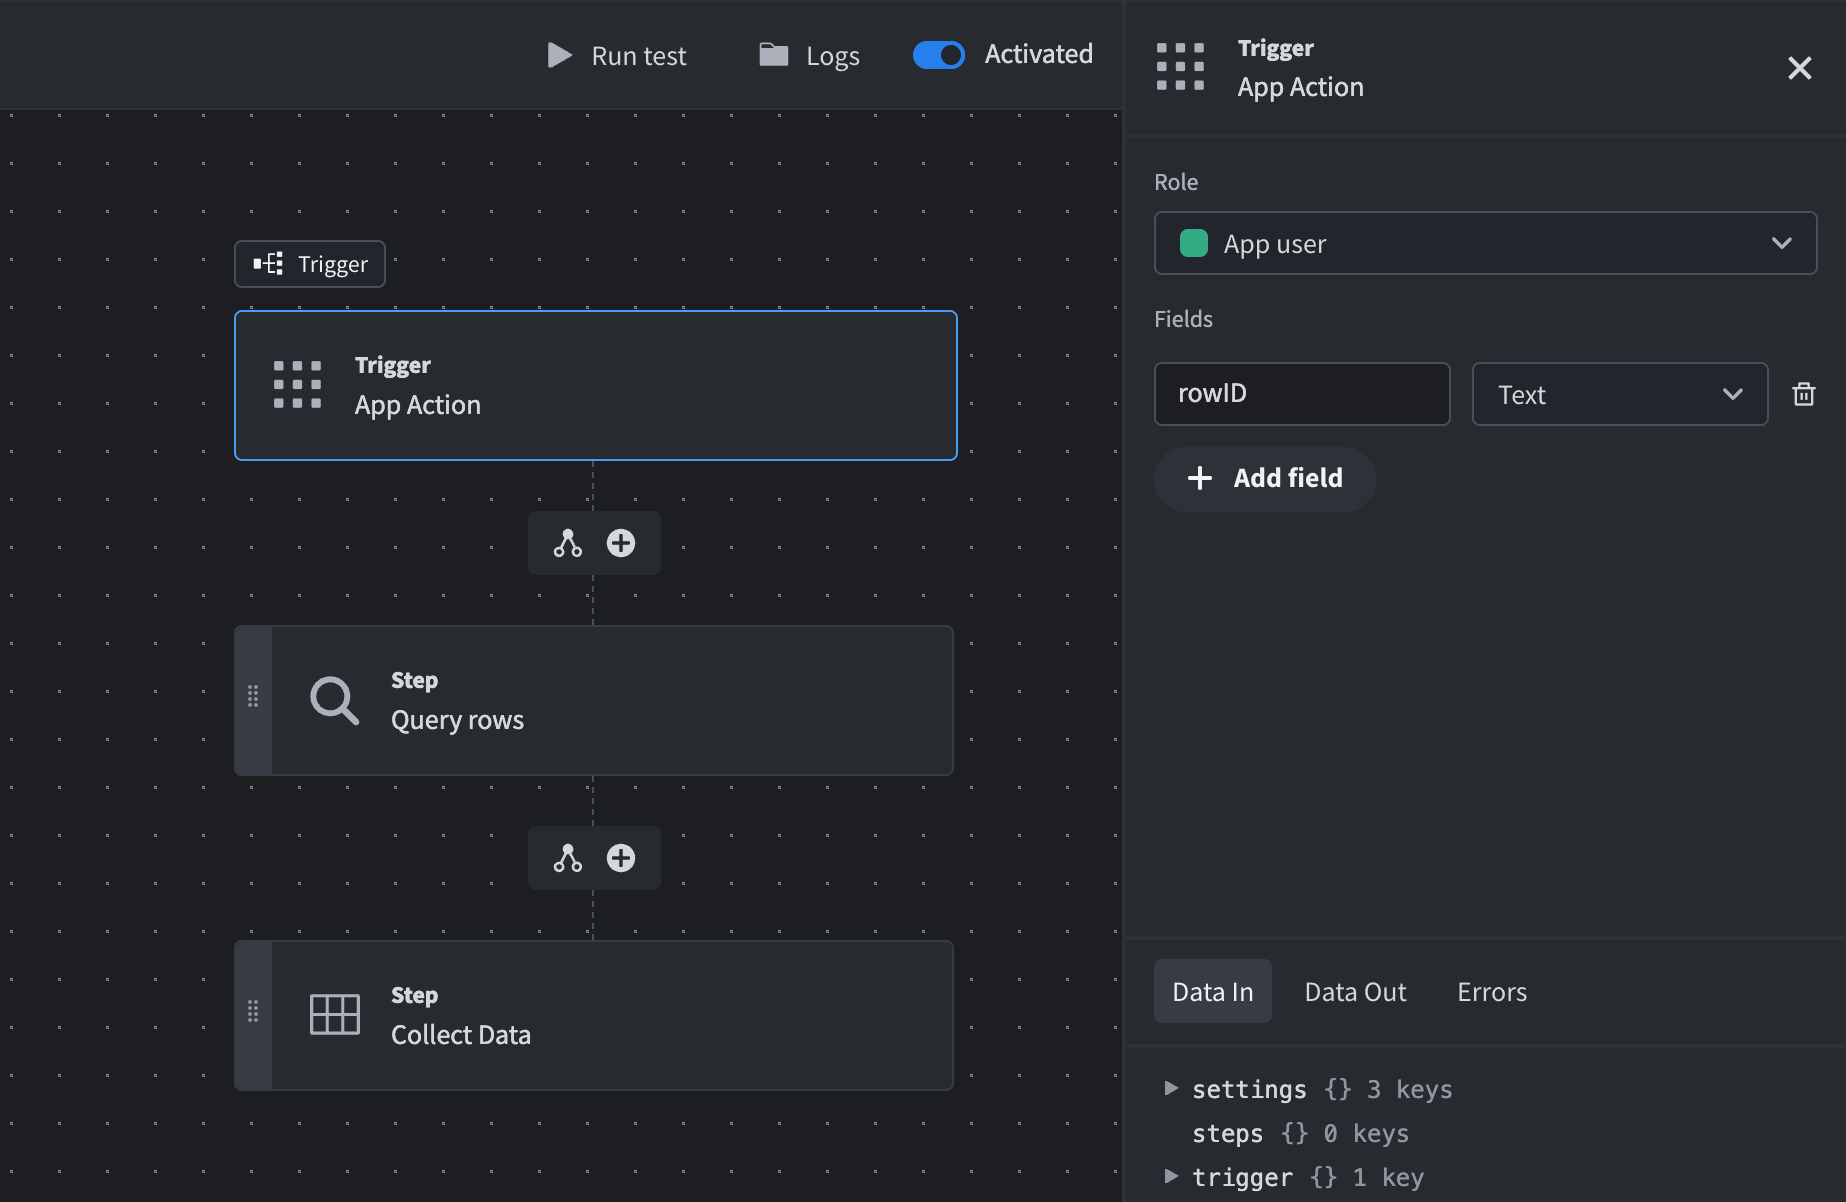
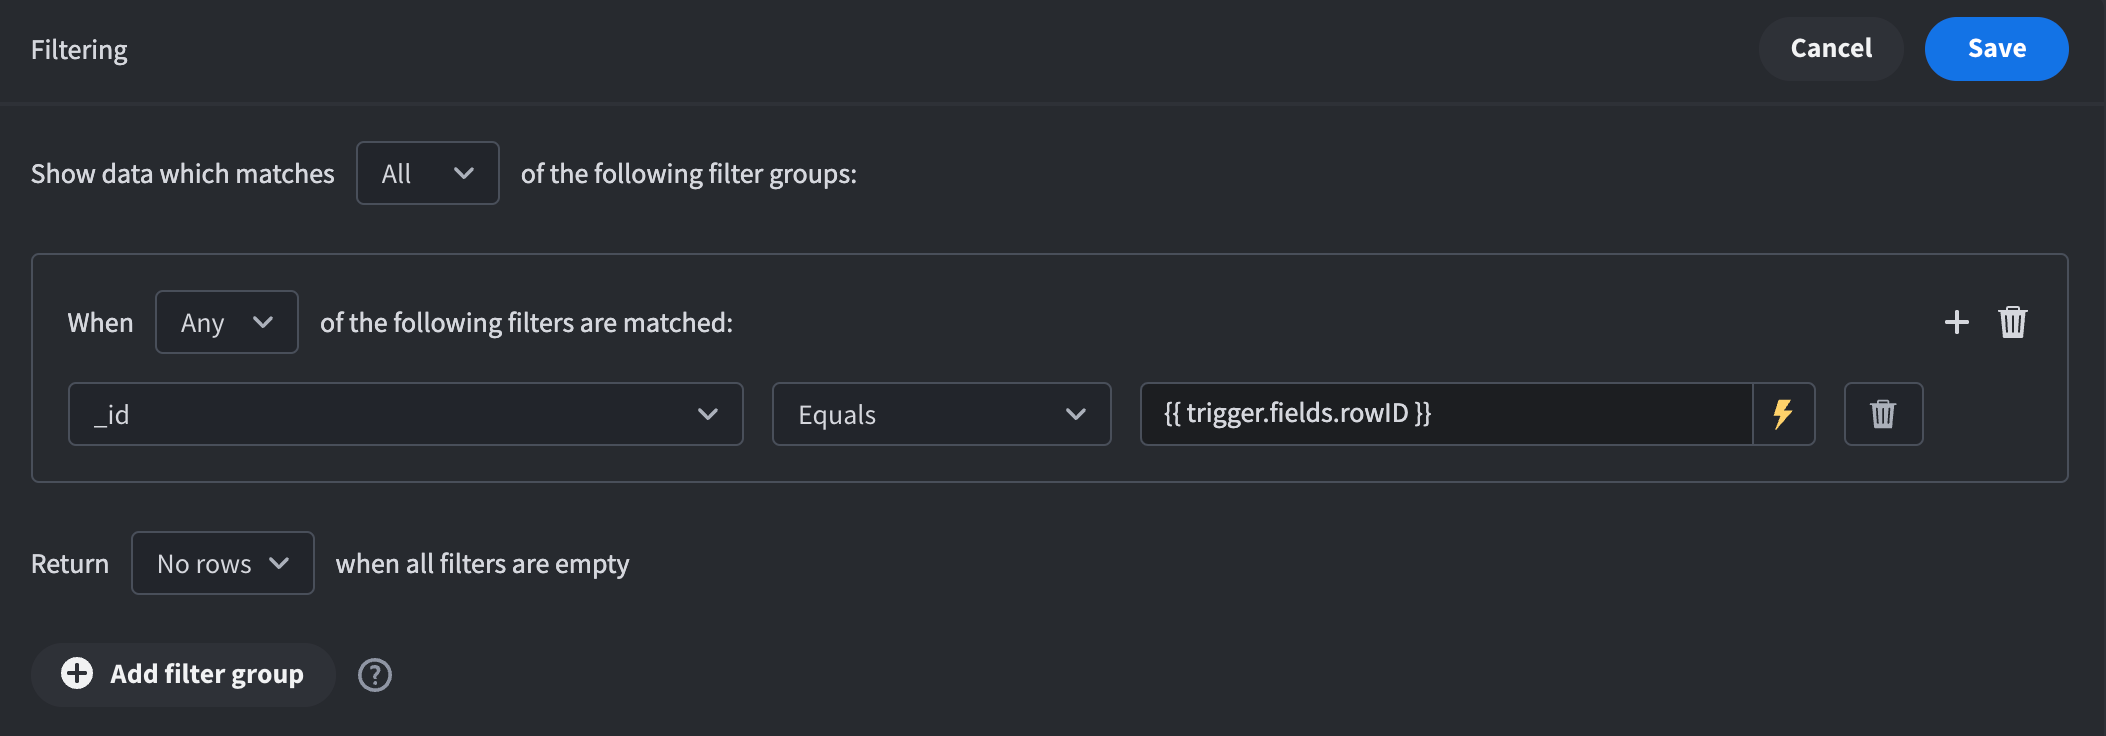
Filter attached to the query rows step
With this done we can start setting up our screen. Create a new screen and add a button component. Select the component. The button's settings side panel should show up on the right of your screen. Then click on the button beside the label On click called No actions set. This will open the actions drawer. Add a new trigger automation action and select our newly created On demand automation.
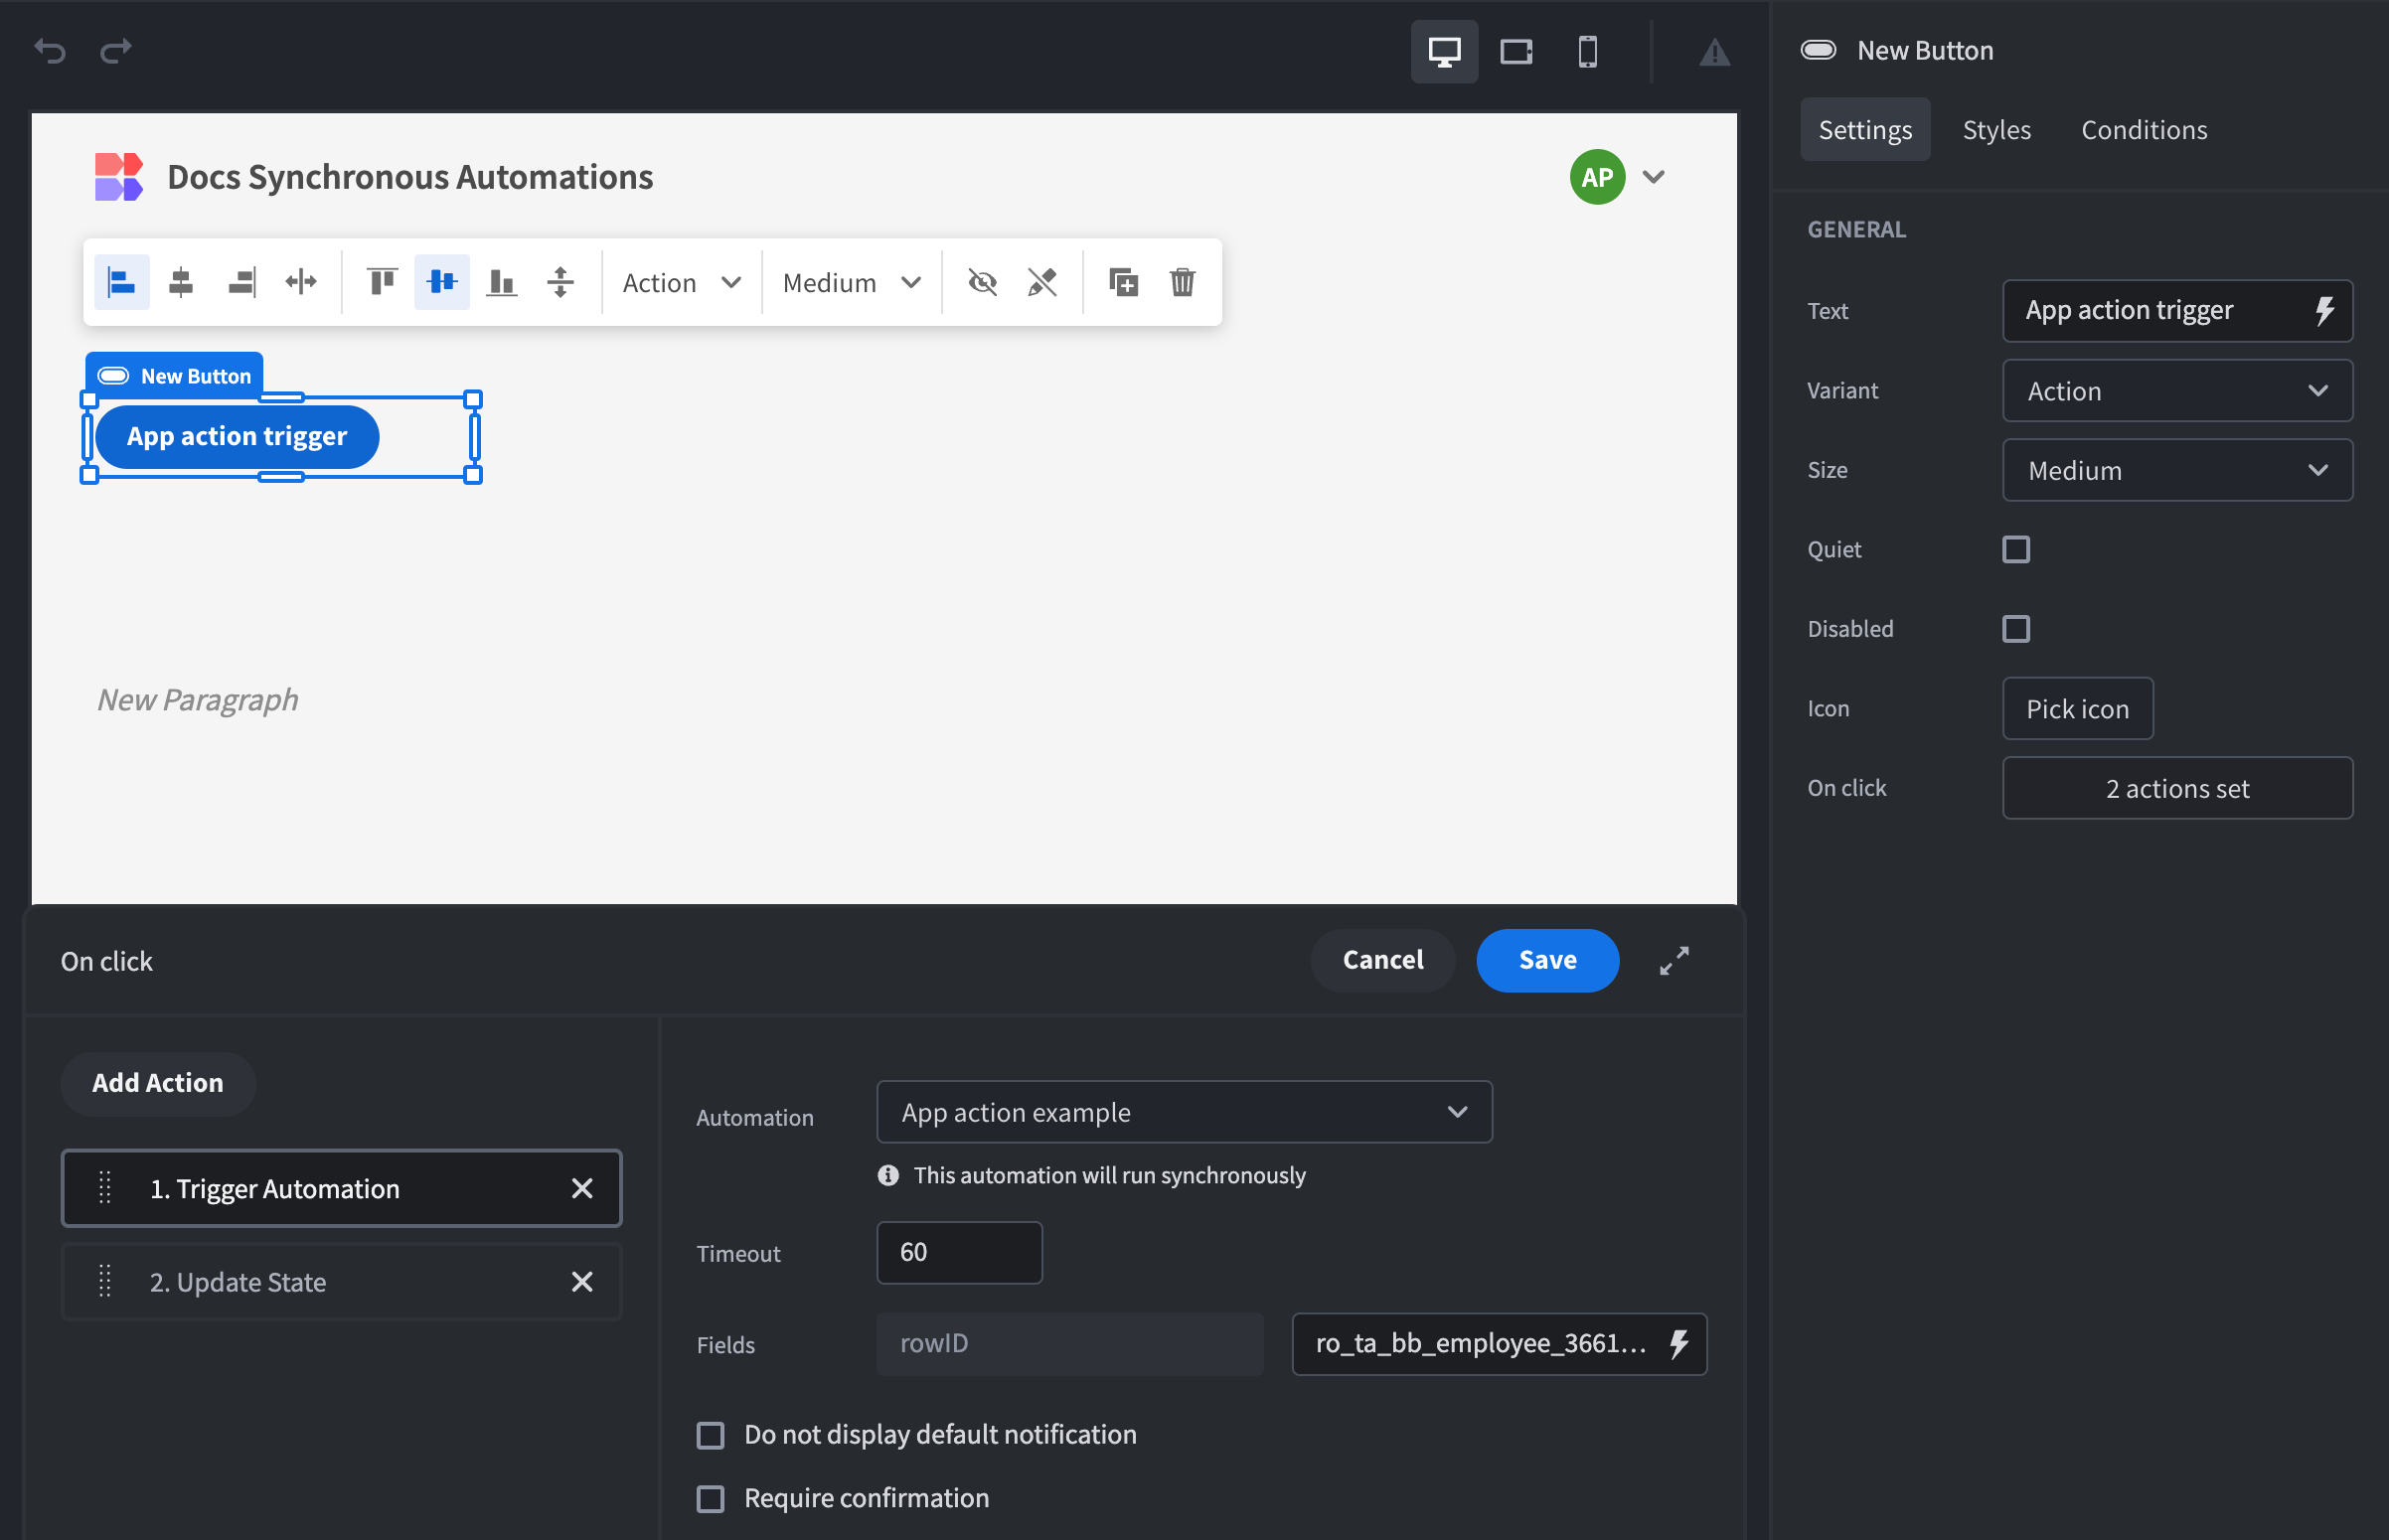
TimeoutAs shown in the screenshot, a synchronous automation can run for up to 120 seconds, or less if required.
Because we have a collect step at the end of the automation, a binding with the result of the automation can be provided to any of the following actions, through Chaining actions.
In this example, we will use the binding to add the result of an automation into App state and then display it in a paragraph component.
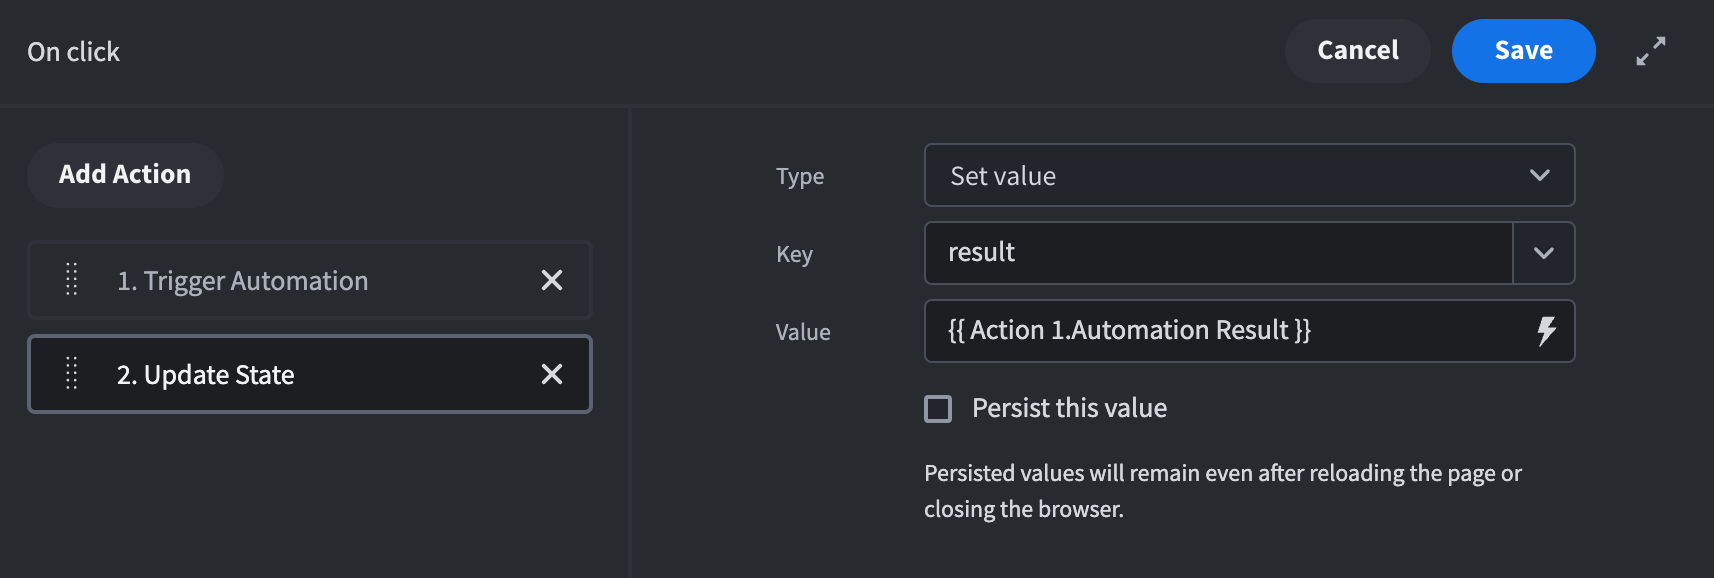
When the button with these actions attached is clicked, state will now be updated with a key called result that contains the result of our automation.
To display this we now simply to need bind the state to the Text component.
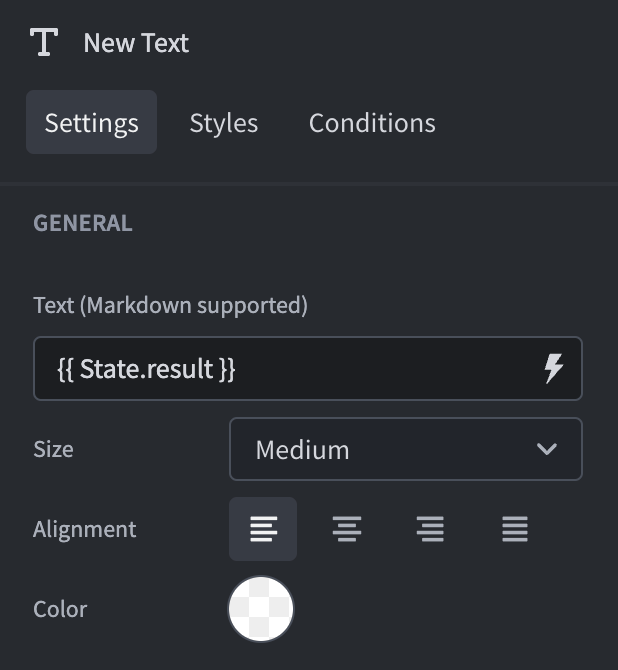
We can now preview our app and click the Button for which our actions are defined.
The automation result is stored in state, and due to the binding of that state to the text component, appears on screen whenever the Trigger button is clicked.
Instead of displaying the result in a component, you could just as easily use the Show Notification action, or any other combination of actions.
Automation ResultThe automation result binding will only be available if your automation has a Collect Data step.