User groups 🔒
User groups allow an Account Admin to easily assign and manage users' access to apps.
Unlocking user groups
If you are using the free tier, you will see the following under the User groups section:

You can click Upgrade to unlock User groups or click View Plans to navigate to the pricing page to see the full range of options in more detail.
Creating a user group
A searchable table of user groups can be found under the Manage section of the Portal.
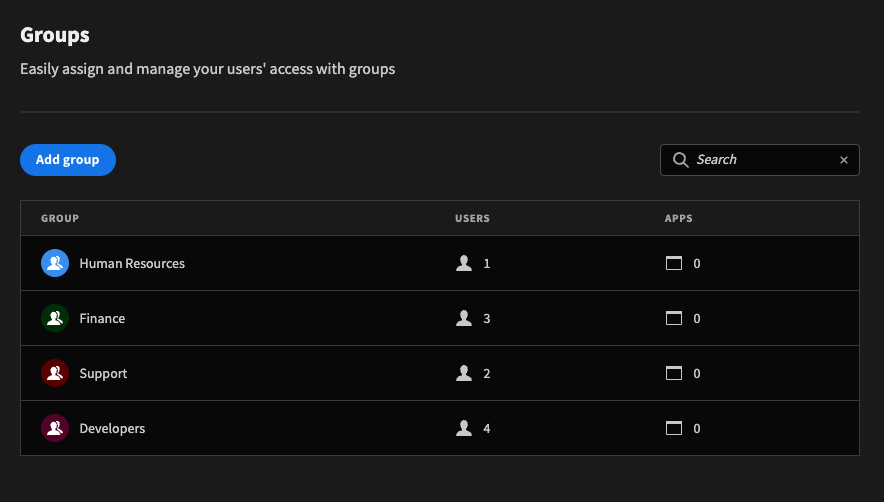
In this view you get a quick summary of the number of users and apps in each user group.
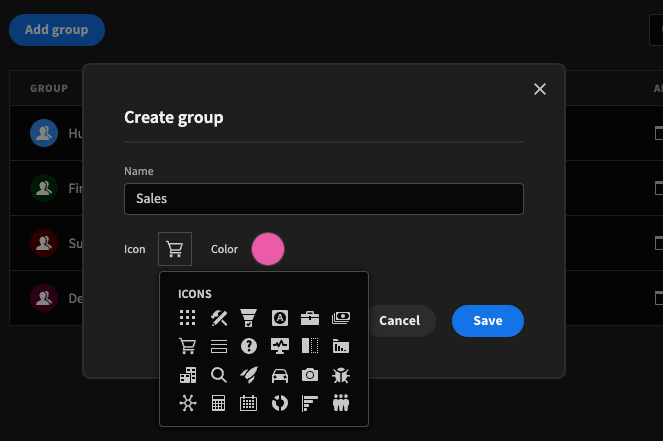
To add a user group, click on Add group.
This will pop-up a modal from which you can enter a team name, as well as select an icon and colour.
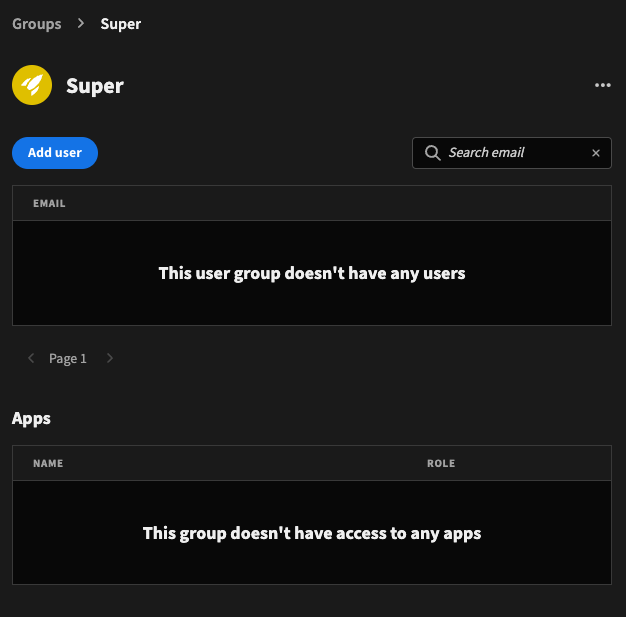
Next you will be brought to screen where you can Add user and Add app for your new group. When finished, the back button will take you back to the table of user groups.
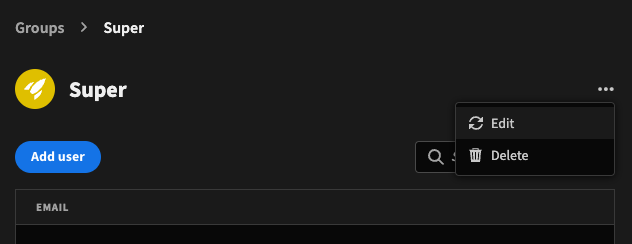
If you want to change the team name, icon or colour, this can be done through the context menu in the top right corner. The user group can also be deleted if you decide you no longer need it.
Adding a user to a group
When you click Add user you will be presented with a searchable list of all the user email addresses. For your convenience, when you select a user it will float to the top of the dropdown, which itself will remain expanded so you can easily click through and add multiple users. When done simply click and empty part of the page.
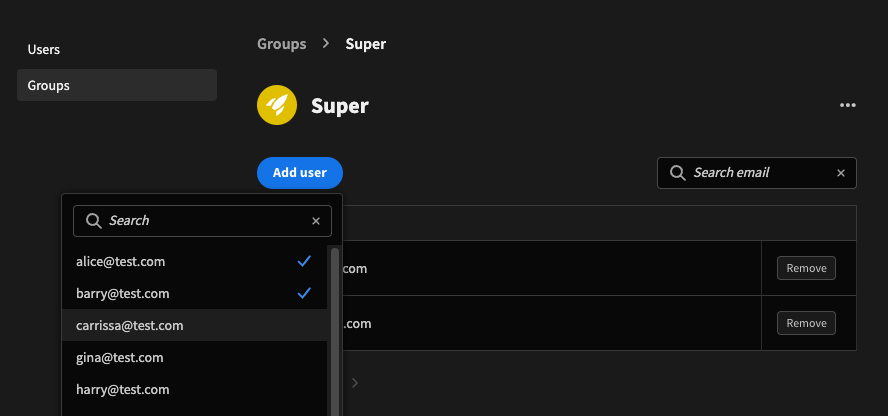
To remove users, click the entries with the blue tick to unselect them.
Alternatively, you can add a user to a group from the users' detail page, which you can access by clicking on a user within the users list of the group. Alternatively you can select Users under the Manage section of the portal, and then click on a user from the users table.
Here you will be able to see the user groups the selected user belongs to:
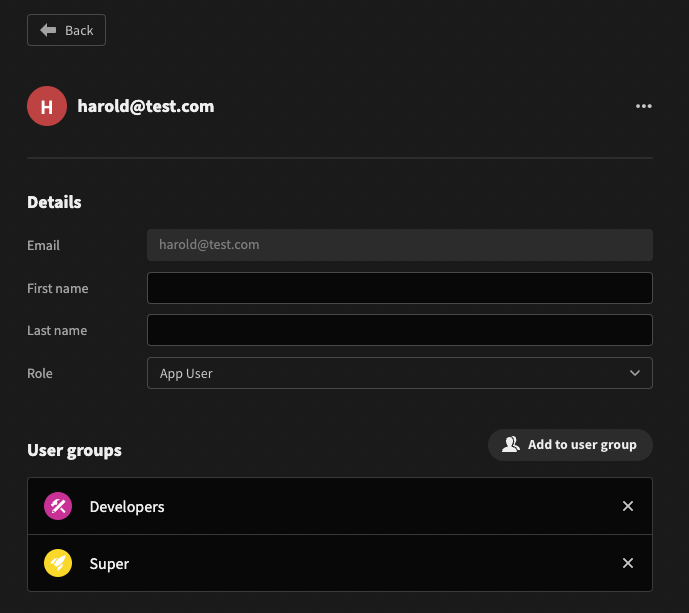
To remove access to a group click the X beside the group.
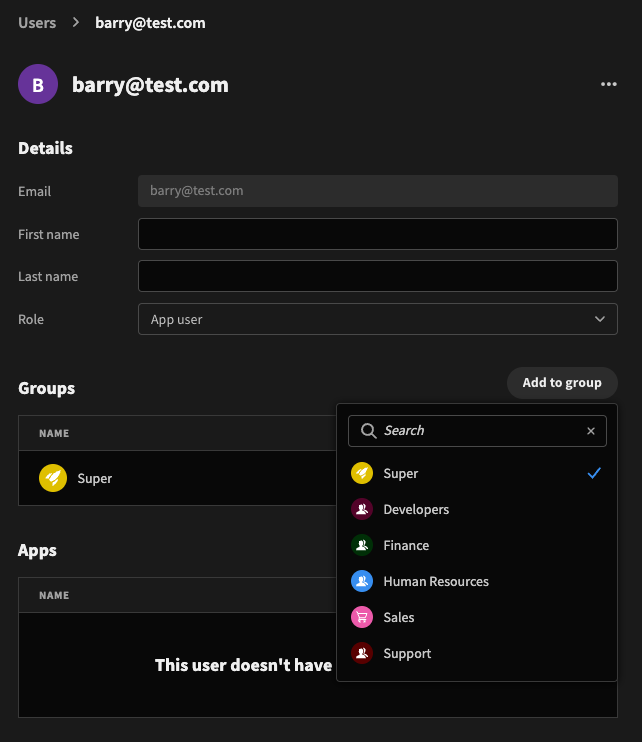
To add this user to another group, click Add to user group. This will provide a convenient searchable dropdown for selecting and unselecting user groups.
Adding workspaces to a user group
From the builder, open your workspace and click on the settings navigation link. Then users

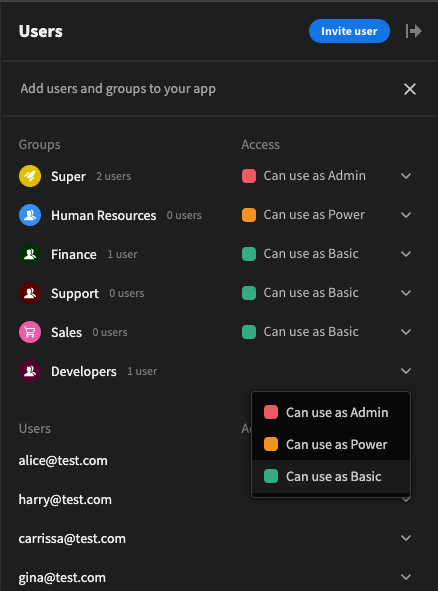
This will open up a side panel from which you can add groups or individual users by setting their permission-level for that app.
Individual roles and group roles
If a user has access to an app, but is also a member of a user group, then the highest permission available will be given.
For example, consider this app:
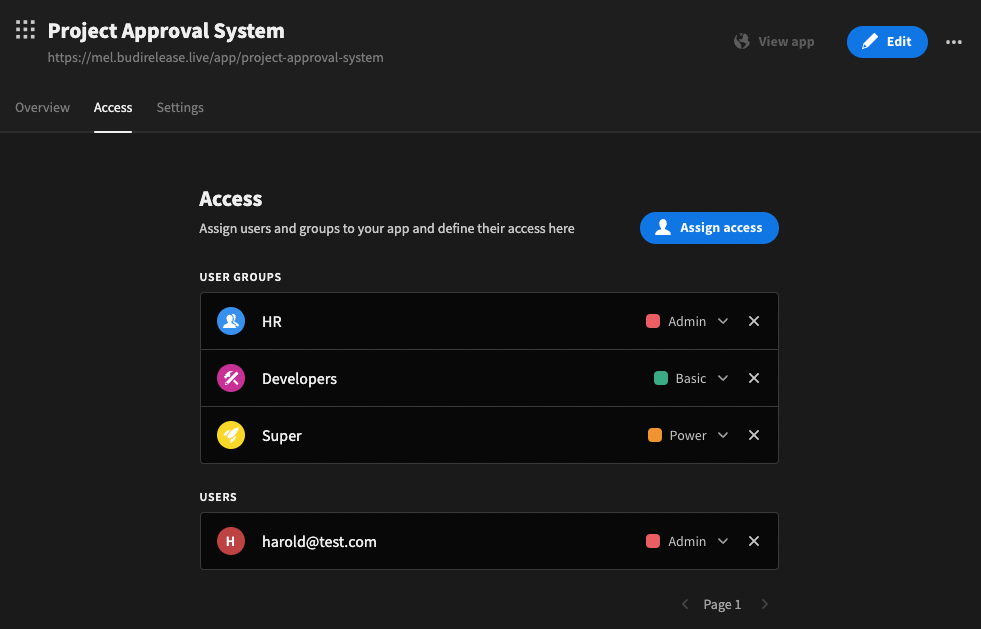
Harold is a member of the Super group which has Power access to this app. However he is also an Admin user of this app. Therefore the highest role is chosen, and he will have Admin access.
On the other hand, consider the case where Harold has Basic permissions for the app.

Because Harold is a member of the Super group, he will be given Power permissions.
User groups limit
Some plans have a limit on the number of available user groups, for example the Pro plan offers five user groups. As you approach your limit, you should receive a warning email similar to the following:
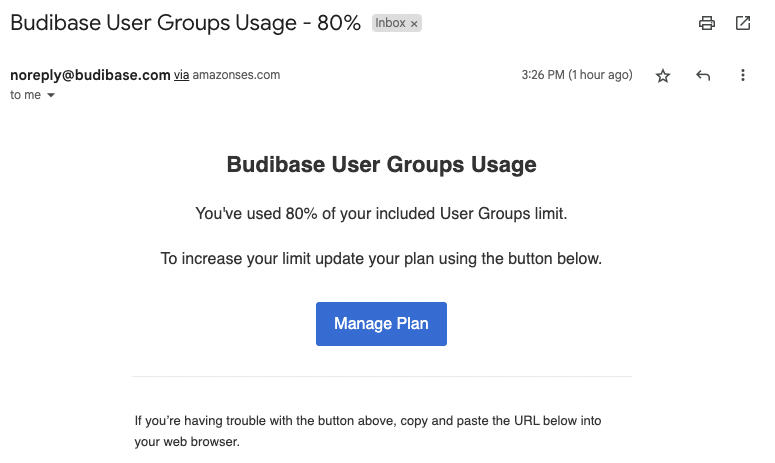
Email notification
You may need to upgrade your plan, or delete unused user groups.
Updated 4 months ago