App state
App state is a generic store of values that can be used to easily pass values around and persist them between navigation and page reloading.
Unlike other Binding values, App state values can be set and used anywhere in your application. To set an app state value, you can use an action called Update state in the actions drawer. There are two types: Setting and Deleting. Set a key as the unique identifier; this is used when referencing the state value elsewhere in your app. You can select an already existing one or create one by typing in a name. After this, you can enter any value into the value input field. In addition to static values, you can also use Binding values here.

App state tutorial
The example below shows a simple way to use app state within a Budibase app. The overview includes creating a select input that will save the field value to state. This state value will then be used to show and hide components based on the selected value.
- Add a Form component
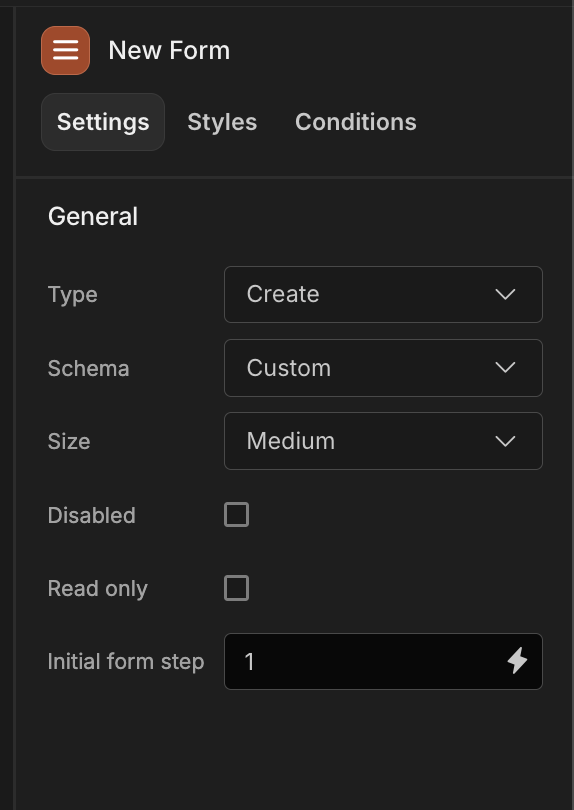
- Add a Options picker component, then change the
Options sourcefrom schema to custom. - Click the
Define Optionsbutton and add your options for this demo the options used are: Tables, Blocks and Images.
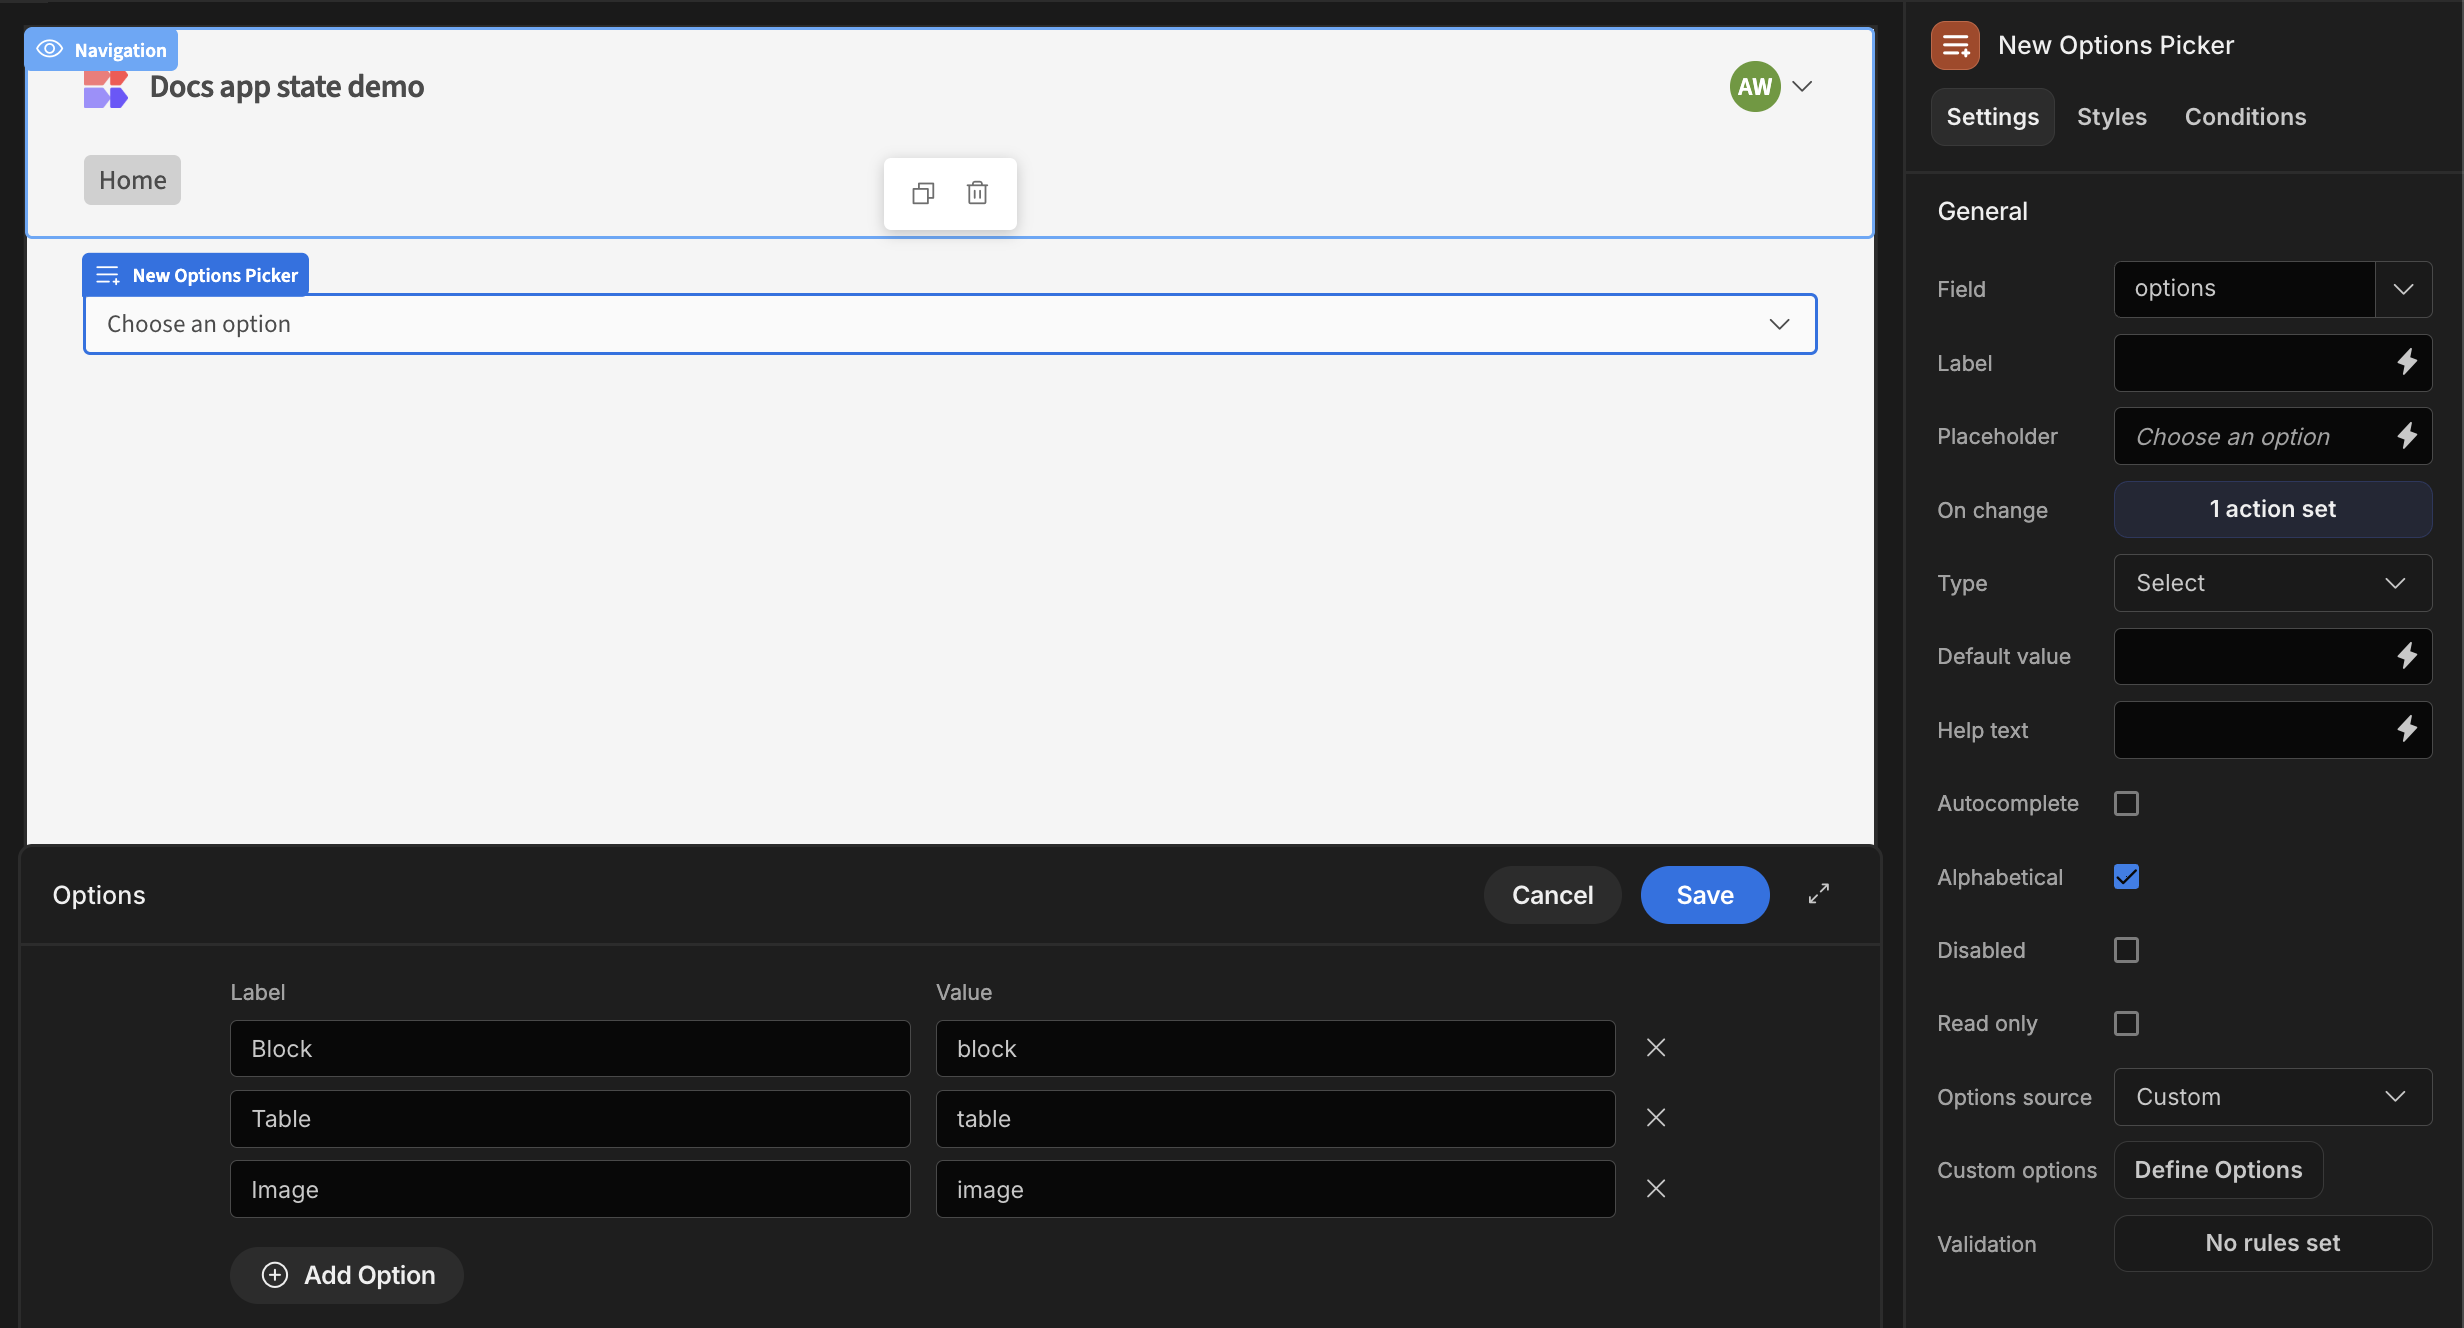
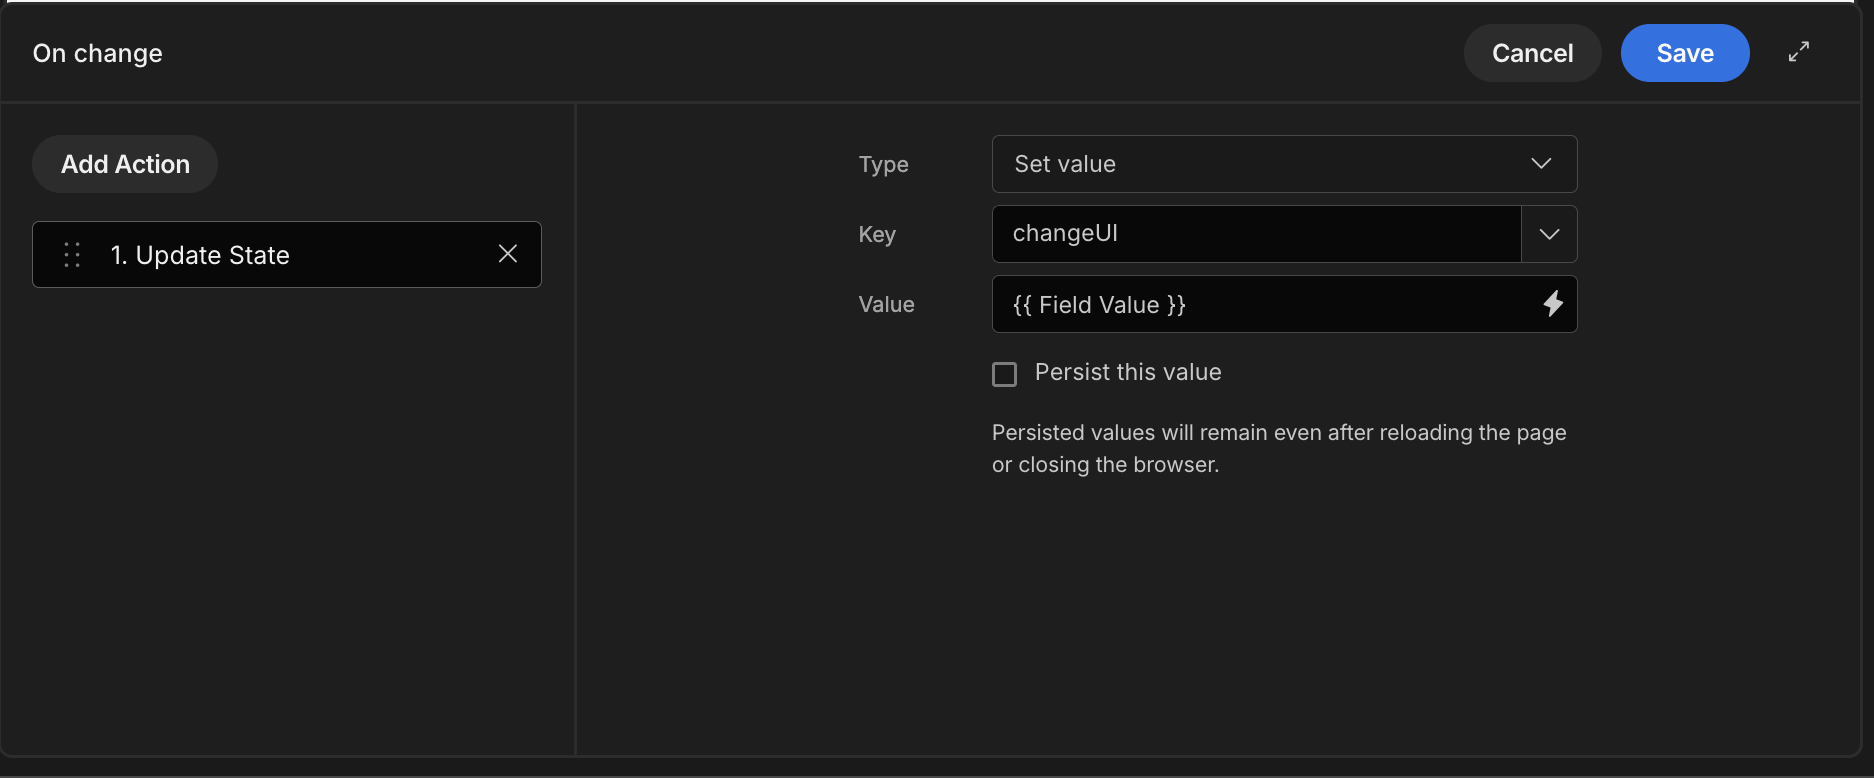
- After this click the
On changebutton, search for theUpdate stateaction. Add this and then configure your state settings to something similar to the below.
- After this build out your page however you want, add additional options to your select input if you choose to.
- Setup conditionals for the various components throughout using the
Configure conditionsbutton within the conditions tab.
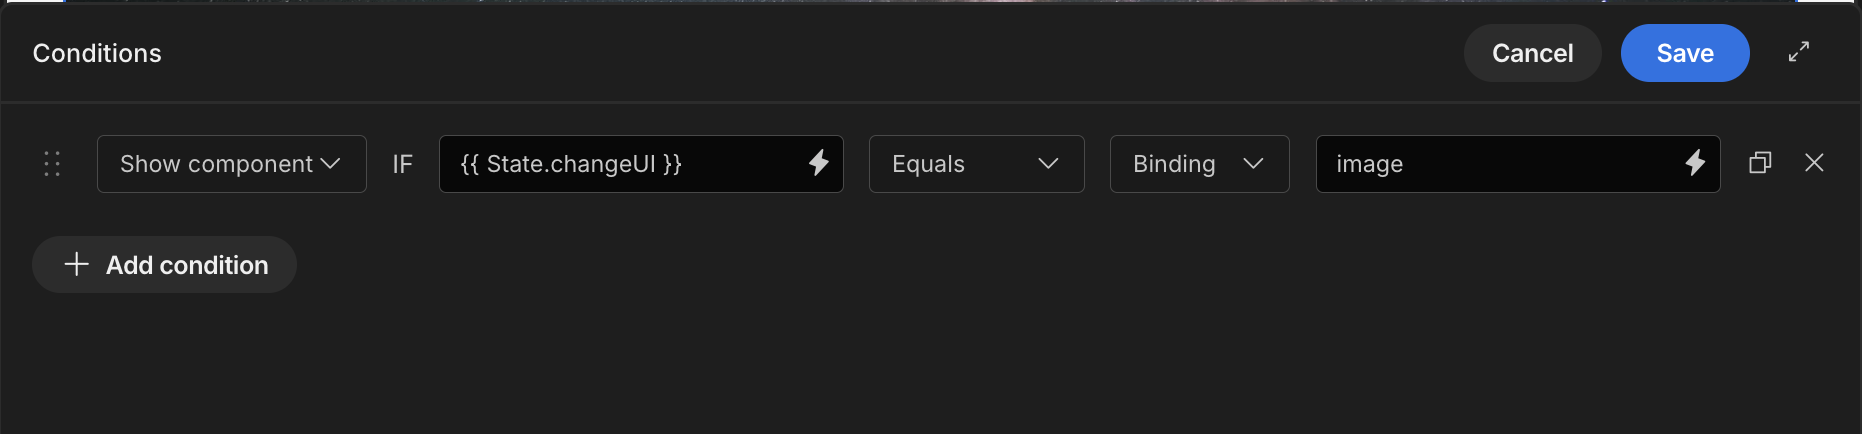
- Repeat step 8 for the other options you want to apply conditions to
Short Demo
App state screen generation
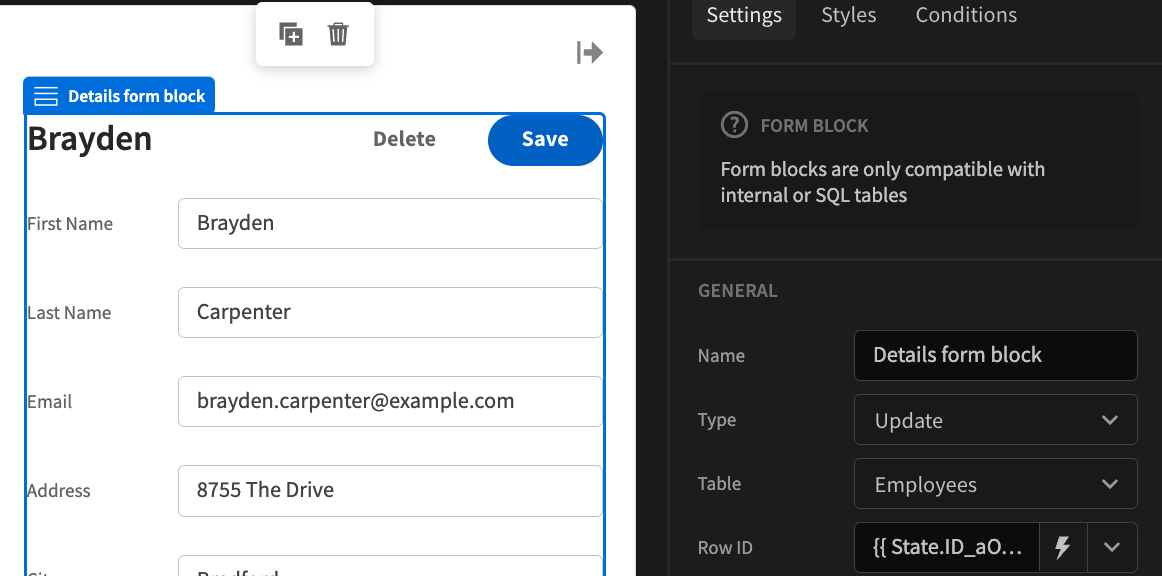
For more context on app state, some components already include this feature. A good example is the Auto generate screens feature, where you can quickly see app state in action by generating screens based on preexisting data. This feature is particularly useful for generating screens with side panels or forms. Once generated, you can view these side panels and forms, and observe how state is applied to the edit form types. Additionally, if you navigate to the Table component and click the ON ROW CLICK button, you will see some pre-generated actions that demonstrate state handling.
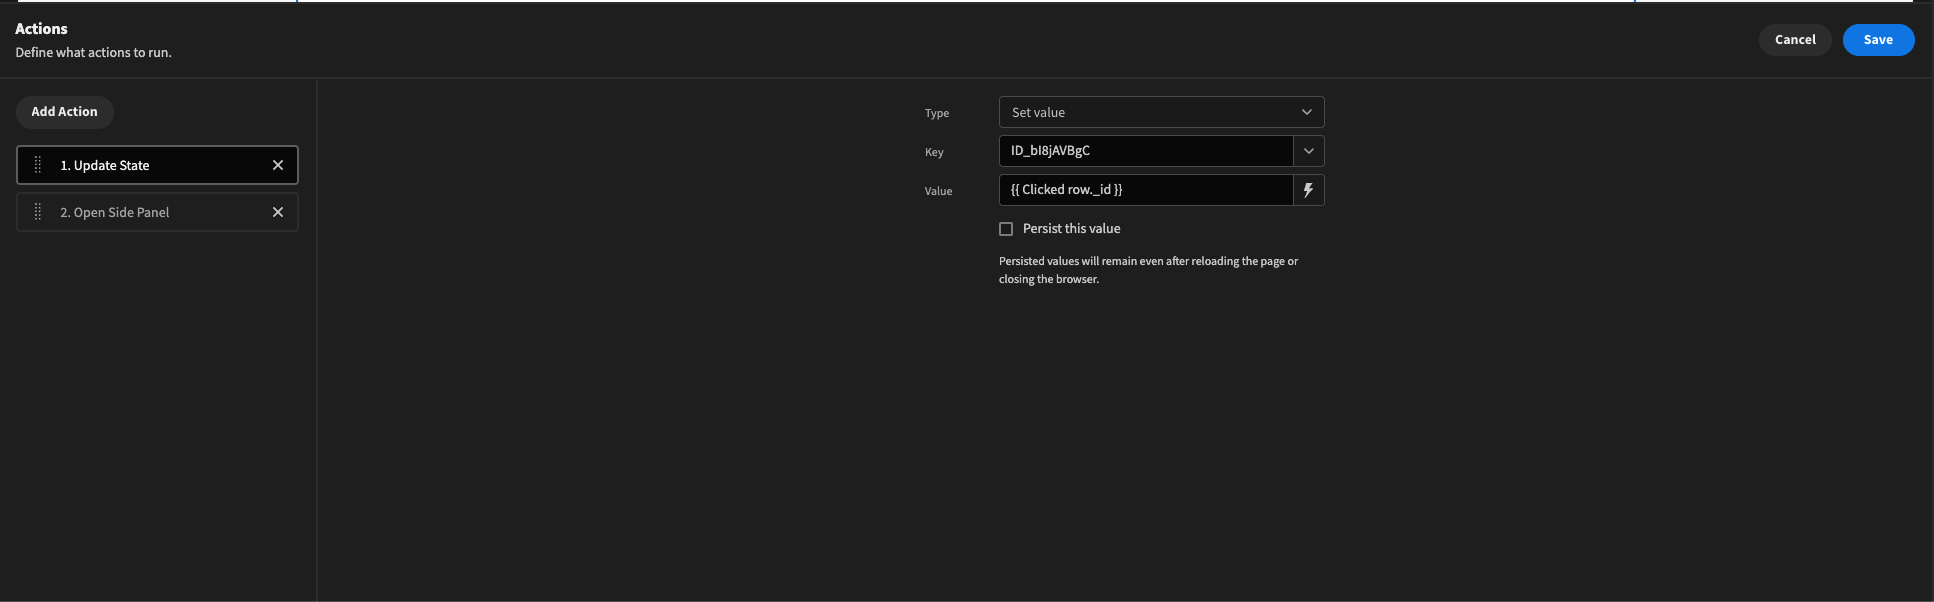
What this is doing is getting the clicked rows _id and adding it to a Form Block which is automatically set to update. This newly created state key is then added into the Details form block Row ID field which is what is use to save any updates made back to that specific row.
App state examples
There are a range of different ways app state can be used within Budibase. A few examples can be seen below.
- Multiple step forms, you can use App state to save the
_idof the row which you are currently creating. App state can then be used to both save your place in the form and to save information at different stages back to your database as you process through your multiple step form. - Form Block As talked in the App state demo you can use app state to pass specific rows
_idinto forms. Whether this be a form within a Side Panel component or a form on a different page, app state can be used in both cases.
App state Github discussions
- Bindings & app state logging active persisted app states.
- Collapsible panel + conditional UI Slightly more complicated use of state with conditional UI.
- Table Filter with a button Trigging search with a button click instead of on change using state.
Persisting values
If you wish for the values that the user has selected to persist you can select the Persist this value checkbox beneath the key/value fields. Doing so will save the value in the users browser using the localStorage API. (A gif below has been attached to showcase the difference between persisted state and regular state.)
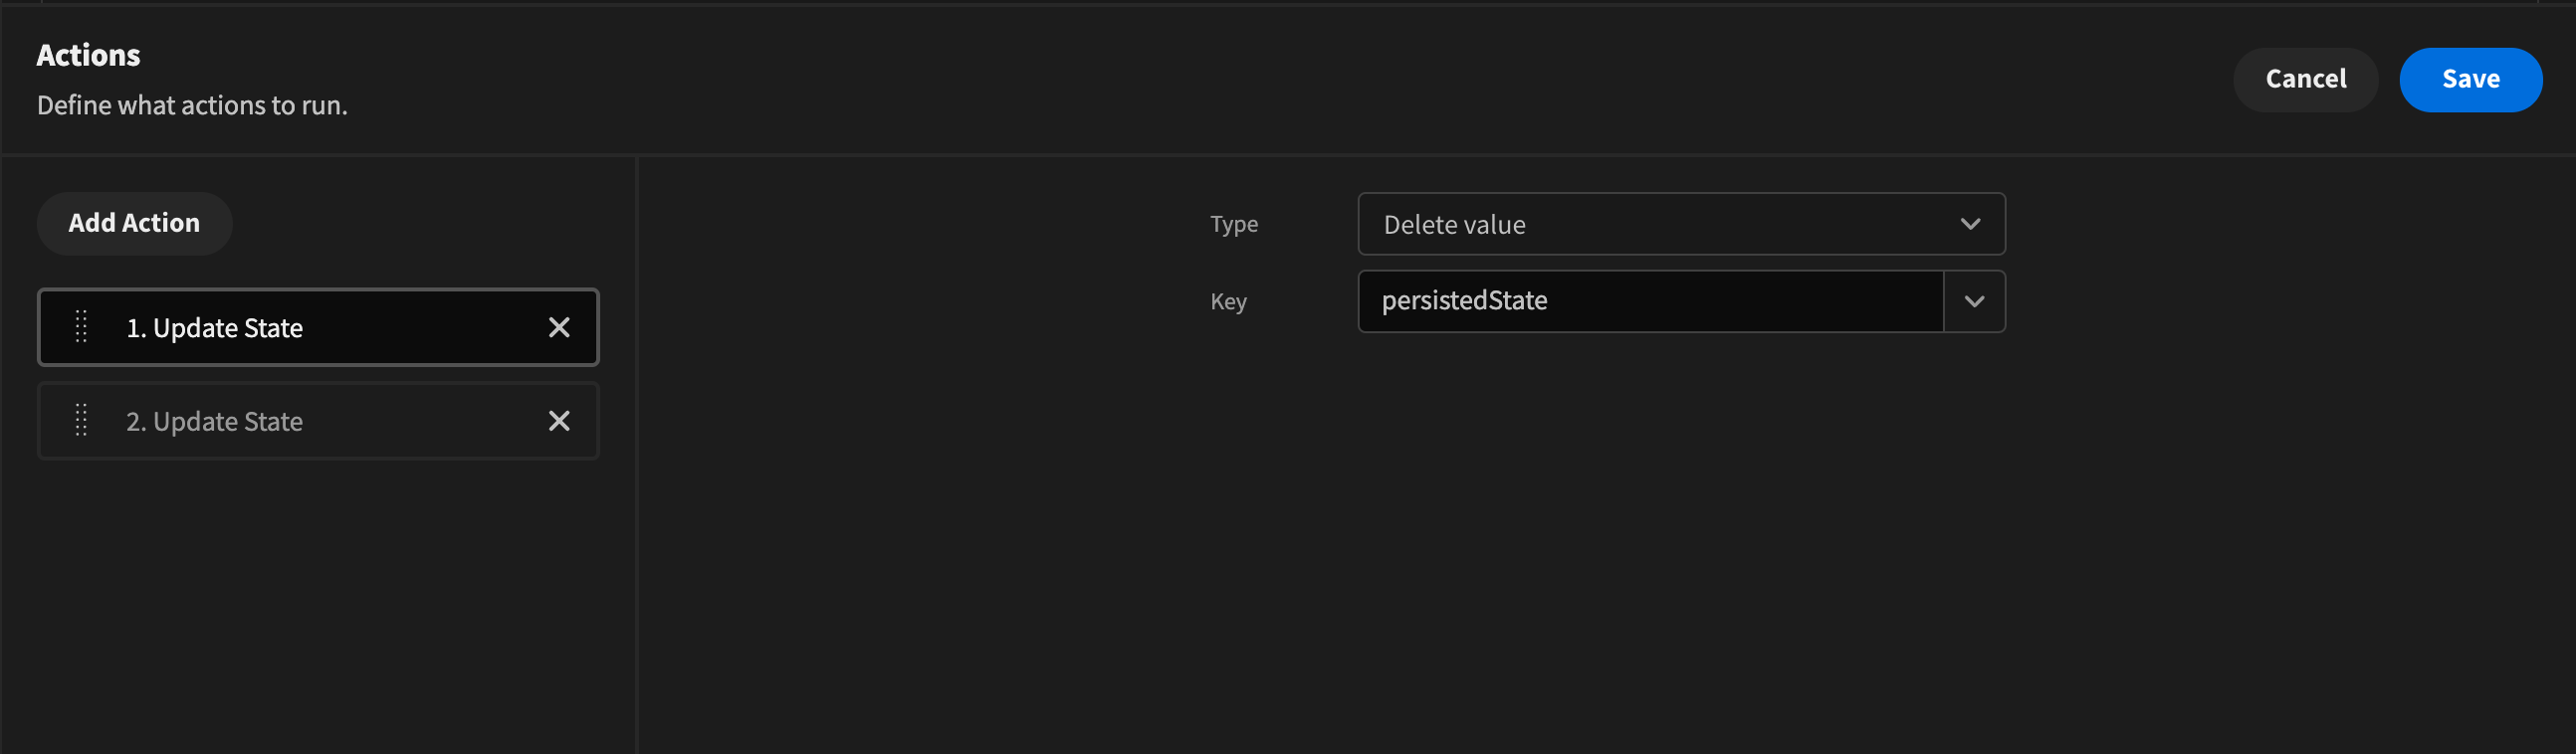
Deleting values
Deleting a value will delete it permanently and will also override values that are persisted. (Below is an example of deleting state.)
Referencing state values
Once you have created a value you are free to bind to it across your application. All values live under the State top-level Binding value and are visible in the bindings drawer.
For example, To get the value in the 1st image you would enter {{ State.isPersonal }}. The pre generated example image using the Table Block component you'd have to enter {{ state.ID_bI8jAVBgC }}.