Plugins quickstart
Using our internal database to hit the ground running
Creating a Budibase Dev Environment Locally
The budibase CLI provides an all-in-one command for spinning up a local dev environment. This will spin up a fresh budibase server with a setup wizard that will allow you to develop plugins. Let's create a directory where we will store our budibase plugins. You can name this anything that you want, but we are going to call ours budibase-plugins.
mkdir budibase-plugins
cd budibase-plugins
You can then use the budibase CLI command to start the dev environment.
budi plugins --dev
You will see the output below. Since we already navigated to the directory where we will create plugins, we can just hit enter on the Directory to watch step, since we are already in there. If you are running the dev command in another directory, you will need to point budibase to the directory where you plan to develop your plugins.
? Directory to watch ./
Starting services, this may take a moment - first time this may take a few minutes to download images.
Recreating plugins_budibase_1 ...
Recreating plugins_budibase_1 ... done
Services started, please go to http://localhost:10000 for next steps.
Configuration has been written to docker-compose.yaml
Development environment started successfully - connect at: http://localhost:10000
Use the following credentials to login:
Email: [email protected]
Password: admin
Credentials to your dev instance will be printed to the console and you can then access your instance: localhost:10000 and log in.
From here, you will be able to access all of your budibase plugins inside the budibase-plugins directory.
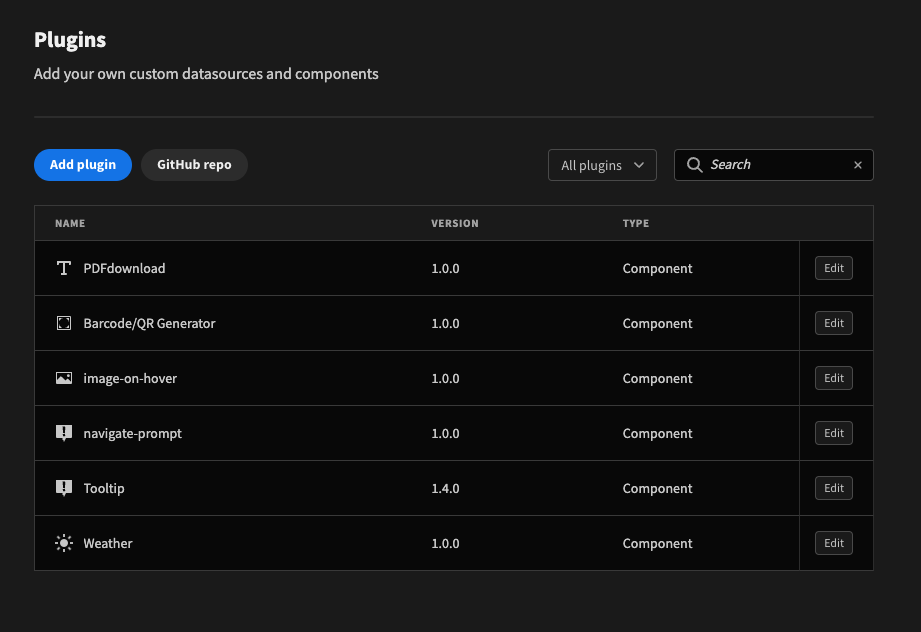
To get started with creating a plugin or a datasource, follow the specific guides.
Updated 10 months ago