Tenant management
Managing your cloud and self-hosted workspaces and subscriptions
Once you've created an account with Budibase, you will be able to create and manage multiple workspaces between Budibase cloud and self-hosted.
A workspace is a collections of apps, users, settings and roles that are tied to an environment.
When you login to your account, you will see a list of your workspaces under the Workspaces tab.
Cloud hosted workspaces
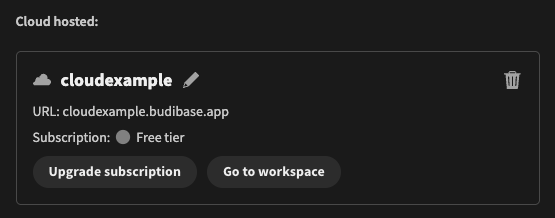
A cloud hosted workspace
Each cloud hosted workspace is hosted by us, and given a unique URL, where the workspace can be accessed. You can also navigate to the workspace from the account portal by clicking the Go to workspace button.
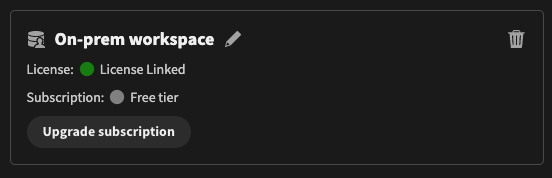
You can also see the Subscription, which will always initially be Free tier. Click the Upgrade subscription button to upgrade your workspace plan to get the full suite of Budibase features. You can choose between monthly payment, or annual.
Once the workspace subscription has been activated, the green light will appear. It may take a minute for the subscription to activate.
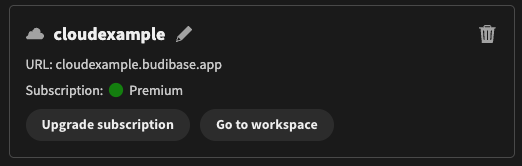
Cloud workspace on the Premium plan
Each workspace has it's own subscription. Whenever you buy a subscription, it will unlock the features and increase quotas on a per workspace basis.
To add a cloud workspace, click the Add workspace at the top of the page, and select Budibase cloud. You will then be prompted to enter a unique URL.
You can only have one Free tier workspace. If you have an existing free-tier workspace, you must upgrade it before adding an additional one.
To delete the workspace, click the bin icon in the top right of the tile, and confirm.
Deleting a cloud workspace is not reversible
Once you delete a cloud workspace, you will lose any apps and users associated with it.
A cloud workspace that has an active subscription cannot be deleted.
Self hosted workspaces
For full control of your data, you may wish to self-host. This means that you will install Budibase on your own infrastructure, or hosting provider.
In order to unlock the full set of features and remove limits, you must link your installation to your account. This is done by adding a self-hosted workspace:
- Click the
Add workspacebutton - Select
Self host - Enter a name to help you remember which installation this workspace will be linked to
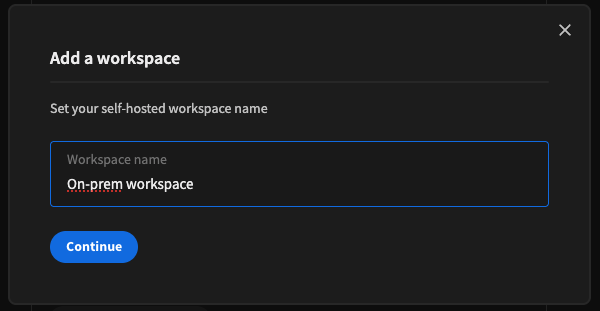
Give your self-host workspace a memorable name
- Click
I have installed budibasewhen your installation is ready to be linked - You will then be presented with your license key - copy it.
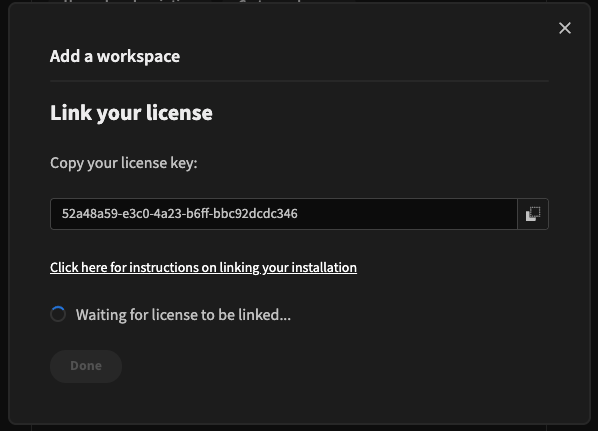
This modal will wait for you to paste the license key into your installation
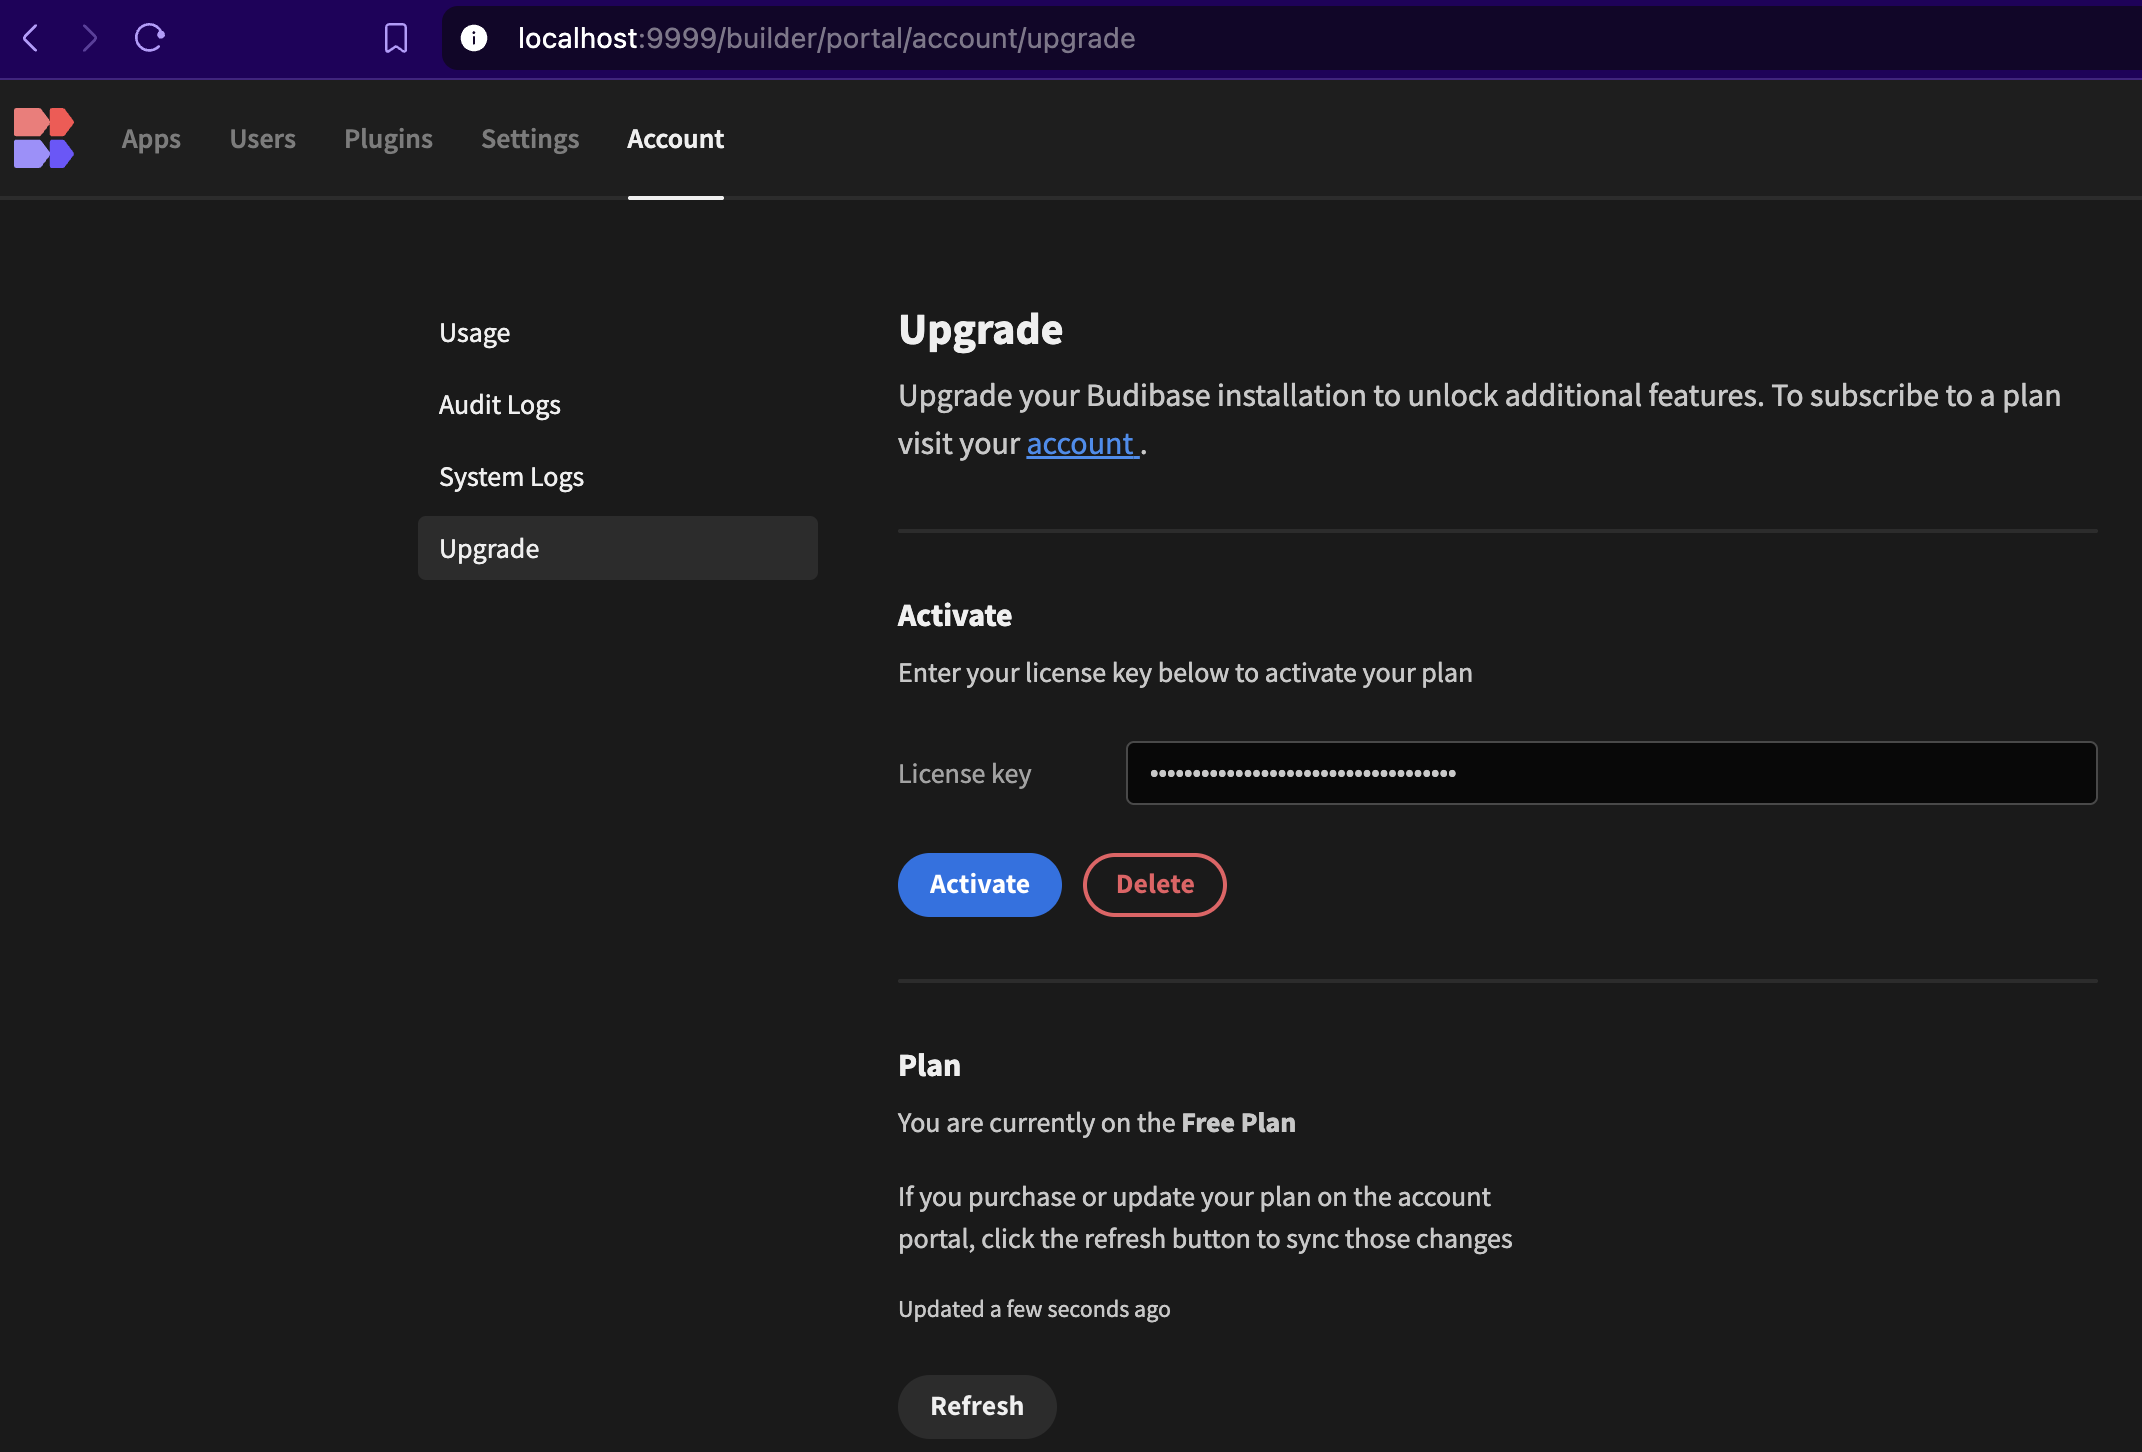
- Visit your installation, and navigate to the
Upgradetab of theAccountsection. Paste in your key and clickActivate
- Now back in your account workspace page, you should see the message License successfully linked. Click
Doneto finish. Your workspace is now ready to be upgraded!
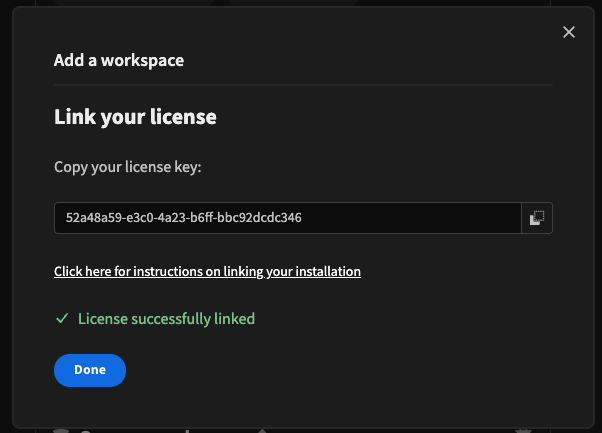
License linked
Now you can upgrade your workspace. A green light beside the Subscription when the subscription is active.
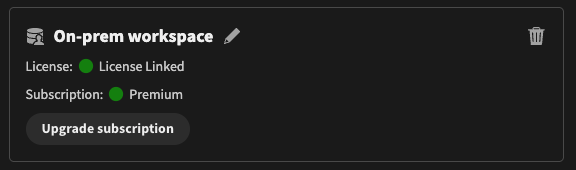
Premium subscription
Refreshing your license
To get the features and quotas to update in your installation, navigate to the Upgrade tab of the Account section. Under Plan, click the Refresh button, and you should see the plan type update.
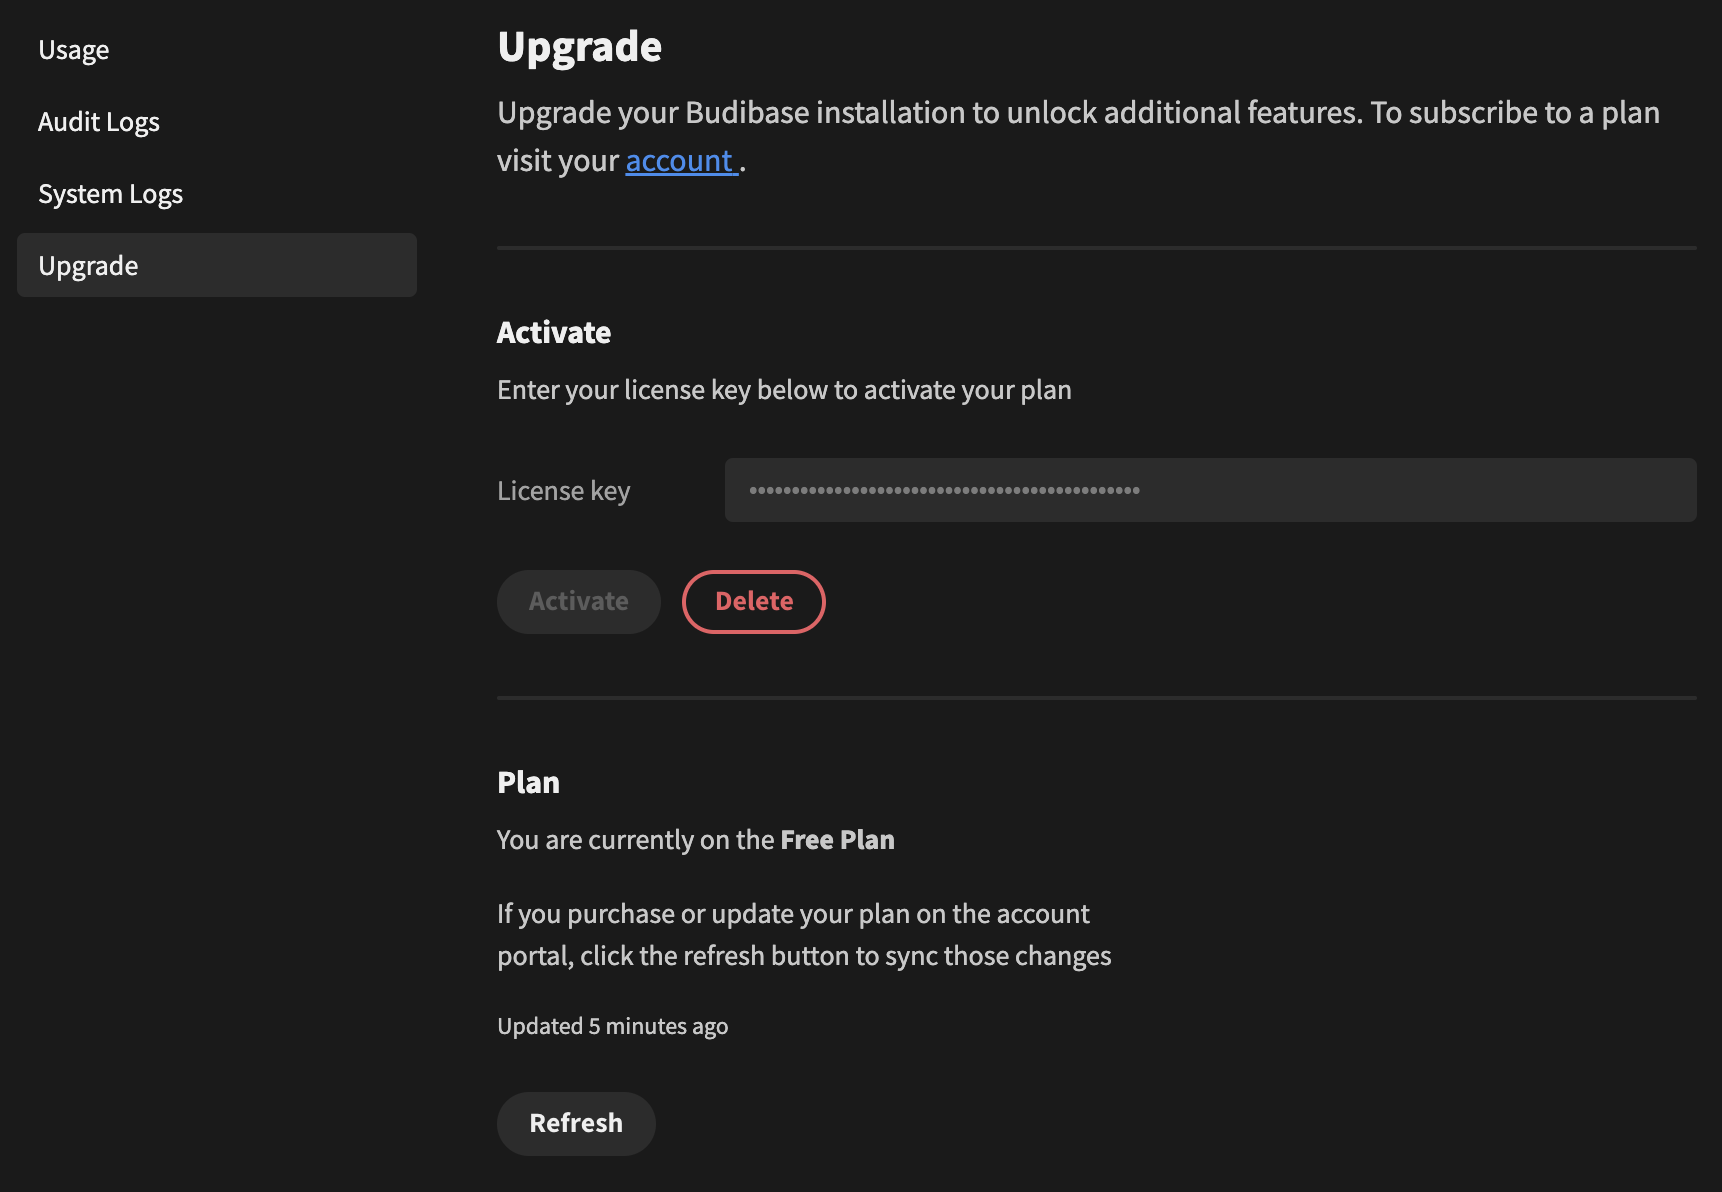
Installation will show the old plan until you 'Refresh'
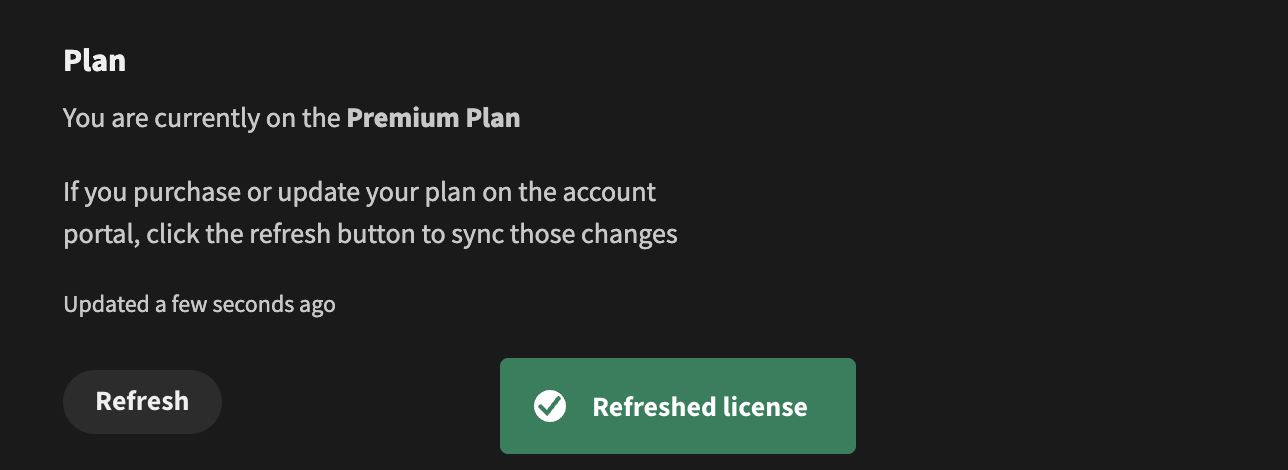
After refreshing your upgraded plan will be applied to the installation:
Updated 3 months ago