App building 101
Budibase Apps enable end-users to interact with the data and automations in your Workspace.
In this guide, we’ll outline the basic process of building an App in Budibase, using a simple ticketing system as an example.
Along the way, we’ll learn how to:
- Generate and modify app screens,
- Add and configure UI components,
- Work with data bindings,
- Add filtering,
- Trigger automations based on in-app events.
To do this, we’ll:
- Outline the database table that will underpin our ticketing system.
- Add a new App to our Workspace.
- Create a screen to submit and track tickets.
- Add a second screen for responding to tickets.
- Set up an email notification for new tickets.
Let’s jump right in.
Setting up our data layer
In Budibase, Apps can utilize any data within our Workspace. We can configure key aspects of our UIs, including access rules and schemas for forms and tables, within the Data section.
Take a look at our Introduction to Data documentation to learn more.
We’re starting with a Budibase DB table called Tickets.
This contains columns with the following data types:
Title- text,Description- long-form text,Status- single select,Priority- single select,Time Created- date,Resolution Notes- long-form text,Created By- single user,Category- AI.
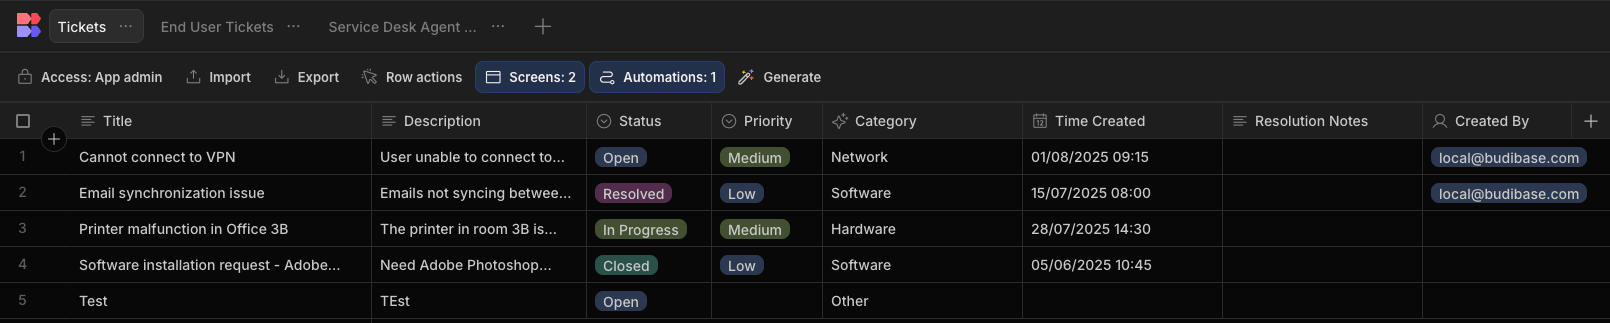
The Status, Time Created, and Created By columns will be automatically populated using default values. Category is set using an AI Column, with its operation set to Categorize Text.
On top of our table, we’ve created two role-specific Views to control which actions different users can take.
Specifically:
- Users with the
End Userrole can writeTitleandDescription. All other columns are read-only. This view is filtered to their own submissions. - Users with the
Service Desk Agentrole have full read and write permissions.
End User Tickets view:
Creating a new App
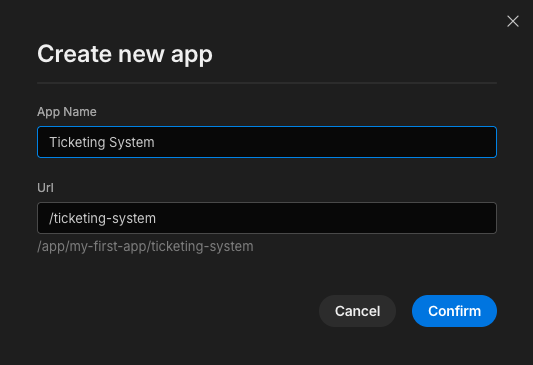
In the Apps section of our Workspace, we’re prompted to create our first App.
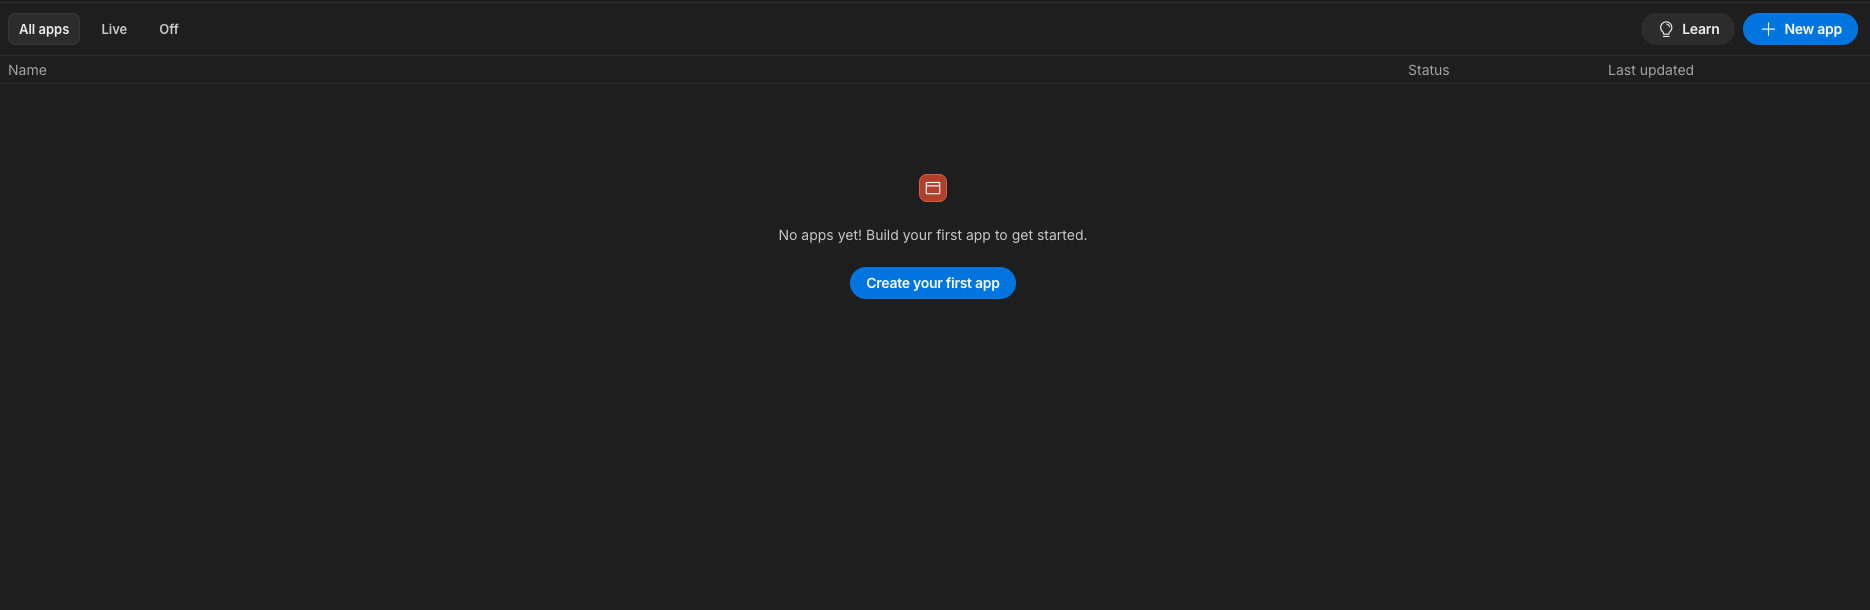
We’re calling this Ticketing System.
Generating our first screen
We’ll start by creating our End Users screen, which will allow users with this role to create new tickets or view their previous submissions.
We’re offered several options, including starting from scratch or using one of Budibase’s autogenerated layouts.
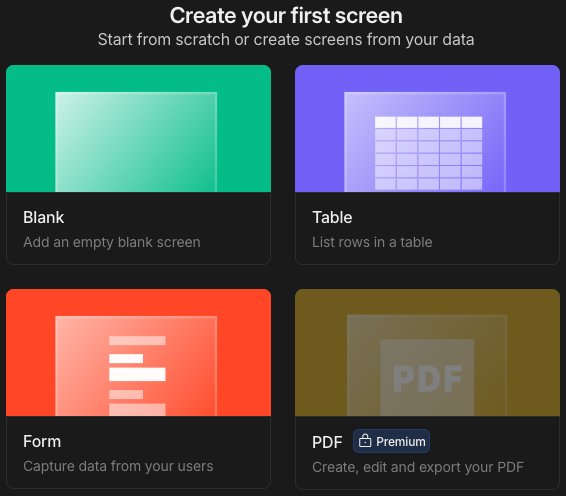
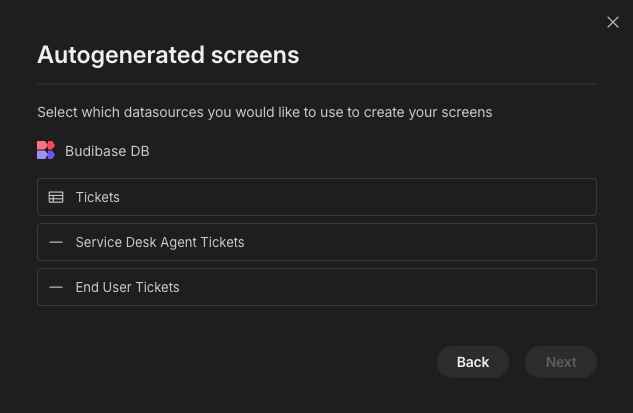
We want to start with a Table layout. When we click on this option, we’re prompted to choose a table or view as a data source.
We’re choosing the End User Tickets view.
We’re then offered several options for managing table rows within our app screen.
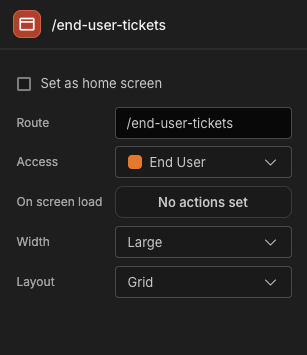
We’re choosing Modal.

Note that it has inherited the access role from our database View.
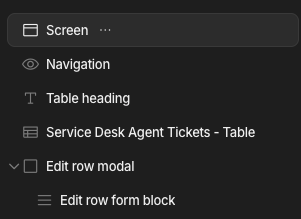
Our screen primarily comprises a Table Block, which displays rows from the connected data source.
Two modal forms enable users to create or edit rows.
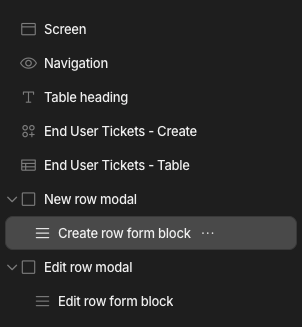
As this is already a fully working CRUD app, we only need to make minor adjustments.
Configuring tables and forms
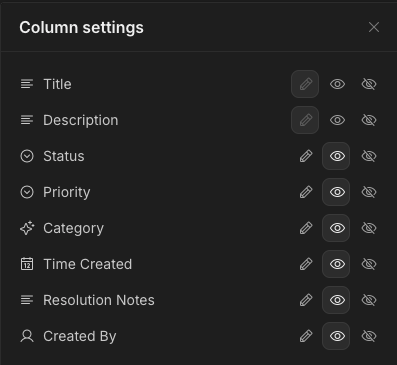
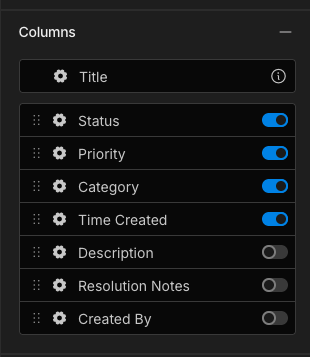
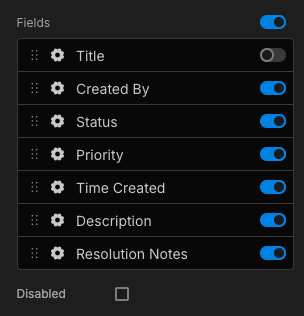
The first thing we’ll do is clean up our table UI, using the sliders to disable any extraneous columns.
We’ll also update the Text field of our Table Heading component.

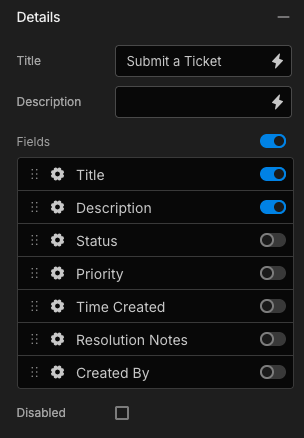
Next, we’ll make key changes to our forms to better reflect our desired workflow, starting with our Create Form.
All we need to do is replace our Title with something more descriptive, and deselect all fields except Title and Description.
Next, we’ll move on to our Edit Form.
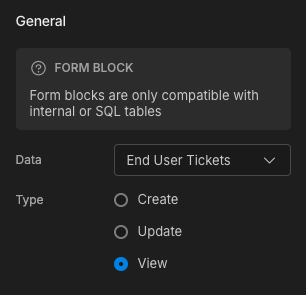
In Budibase, Form Blocks have a setting called Type which determines the specific database operation they perform.
The first change we’ll make is to set our Type to View, making our form read-only.
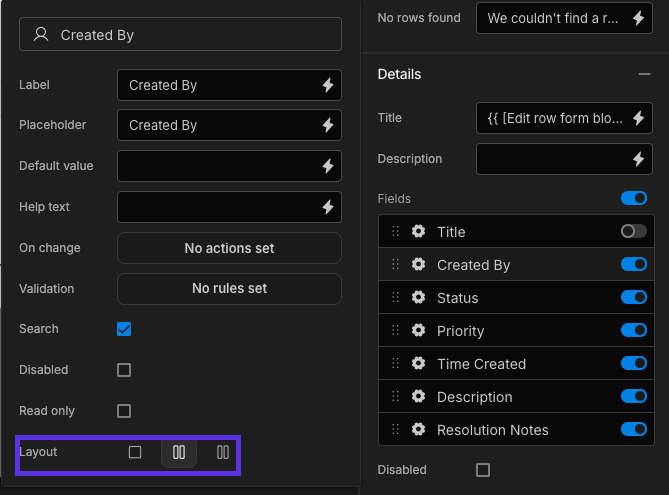
Next, we want to improve the layout of our form fields by deselecting Title and dragging our two long-form text inputs to the bottom.
Each form field has a setting called Layout. We’ll use this to arrange Created By, Status, Priority, and Time Created into two columns.
Working with bindings
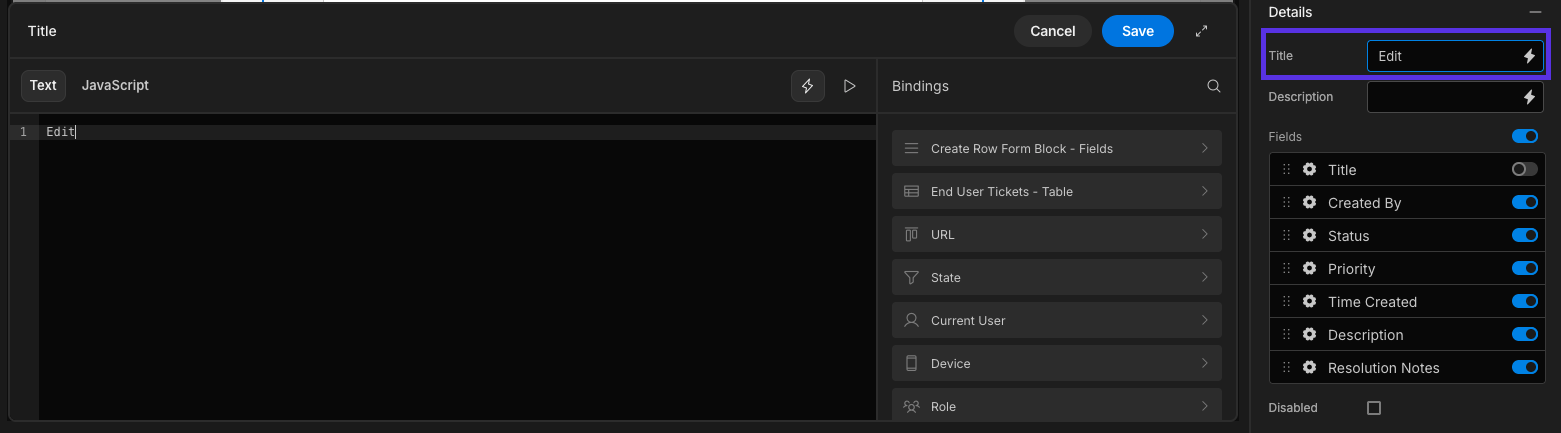
Lastly, we want to update the Title setting for our Form Block to display the Category and Title of the specific ticket we’re viewing.
To do this, we’ll open the bindings drawer using the lightning bolt icon alongside the Title setting.
In Budibase, we can use bindings to dynamically pass data to components, in either Handlebars or JavaScript expressions.
Take a look at our documentation on using Data in Design to learn more.
We want to access two values from the relevant row in our Tickets table. These are under Edit Row Form Block - Row.
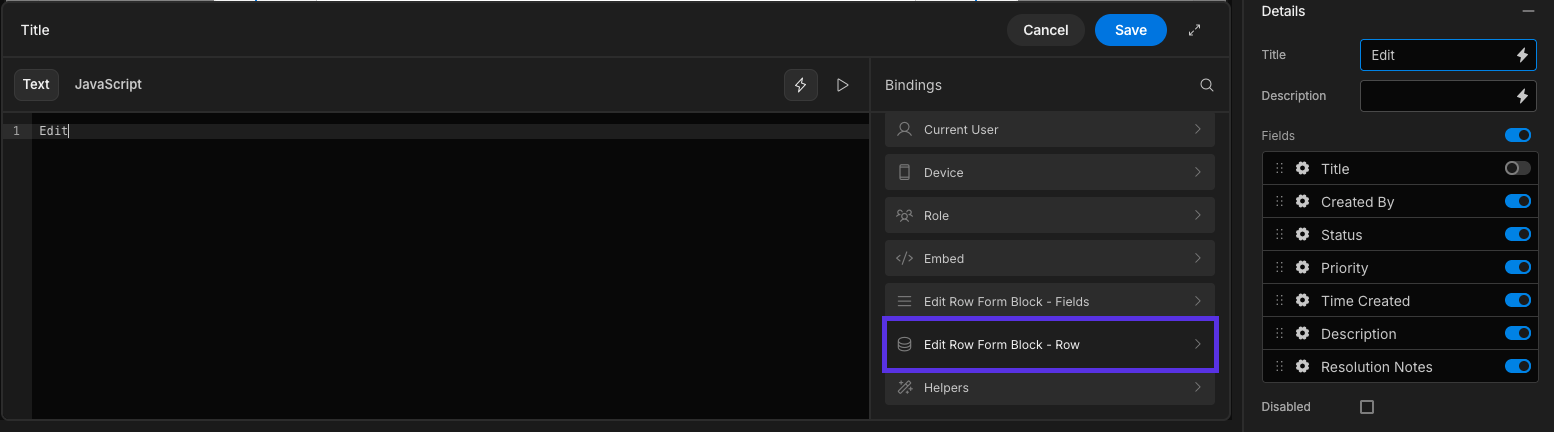
Here, we can select from the available bindings.
The specific expression we will use is {{ [Edit row form block].End User Tickets.Category }}: {{ [Edit row form block].End User Tickets.Title }}
Adding a screen for service agents
For our second screen, we’ve repeated the process of generating a new table UI for our Service Desk Agent Tickets view.
We’ve also updated our Table Heading, disabled any extraneous columns, and removed the Create Row components.

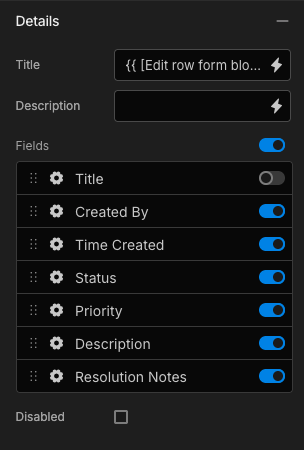
We can now adjust our remaining form to enable Service Desk Agents to respond to submitted tickets.
We’re going to repeat our changes from earlier to:
- Bind our form
Titleto{{ [Edit row form block].Service Desk Agent Tickets.Category }}: {{ [Edit row form block].Service Desk Agent Tickets.Title }}. - Disable our
Titleform field. - Rearrange our remaining fields.
Adding a Filter component
Lastly, we want to give our Service Desk Agents the ability to filter submitted tickets. To do this, we’ll add a Filter Component to the top right of our table.

We’ll then set the Target Component to our table, and choose some filterable fields.
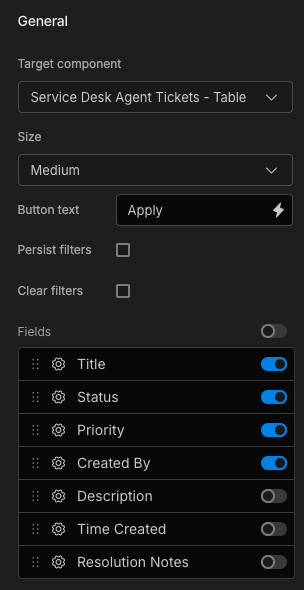
This enables app users to set filtering conditions based on these fields to determine which rows to display on our table.
Setting up email notifications
Lastly, when a user submits a new ticket, we want to notify our service desk team via email. To achieve this, we’ll create an Automation within our Budibase Workspace.
Budibase Automations are shared across their parent Workspace. This means that they can interact with any data source, App, or other Automation contained in the same Workspace.
We’re starting with a Row Created trigger, pointed at our Tickets table. This will run each time a new ticket is submitted.
We can hit the plus icon to add follow-on actions.

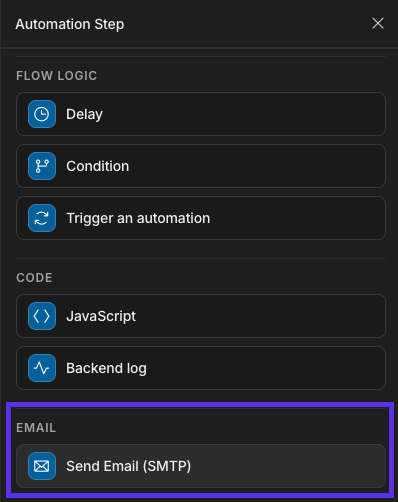
From the Automation Steps menu, we’ll choose the Send Email (SMTP) action. Check out our documentation on SMTP setup to learn more about this.
We’ll then use static values to populate the Send To, Send From, and Subject fields.
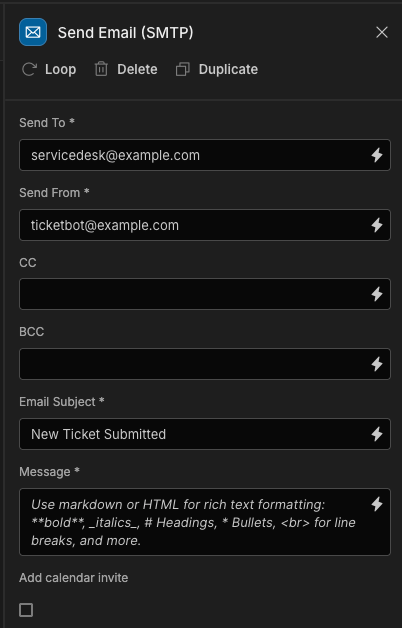
We’ll bind the following Markdown expression to our Message field.
## A new ticket has been submitted by {{ trigger.row.Created By.email }}

### {{ trigger.row.Category }}: {{ trigger.row.Title }}

{{ trigger.row.Description }}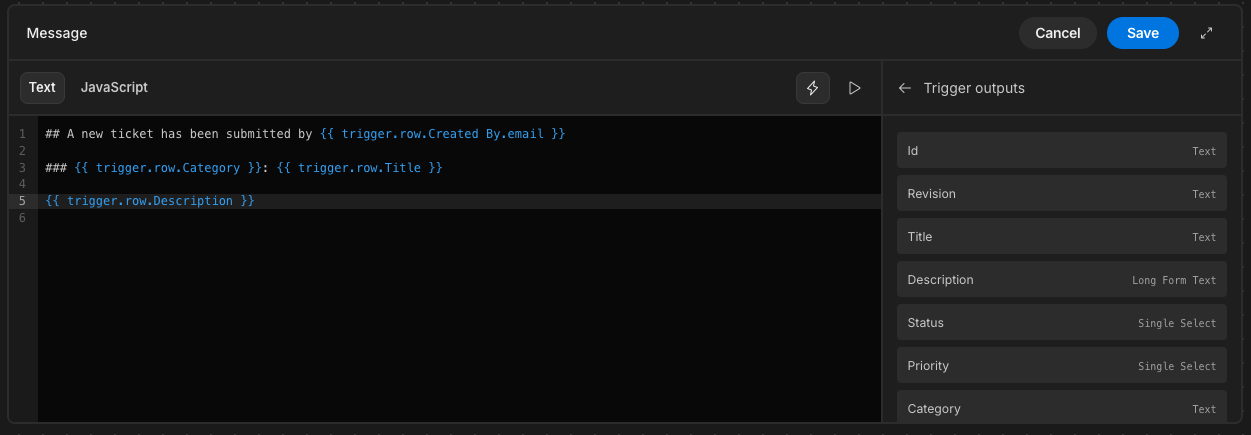
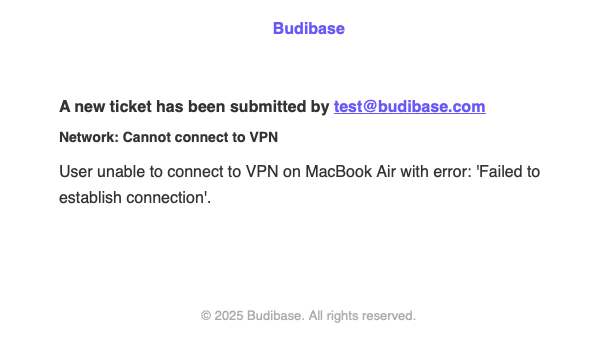
Lastly, we can run a test with one of our existing Tickets rows to confirm that this has worked.
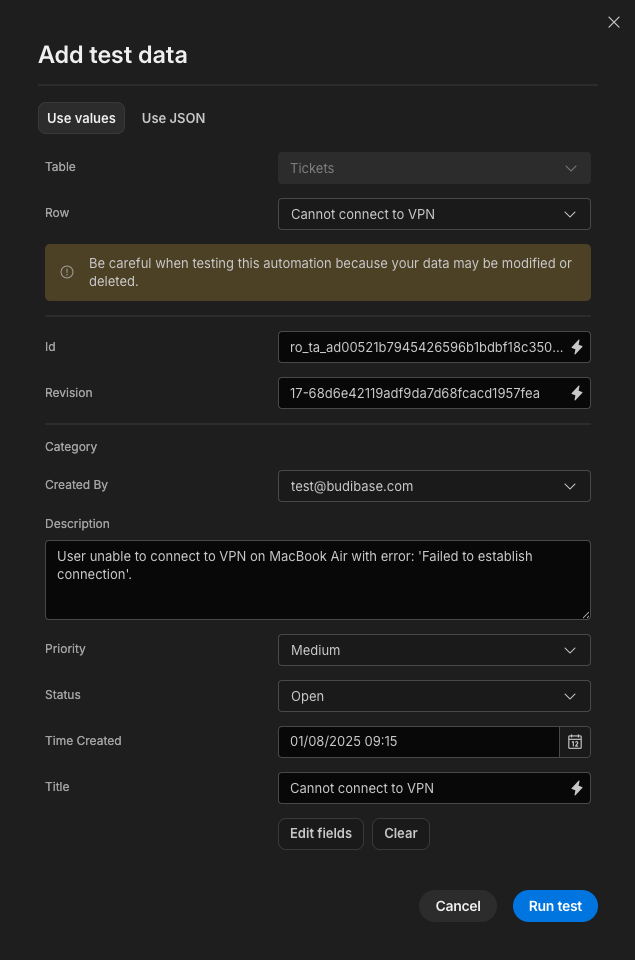
Here’s the email we’ll receive.